Products

Vibrant Rectangle Cube
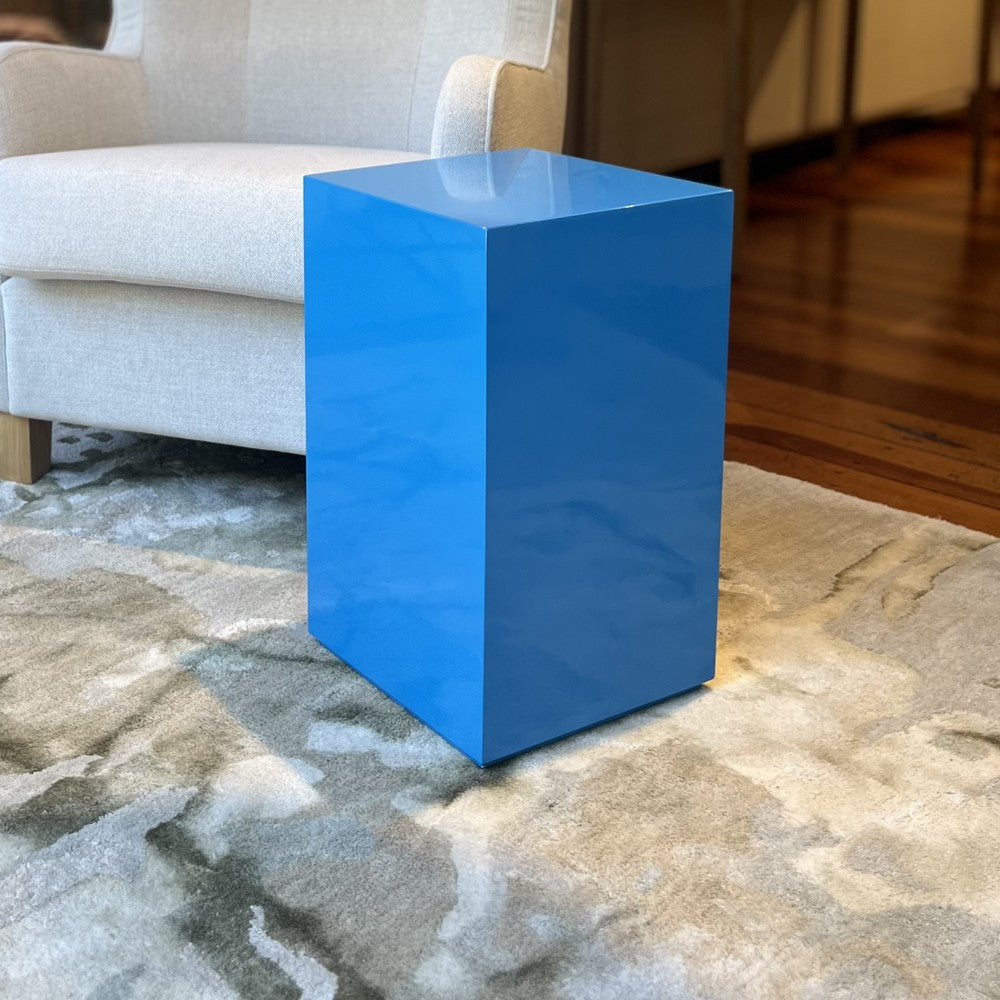
Vibrant Rectangle Cube
$599.00
Add a pop of colour to your space with a gorgeous smooth high-gloss Vibrant Rectangle Cube, proudly made in New Zealand. Versatile and stylish, these cubes can be used as a side table, seat, or decorative accent. Handcrafted from durable MDF, each one is unique and the perfect blend of functionality and flair. Care for your cube by not applying ...

Vibrant Square Cube
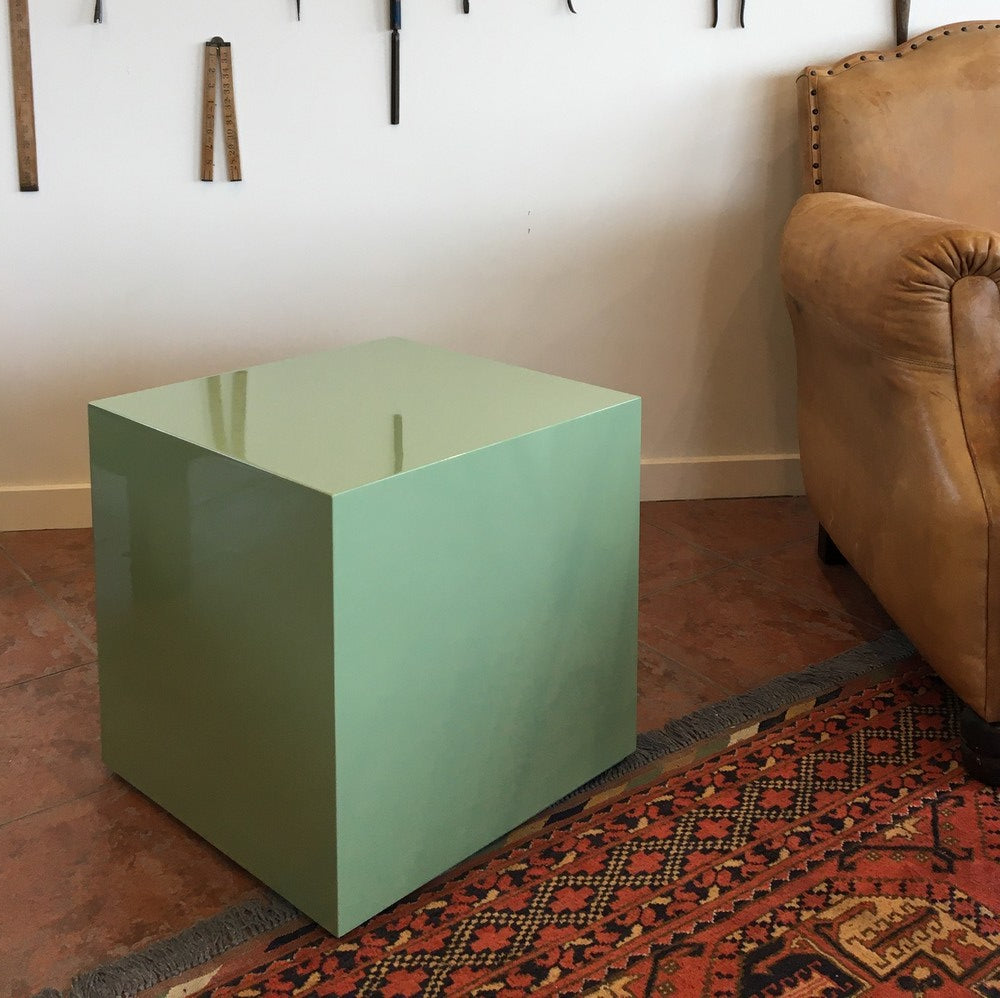
Vibrant Square Cube
$599.00
Add a pop of colour to your space with a gorgeous smooth high-gloss Vibrant Square Cube, proudly made in New Zealand. Versatile and stylish, these cubes can be used as a side table, seat, or decorative accent. Handcrafted from durable MDF, each one is unique and the perfect blend of functionality and flair. Care for your cube by not applying hea...

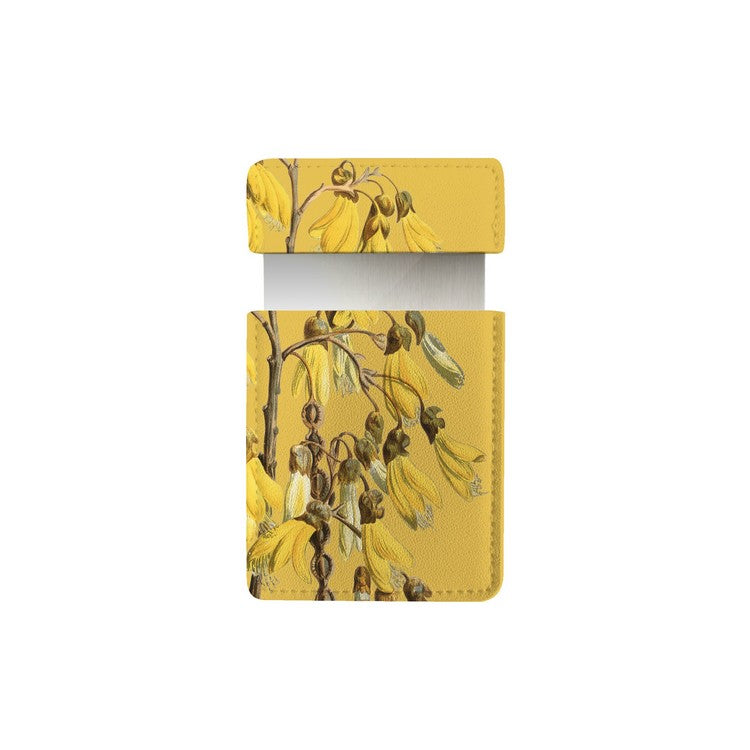
Vintage Botanical Pocket Mirror
$14.00
Featuring well-known New Zealand native flora, Vintage Botanical Pocket Mirror is a handy travel essential. Compact and lightweight, these cute pocket mirrors are made from vegan leather, and complement the matching Velvet Vintage Botanical Zipped Bag. Material vegan leather, mirror Size 95 x 63 mm Check out the full Vintage range
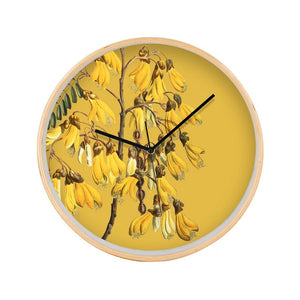

Vintage Botanical Wooden Frame Clock
$119.00
Blonde wood framed Vintage Botanical Wooden Frame Clock, featuring native New Zealand flora. The silent movement clock is protected by a glass front and sits 45mm deep from the wall. Designed, printed and assembled in Aotearoa New Zealand. Material blonde wood frame, glass front, silent movement Size 320Dia x 45D mm Check out the full Vintage range
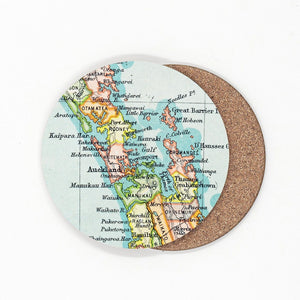
Vintage NZ Map Coasters

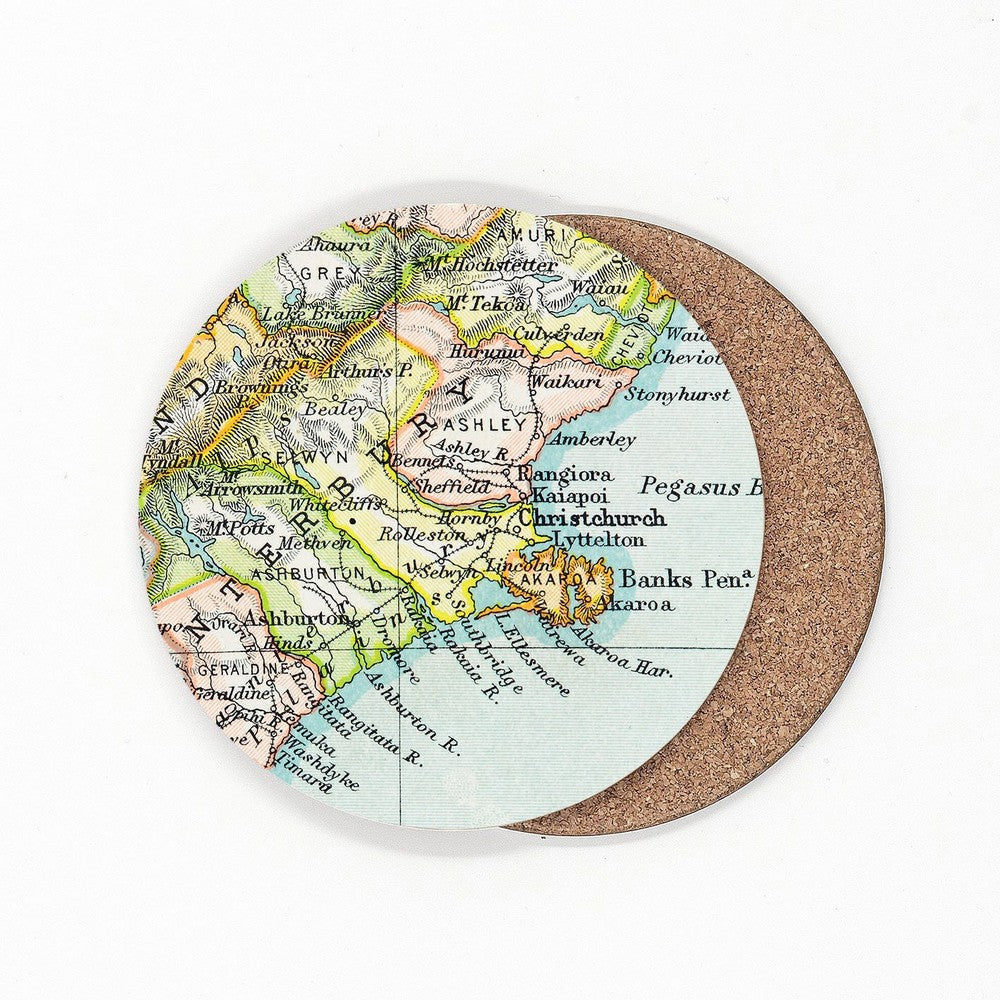
Vintage NZ Map Coasters
$6.00
A fun and colourful collection of coasters featuring Vintage NZ Map extracts of New Zealand regions. The coasters are heat resistant, hard wearing and an ideal gift to send by post. Wipe clean only. Sold individually. Material print on coated MDF, cork backed Size 100Dia mm Check out other placemats & coasters

Vintage NZ Map Placemats
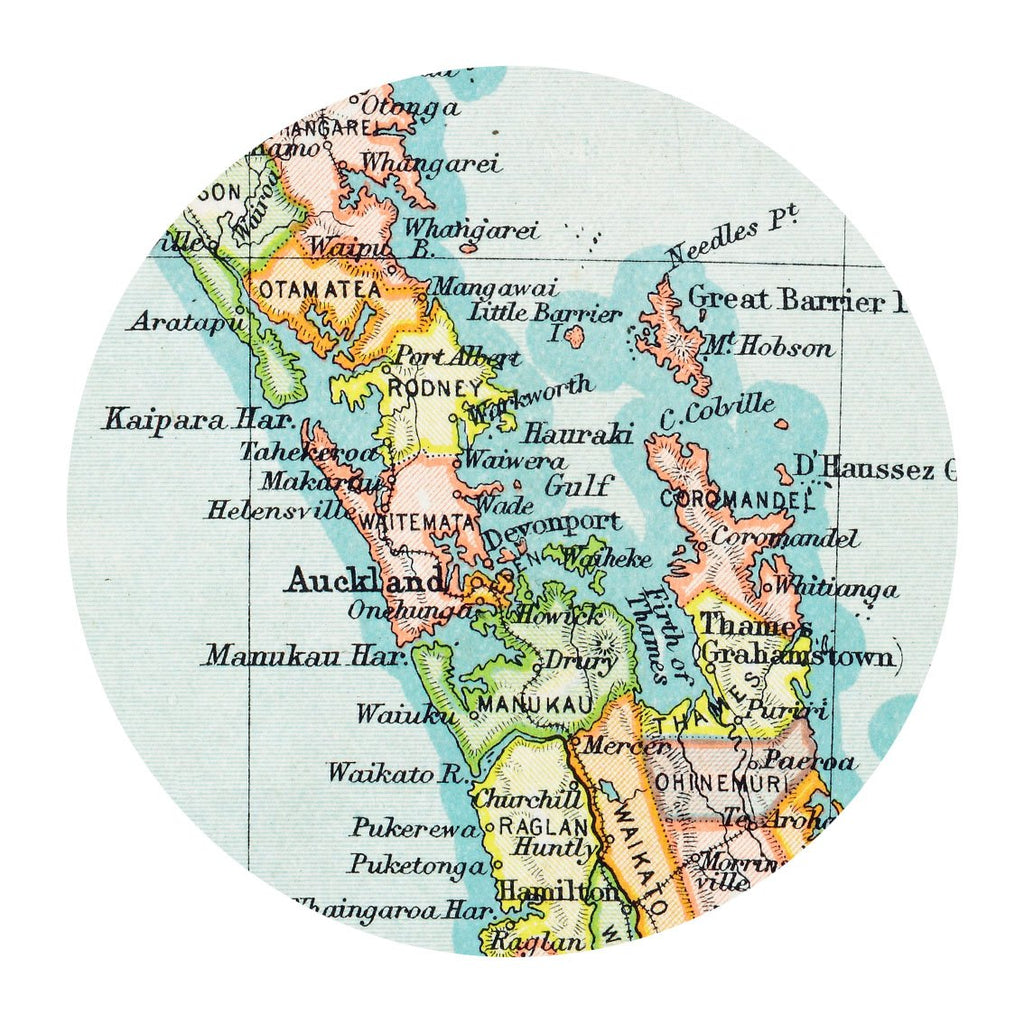
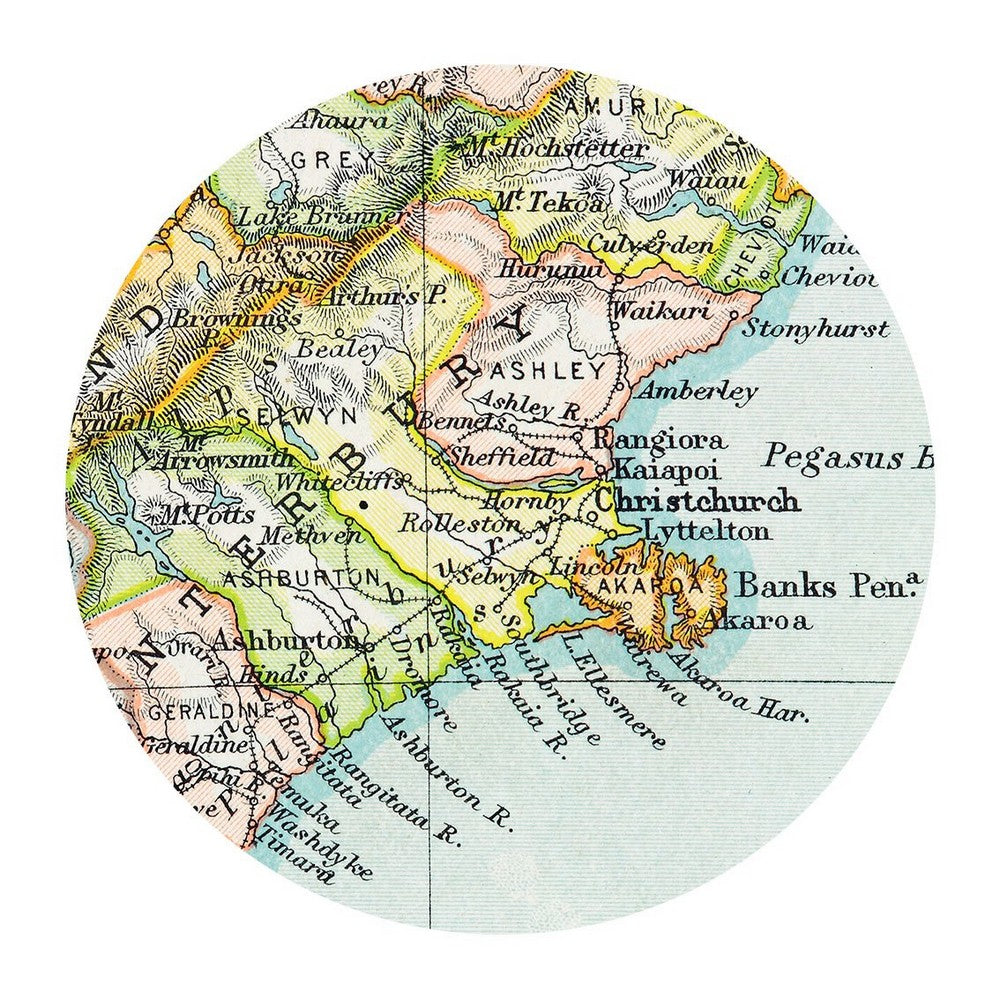
Vintage NZ Map Placemats
$14.00
A fun and colourful collection of placemats featuring Vintage NZ Map extracts of New Zealand regions. The placemats are heat resistant, hard wearing and an ideal gift to send by post. Wipe clean only. Sold individually. Material print on coated MDF, cork backed Size 290Dia mm Check out other placemats & coasters
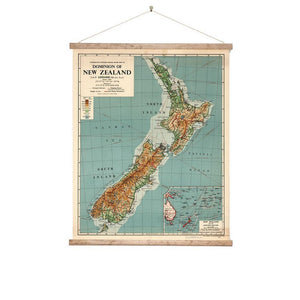
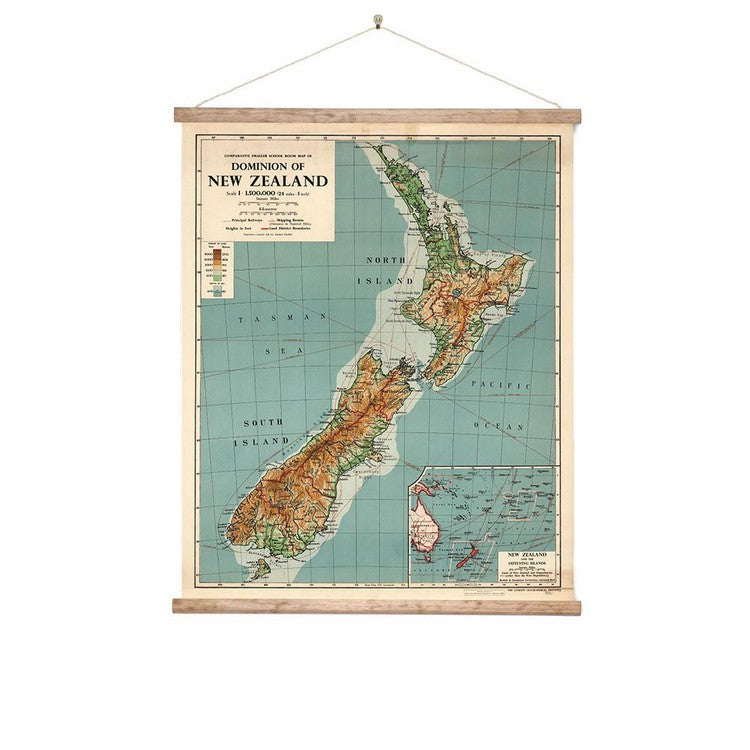
Vintage Style Wall Chart - Dominion of NZ
$139.00
The Vintage Style Wall Chart - Dominion of NZ is printed on archival-quality polyester canvas, ensuring it won’t fade in the sun. Mounted with aged wood batons and hemp twine, it arrives ready to hang. Comes packaged in a sturdy cardboard tube. Designed and made in Aotearoa New Zealand. Material polyester canvas print, aged wood batons, hemp twi...
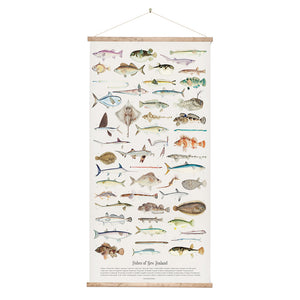
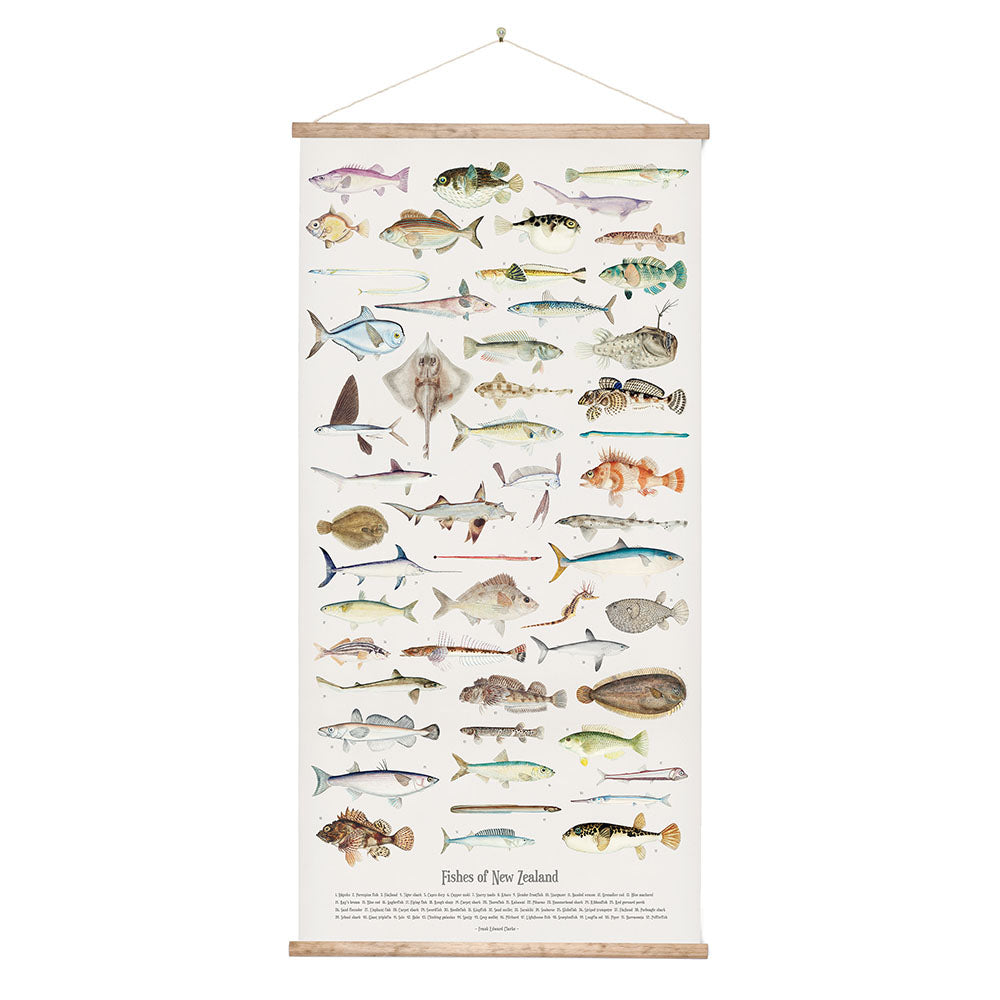
Vintage Style Wall Chart - Fishes of New Zealand
$169.00
The Vintage Style Wall Chart – Fishes of New Zealand is printed on archival-quality polyester canvas, ensuring it won’t fade in the sun. Mounted with aged wood batons and hemp twine, it arrives ready to hang. Comes packaged in a sturdy cardboard tube. Designed and made in Aotearoa New Zealand. Material polyester canvas print, aged wood batons, h...
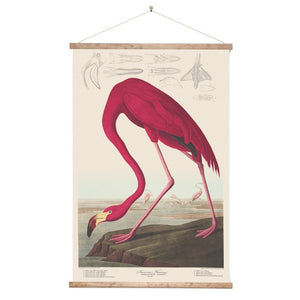
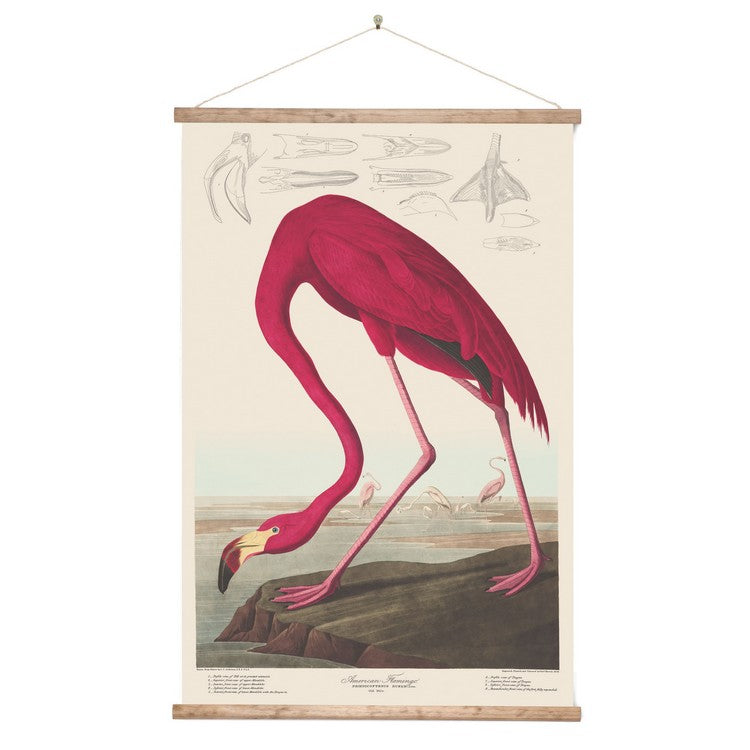
Vintage Style Wall Chart - Flamingo
$139.00
The Vintage Style Wall Chart – Flamingo is printed on archival-quality polyester canvas, ensuring it won’t fade in the sun. Mounted with aged wood batons and hemp twine, it arrives ready to hang. Comes packaged in a sturdy cardboard tube. Designed and made in Aotearoa New Zealand. Material polyester canvas print, aged wood batons, hemp twine Siz...

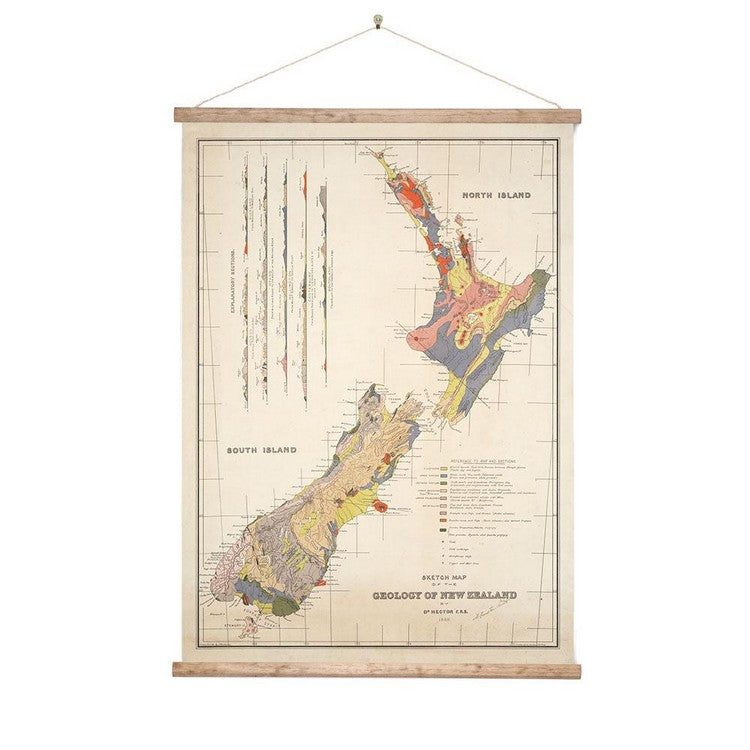
Vintage Style Wall Chart - Geology of NZ
$139.00
The Vintage Style Wall Chart – Geology of NZ is printed on archival-quality polyester canvas, ensuring it won’t fade in the sun. Mounted with aged wood batons and hemp twine, it arrives ready to hang. Comes packaged in a sturdy cardboard tube. Designed and made in Aotearoa New Zealand. Material polyester canvas print, aged wood batons, hemp twin...
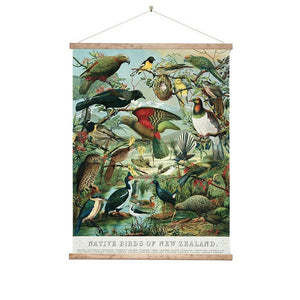
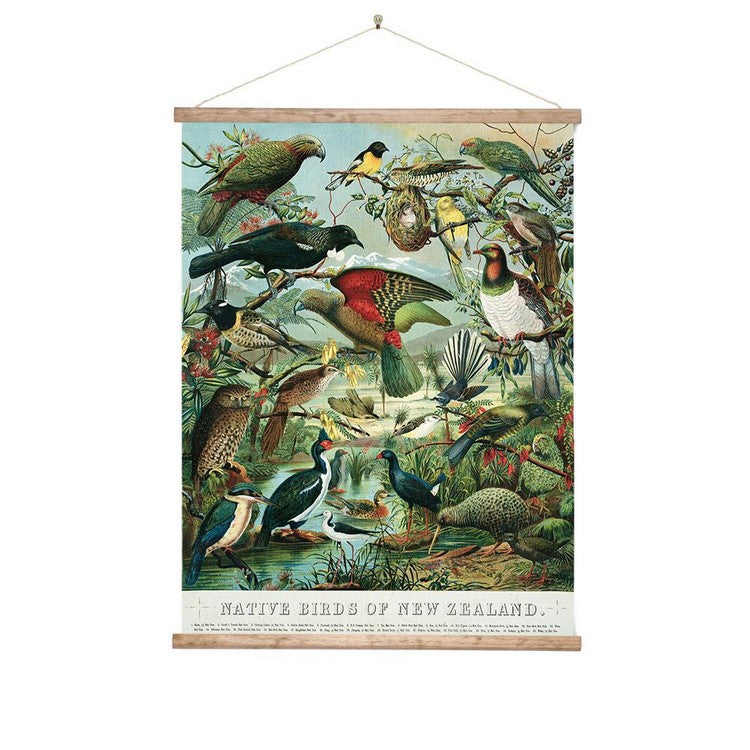
Vintage Style Wall Chart - Native Birds of NZ
$139.00
The Vintage Style Wall Chart – Native Birds of NZ is printed on archival-quality polyester canvas, ensuring it won’t fade in the sun. Mounted with aged wood batons and hemp twine, it arrives ready to hang. Comes packaged in a sturdy cardboard tube. Designed and made in Aotearoa New Zealand. Material polyester canvas print, aged wood batons, hemp...

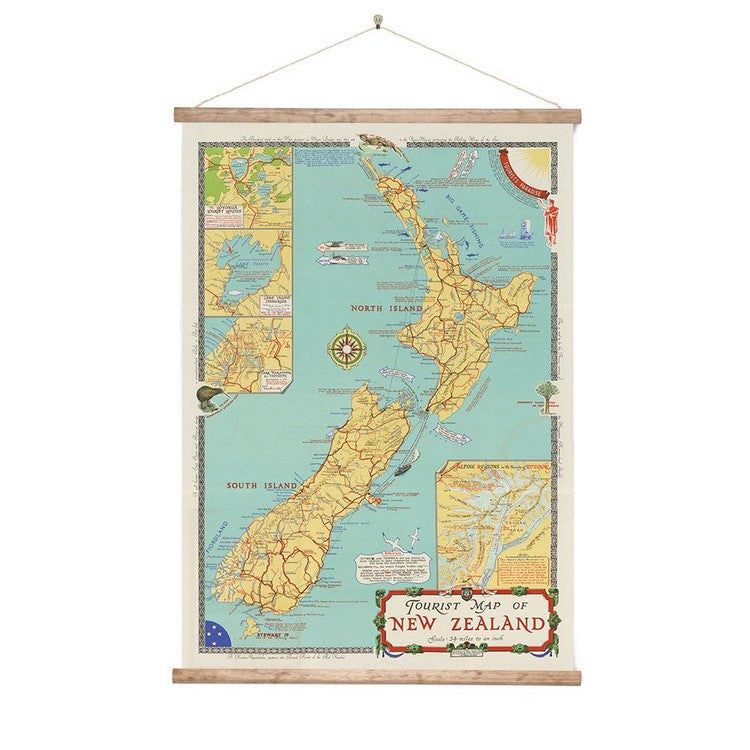
Vintage Style Wall Chart - NZ Tourist Map
$139.00
The Vintage Style Wall Chart – NZ Tourist Map is printed on archival-quality polyester canvas, ensuring it won’t fade in the sun. Mounted with aged wood batons and hemp twine, it arrives ready to hang. Comes packaged in a sturdy cardboard tube. Designed and made in Aotearoa New Zealand. Material polyester canvas print, aged wood batons, hemp twi...

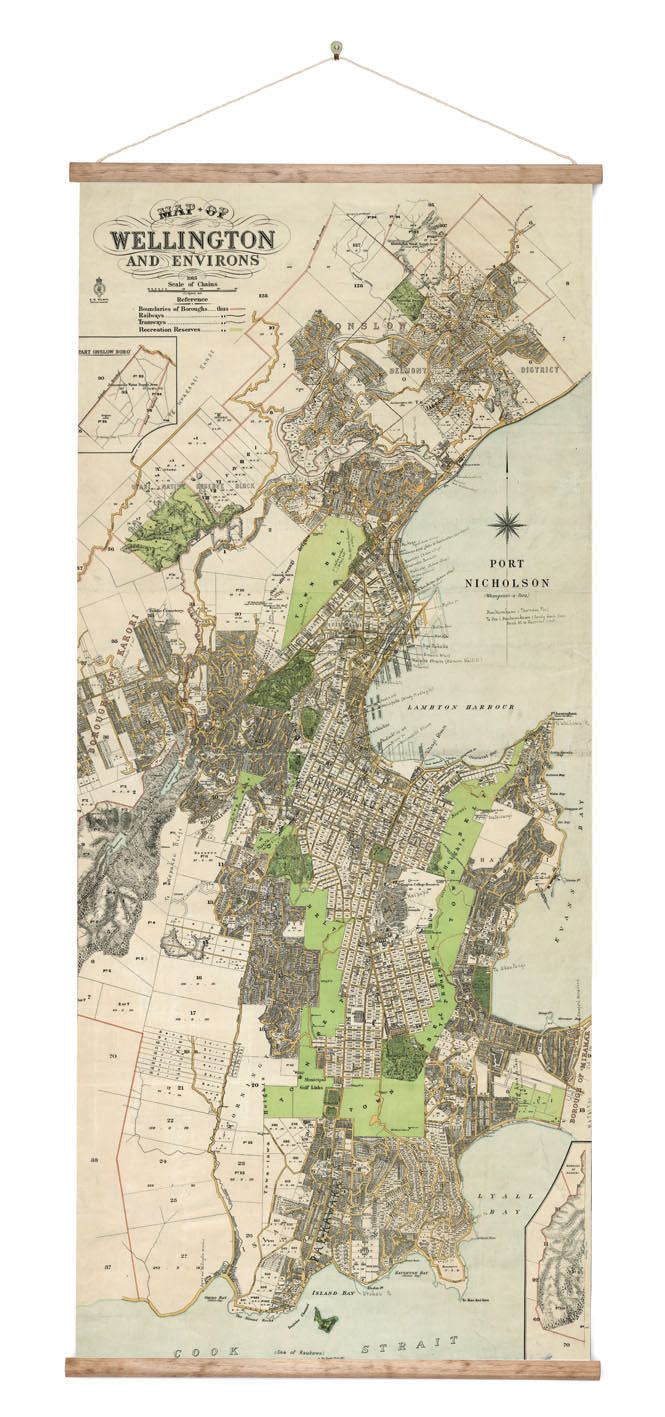
Vintage Style Wall Chart - Wellington
$169.00
The Vintage Style Wall Chart – Wellington is printed on archival-quality polyester canvas, ensuring it won’t fade in the sun. Mounted with aged wood batons and hemp twine, it arrives ready to hang. Comes packaged in a sturdy cardboard tube. Designed and made in Aotearoa New Zealand. Material polyester canvas print, aged wood batons, hemp twine S...

Vintage Velvet Zipped Bag
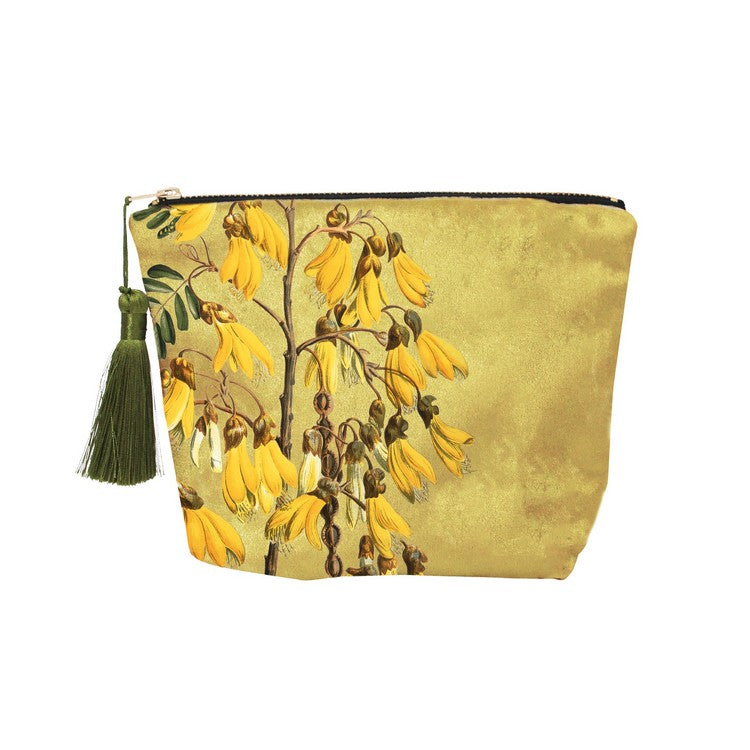
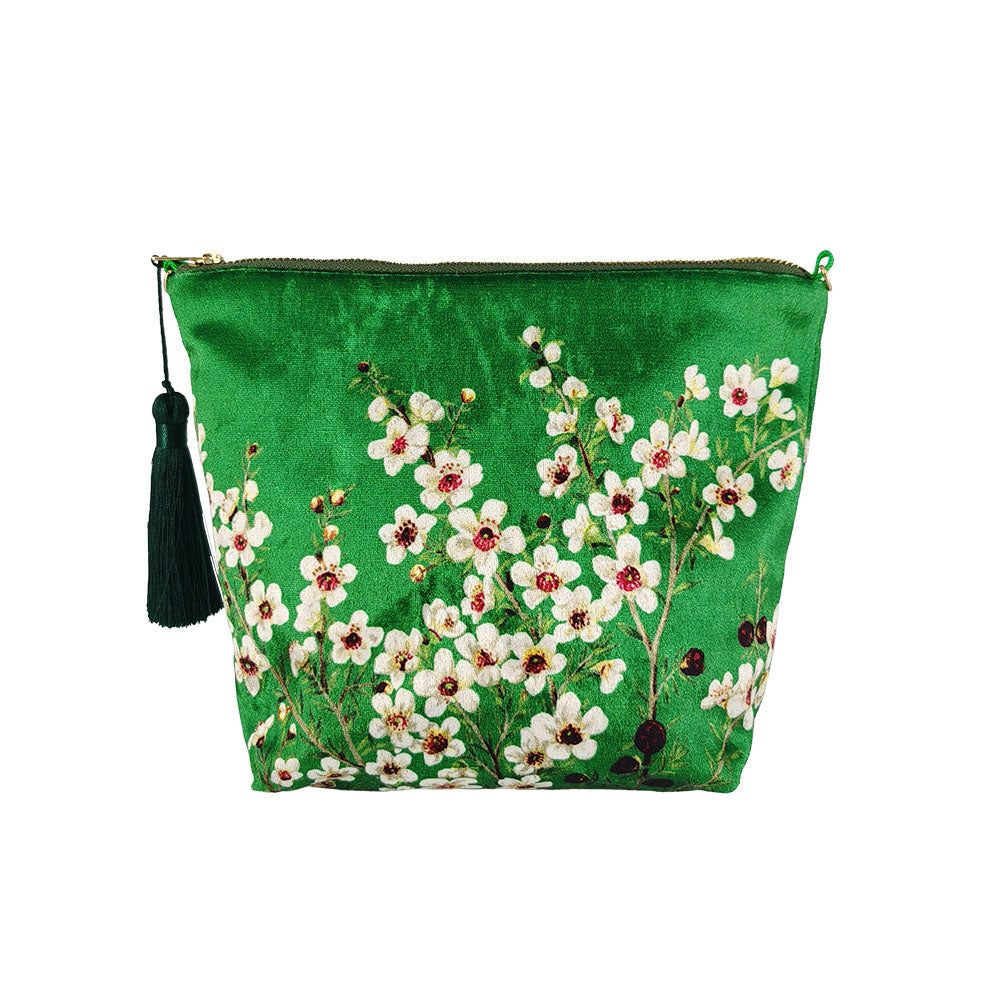
Vintage Velvet Zipped Bag
$39.00
Showcasing iconic New Zealand flora and fauna, the Vintage Velvet Zipped Bag is a stylish and practical travel companion. Perfect for keeping smaller essentials organised, it’s compact, lightweight, and slips easily into an overnight bag, handbag, or gym bag - though its chic design deserves to be seen! Fully lined with a tassel detail, it also ...

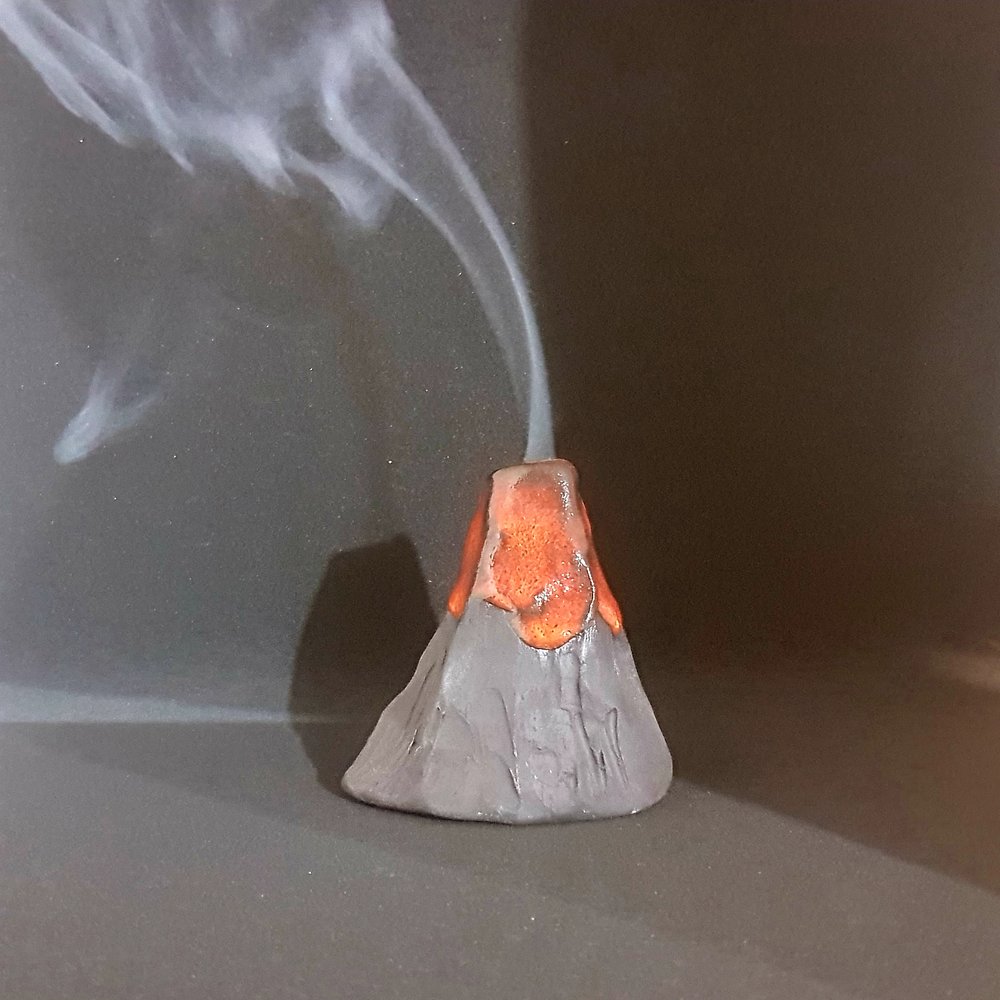
Volcano Incense Cone Burner ceramic
$49.00
The Volcano Incense Cone Burner ceramic is hand sculpted from New Zealand black clay and finished with a glossy lava glaze. Each Volcano is unique. A small plate (included) sits underneath the volcano to place your incense cone on. Material NZ clay finished in glossy glaze Size 70H x 75Dia mm (approximate, as no two are the same)
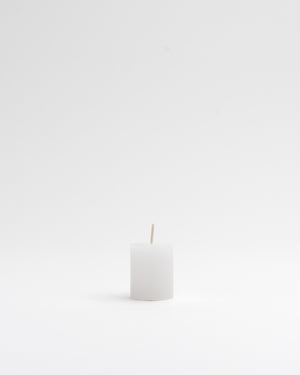
Votive Candle & Glass Holder
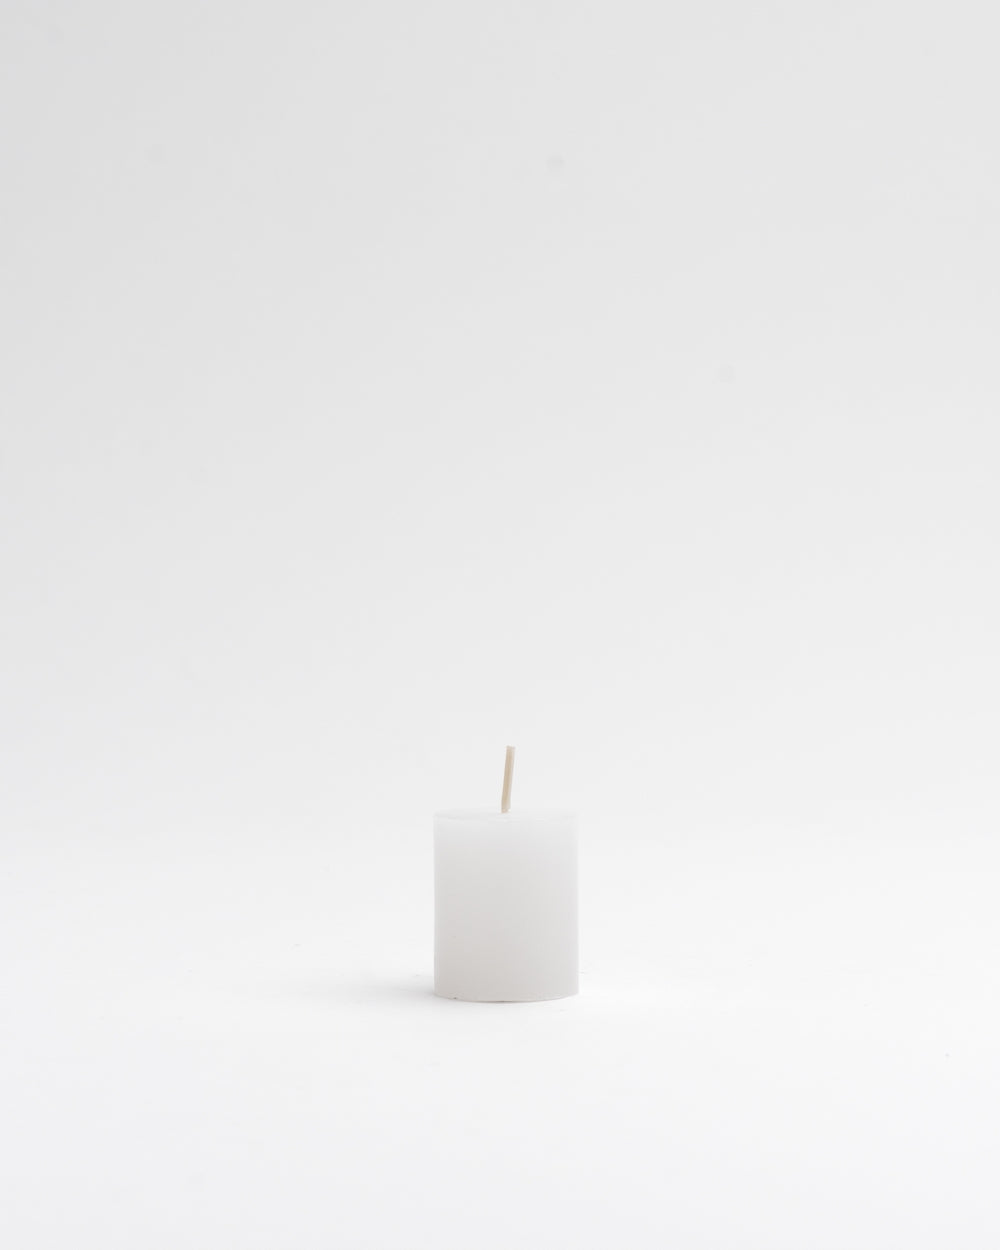
Votive Candle & Glass Holder
$4.00
Handmade using a special house wax blend, these classic votive candles ensure a clean, consistent flame, extended burn time, and exceptional brightness. When paired with the clear glass holder, the candlelight is diffused beautifully while the wax is kept neatly contained — making the set both practical and elegant. The glass also shields the fl...

Waipuna Side Table - Stainless Steel


Waipuna Side Table - Stainless Steel
$499.00
Originally designed to shield your phone from the sun, the Waipuna Side Table in stainless steel features a clever semi-enclosed shelf — perfect for stashing sunglasses, books, keys, and other essentials safely out of the way. Crafted from robust 3mm solid stainless steel, this sleek outdoor table is built to withstand rust, wind, and general we...
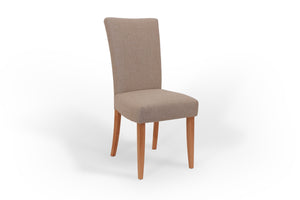
Warwick Dining Chair

Warwick Dining Chair
$999.00
The Warwick Dining Chair, designed by Warwick Butterfield — the fourth generation of the founding Otago Furniture family — embodies luxury and exceptional craftsmanship. Its fully upholstered back, subtly widening at the top, offers both comfort and a sense of security. The gentle curves enhance stability, making it a refined yet sturdy addition...
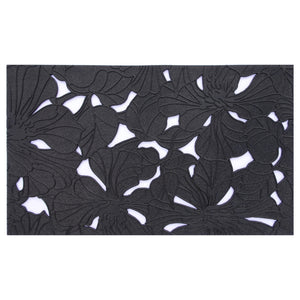
Water Lily Rubber Doormat
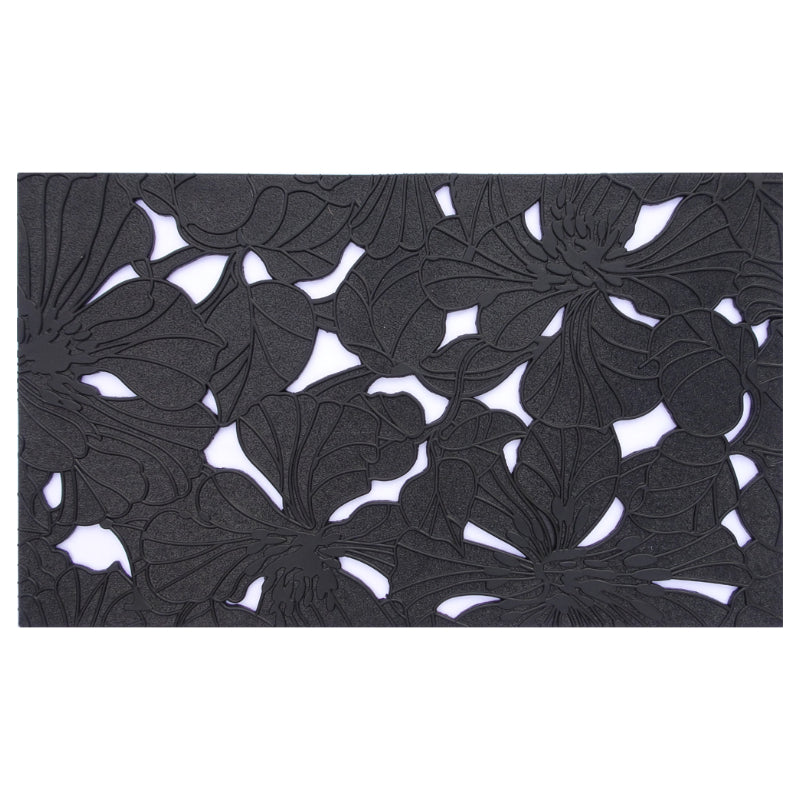
Water Lily Rubber Doormat
$49.00
Perfect for front doors, patios, or entranceways, the Water Lily Doormat is made from ethically produced, phthalate-free rubber. Designed with drainage holes, it’s ideal for outdoor use - rain or shine. The durable surface helps scrape off dirt and debris, keeping your home cleaner from the ground up. Material 100% rubber - certified GoodWeave a...

Wave Rimu Pendant

Wave Rimu Pendant
$4,199.00
The Wave Rimu Pendant combines sculptural form with functional illumination, creating a striking feature in any interior. Crafted from beautifully figured Rimu timber, its flowing silhouette highlights the natural character and grain of the wood. Recessed warm white LED lighting gently diffuses through the timber, enhancing the rich tones, textu...

Weave NZ wool quilt inner
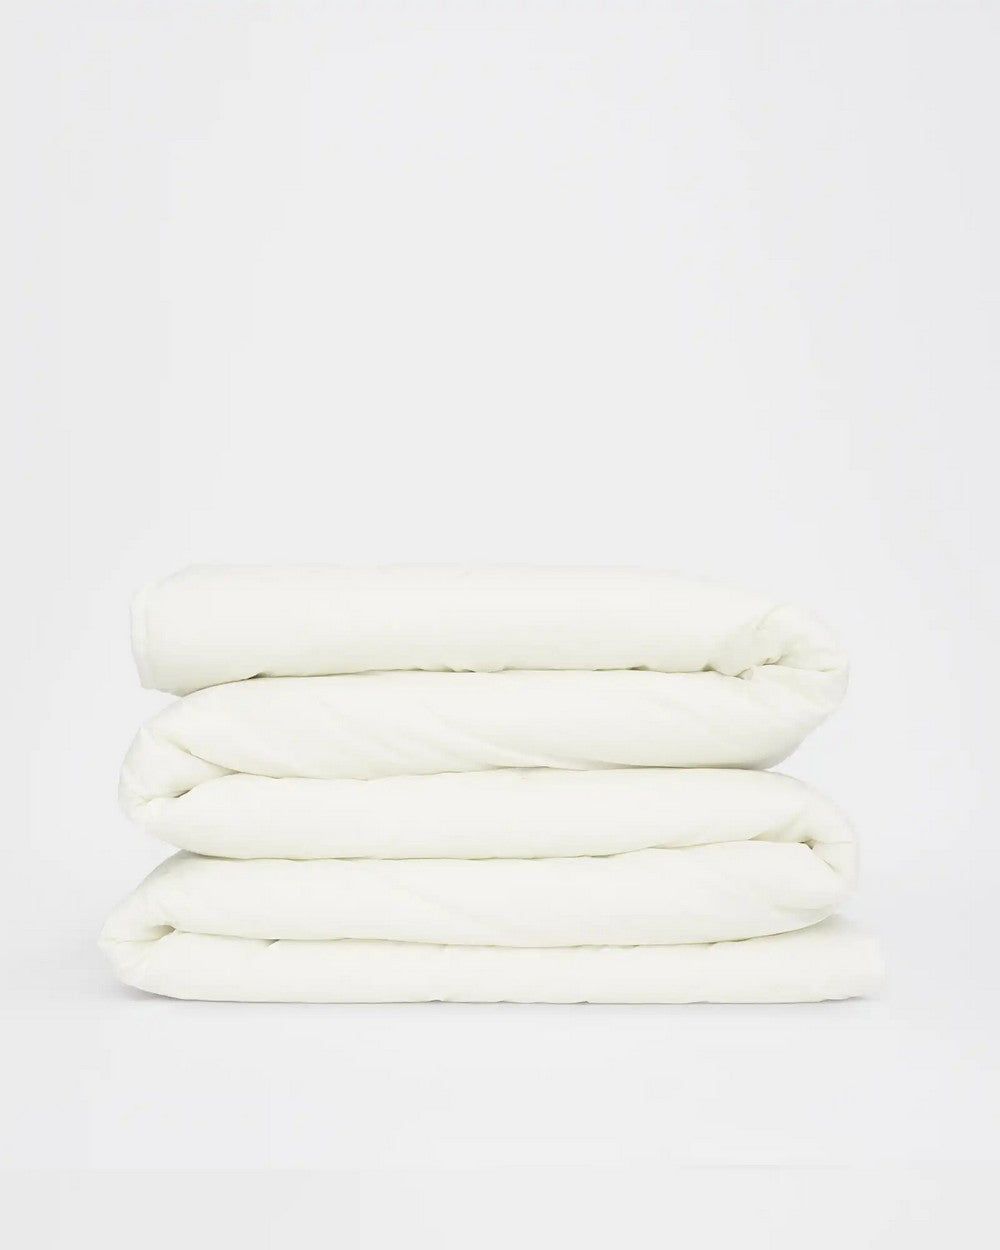
Weave NZ wool quilt inner
$399.00
Sometimes it’s what you can’t see that matters the most. Environmentally friendly, healthy and comfortable, wool is known for its many incredible properties. With our increasing awareness of health, wellness and sustainability - wool is an excellent choice for your home. Under a Weave New Zealand (NZ) wool quilt inner, users have experienced a d...

Weston Frizzell Print - Behave

Weston Frizzell Print - Behave
$289.00
The collaborative identity of artists Otis Frizzell and Mike Weston; Weston Frizzell pieces are frequently controversial. The “high performance art partnership” has its roots in the street art and pop culture melting pot of Auckland’s K Rd. Weston Frizzell apply sampling, cutup and remix techniques to the creative process, manipulating appropria...

William Carden-Horton Print - A-Lad-In-Sane
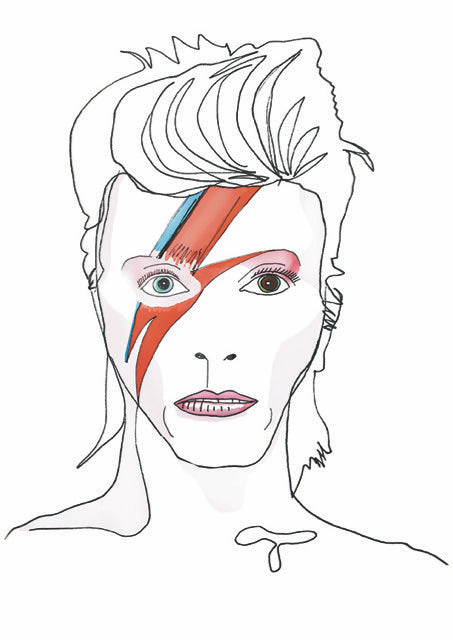
William Carden-Horton Print - A-Lad-In-Sane
$499.00
From artist William Carden-Horton's 'Holding My Pen Loosely' series, A-Lad-In-Sane is Carden-Horton's take on his "main-man" David Bowie's incarnation number four - Aladdin Sane. Bowie liberated a generation, now he can liberate your wall. Limited edition of 50 (A1) and 25 (A0) Material printed with Océ flatbed machine using UV cured inks, Palig...
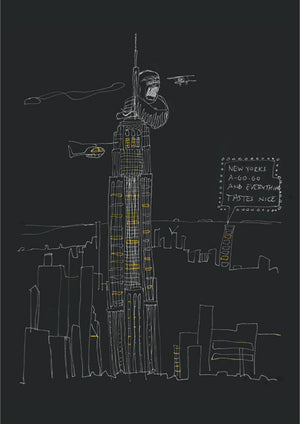
William Carden-Horton Print - New York's A Go Go
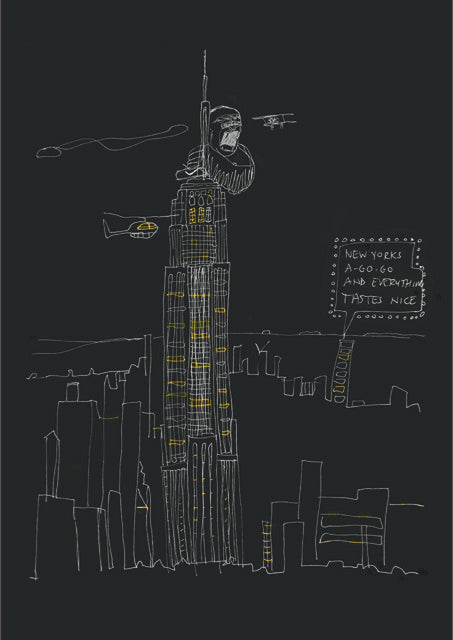
William Carden-Horton Print - New York's A Go Go
$499.00
From artist William Carden-Horton's 'Holding My Pen Loosely' series, in New York's A-Go-Go NIKE wearing Kong meets with David Bowie’s Jean Genie lyrics, while folk live oblivious in their condo’s. New York is a mixed up crazy good World. Limited edition of 50 (A1) and 25 (A0) Material printed with Océ flatbed machine using UV cured inks, Palight...

William Carden-Horton Print - Quintessential Cane

William Carden-Horton Print - Quintessential Cane
$499.00
From artist William Carden-Horton's 'Holding My Pen Loosely' series, Quintessential Cane captures cool-calm-collected, Michael Cane. The 1960’s British film icon was snapped by 1960’s British photography icon David Bailey. In Quintessential Cane he's caught by Carden-Horton's Staedtler felt pen. Limited edition of 50 (A1) and 25 (A0) Material pr...
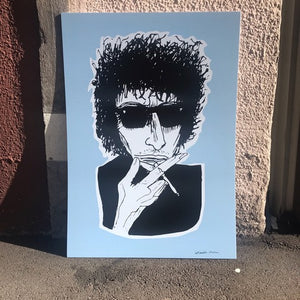
William Carden-Horton Print - Tangled-Up-In-Blue

William Carden-Horton Print - Tangled-Up-In-Blue
$449.00
From artist William Carden-Horton's 'Holding My Pen Loosely' series, Tangled-Up-In-Blue pays tribute to the ledgenday Bob Dylan; singer-songwriter, author, and visual artist. Limited edition of 50 (A1) and 25 (A0) Material printed with Océ flatbed machine using UV cured inks, Palight board (3mm)

William Carden-Horton Print - We-Are-The-Champions
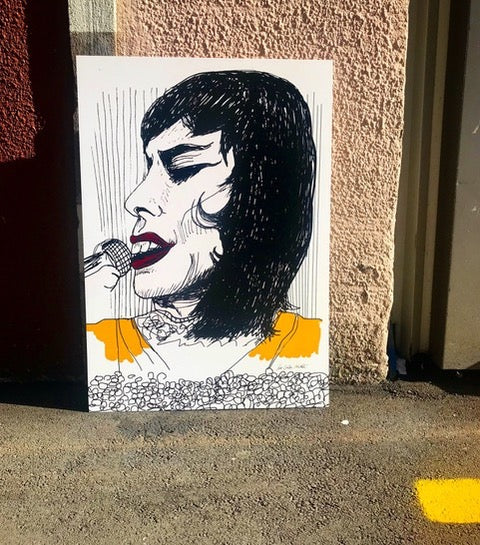
William Carden-Horton Print - We-Are-The-Champions
$449.00
From artist William Carden-Horton's 'Holding My Pen Loosely' series, We-Are-The-Champions honours song writer and lead singer of one of rock's most recognisable anthems, mastery Freddie Mercury - long live Freddie! Limited edition of 50 (A1) and 25 (A0) Material printed with Océ flatbed machine using UV cured inks, Palight board (3mm)

Willowby Cube
Willowby Cube
$389.00
New Season Colour - Carbon Channelling a cool ’70s vibe, the Willowby Cube is one of the most versatile pieces you’ll own. Use it as a side table, magazine rack, footstool, or extra seat - it’s the same height as a standard chair. Strong and durable, it’s sturdy enough to stand on when you need a little extra reach. When grouped together, multip...
Willowby Hardtop
Willowby Hardtop
$499.00
The Willowby Hardtop carries the same playful 70s-inspired vibe as its forerunner, the Willowby Cube — and just as many uses. Versatile and compact, it works beautifully as a side table with magazine rack, a footstool, or an extra seat for that unexpected guest (with the same seat height as a standard chair). Strong enough to stand on to reach h...
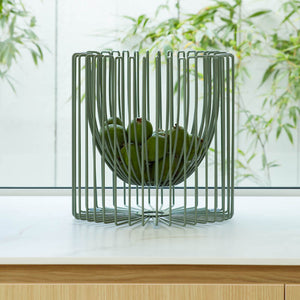
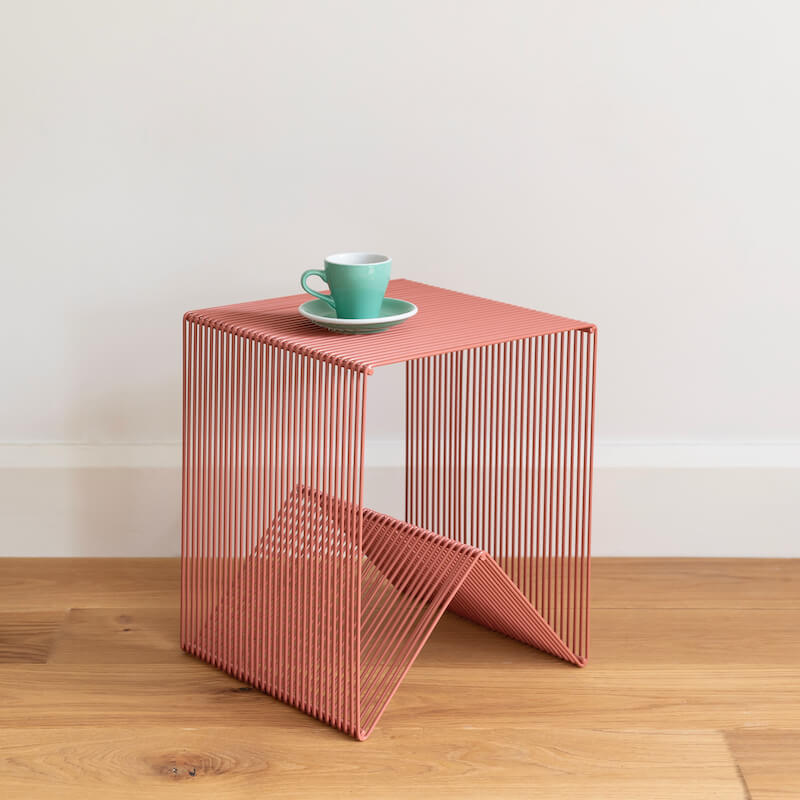
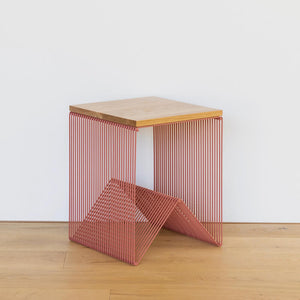
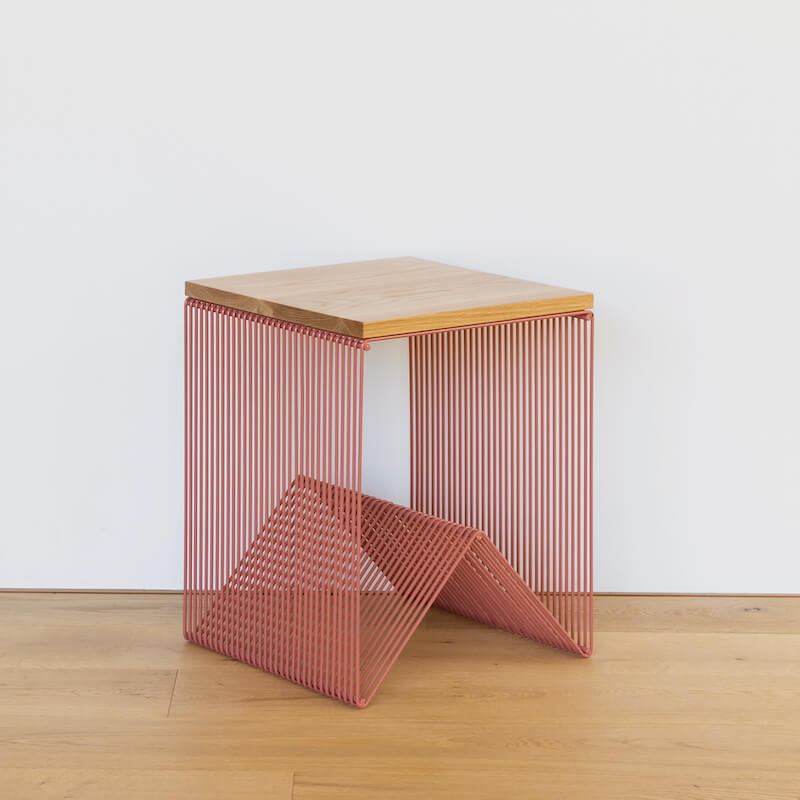
Wire Fruit Bowl

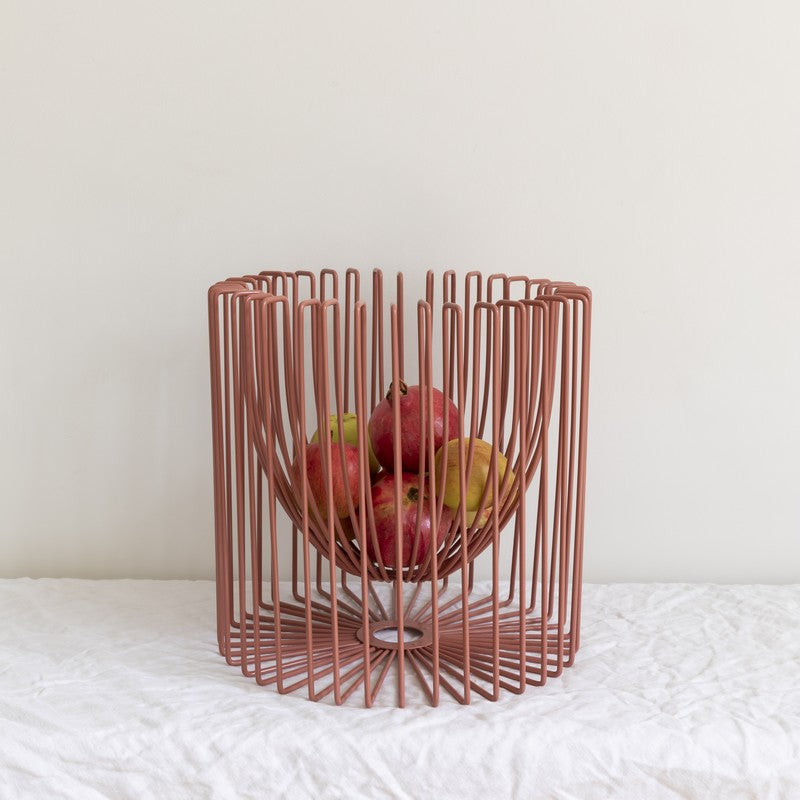
Wire Fruit Bowl
$169.00
Sculptural and striking, the Wire Fruit Bowl is crafted using traditional hand-shaping techniques. Its clever inner bowl design makes your fruit appear to float in mid-air, creating a stunning focal point for your kitchen or dining area. Versatile and eye-catching, it’s also perfect for showcasing a prized pot plant, adding interest wherever it’...
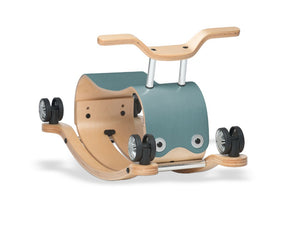
Wishbone Flip

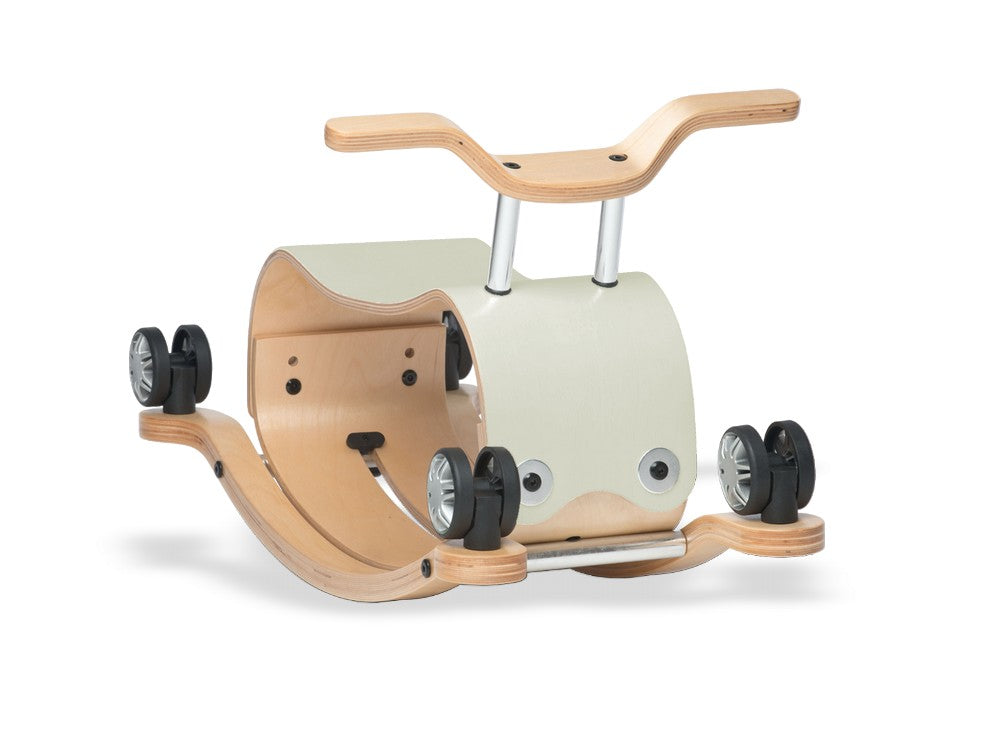
Wishbone Flip
$199.00
Wishbone Flip is an award-winning 2-in-1 rock & roll toy, ideal from 1 to 5 years. With an innovative flipping mechanism, Flip converts from gentle rocker to exciting ride-on toy in seconds, no tools required. Wishbone Flip will entertain your preschooler for hours. Adjustable seat from 8.6" - 10.8" / 22 - 27.5cm. Assembled size and weight 2...
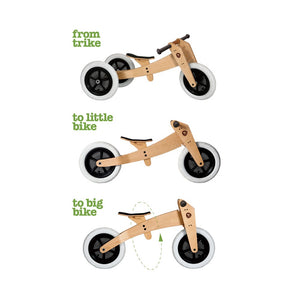

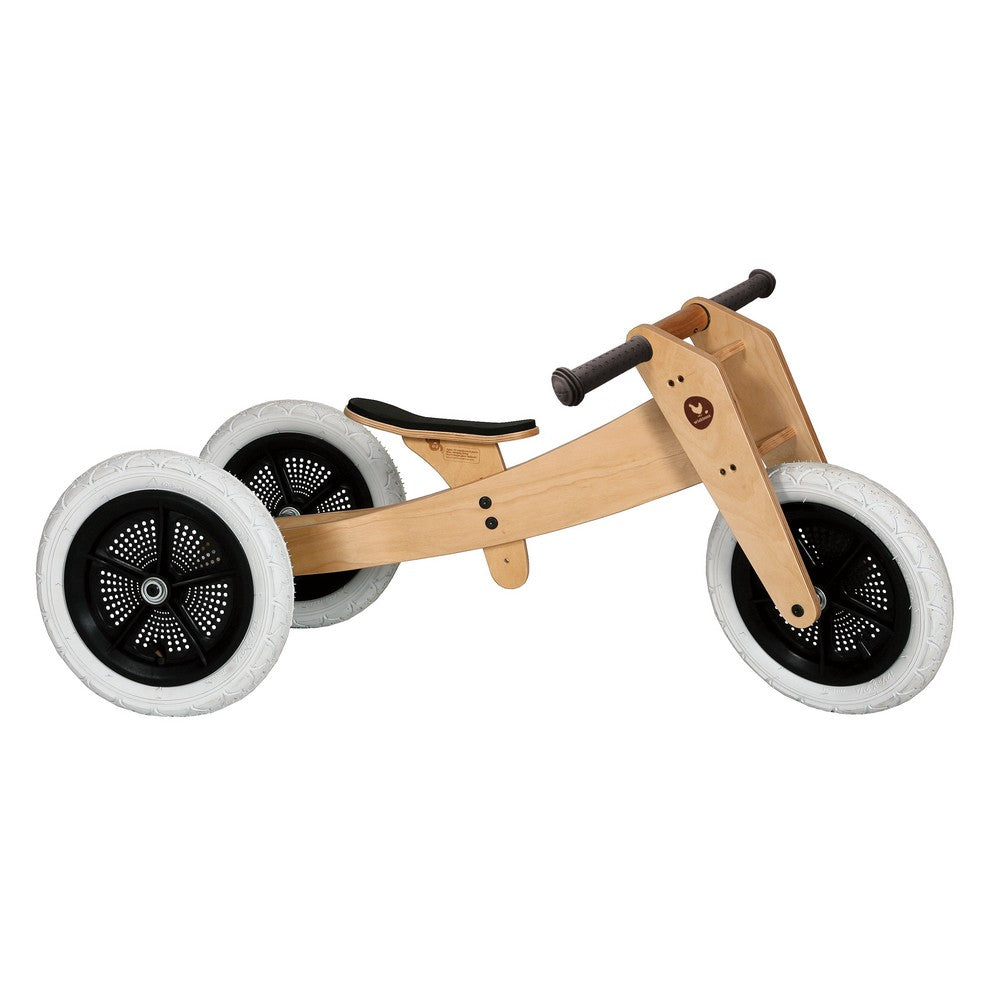
Wishbone Original 3n1 Balance Bike
$299.00
Wishbone Bike is the original 3-in-1 balance bike for kids learning to walk, balance and ride the easy way. This convertible trike-to-bike for kids is lightweight, durable and fully repairable. The highly adjustable frame fits perfectly from first birthday to 5 years old. Use in tricycle mode for infants learning to walk. Switch to a two wheele...


