Products


Collectible Stamp Magnets
$9.00
Featuring artwork by Tāmaki Makaurau/Auckland-based artist Glenn Jones, these vibrant Collectible Stamp Magnets bring a touch of nostalgia and Kiwi charm. With a range of unique designs to choose from, they’re lightweight, easy to send, and make the perfect little gift for friends and whānau near or far. Material metal & magnet Size 40 mm
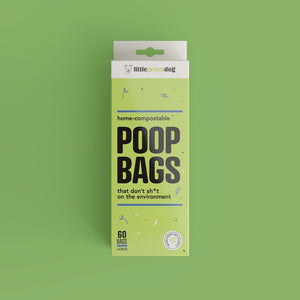
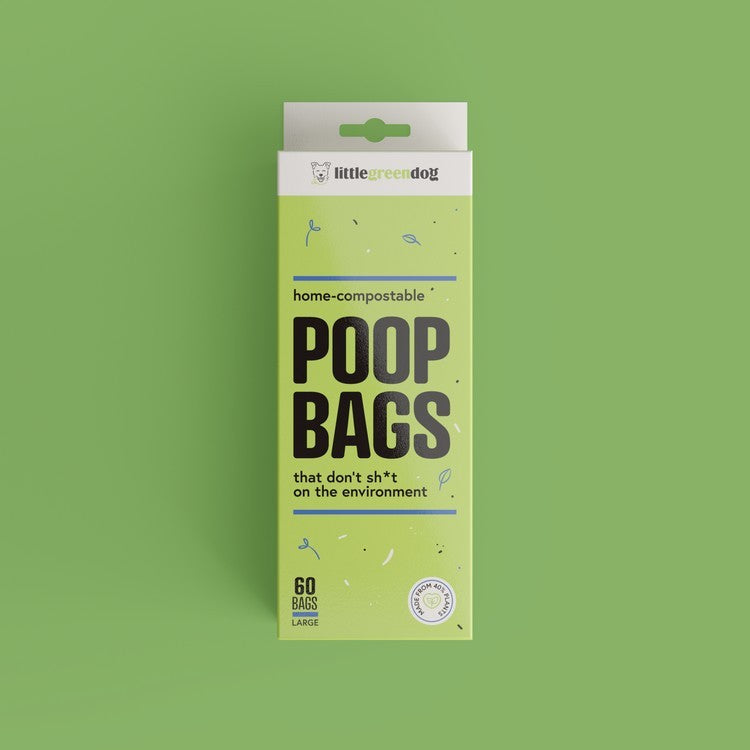
Compostable Poop Bags (60 Pack)
$20.00
Show our Earth the same love and care that you show your fur kids. Use these plant-based, fully biodegradable, 100% Compostable Poop Bags - so you clean up after your pup without sh*tting on the environment. Long story short: most of the biodegradable bags you see on shelves aren’t environmentally friendly at all. Instead, they’re made of plasti...

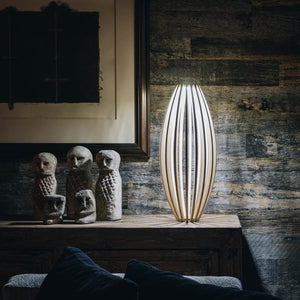
Conic Floor Light
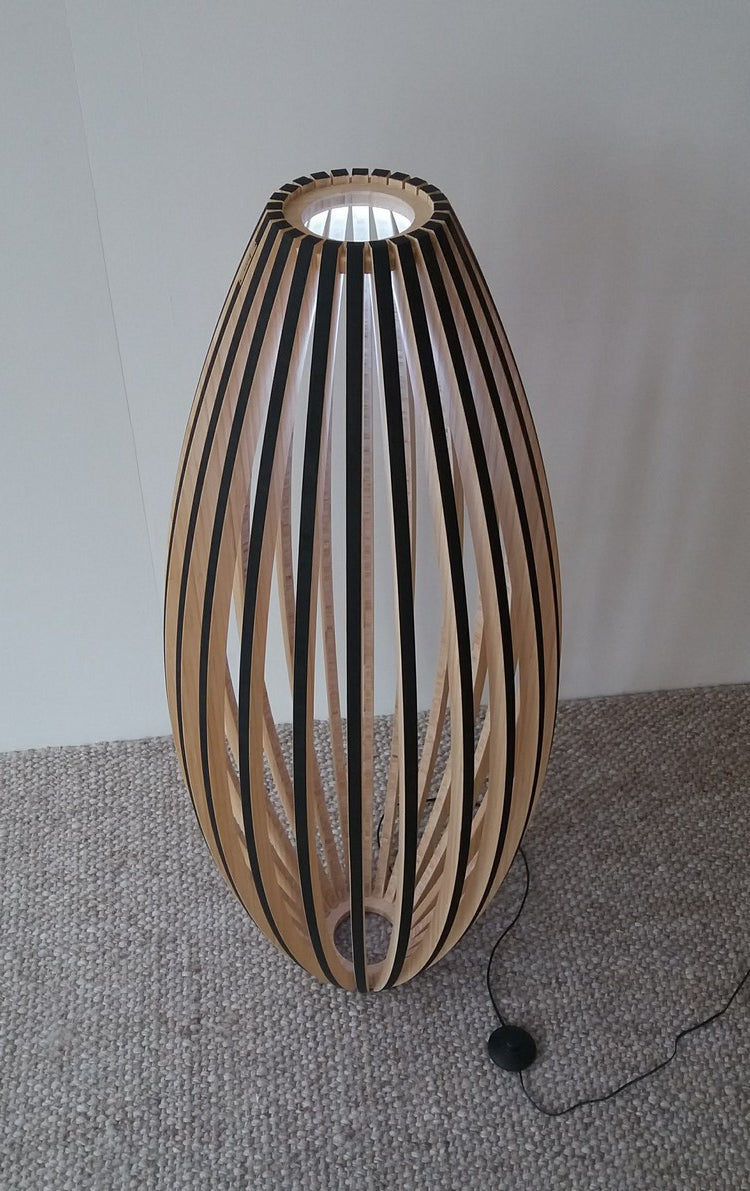
Conic Floor Light
$1,999.00
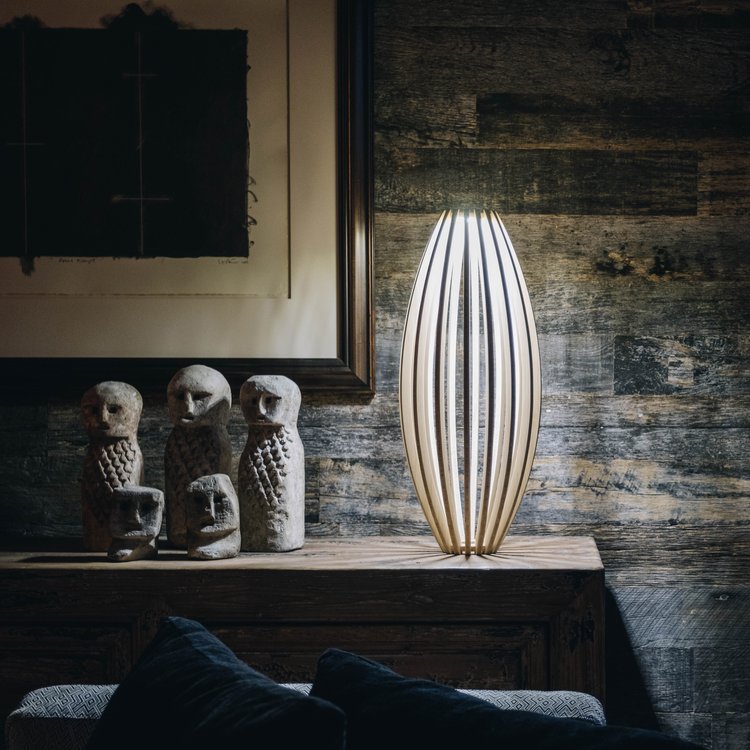
Timaru based designer, Gus Leen is hugely influenced by the texture, form and movement found in Nature. He draws on these three elements to inform his designs. Inspired by a simple acorn and the curvature of filaments in a ‘dolly light bulb’, the Conic floor light reflects the curvature found in Nature and this man-made light. By day the Conic i...
Conic Table Light

Conic Table Light
$699.00
Timaru based designer Gus Leen is hugely influenced by the texture, form and movement found in Nature. He draws on these three elements to inform his designs. Inspired by a simple acorn and the curvature of filaments in a ‘dolly light bulb’, the Conic table light reflects the curvature found in Nature and this man-made light. By day the Conic is...

Connor Dining Table
Connor Dining Table
$7,199.00
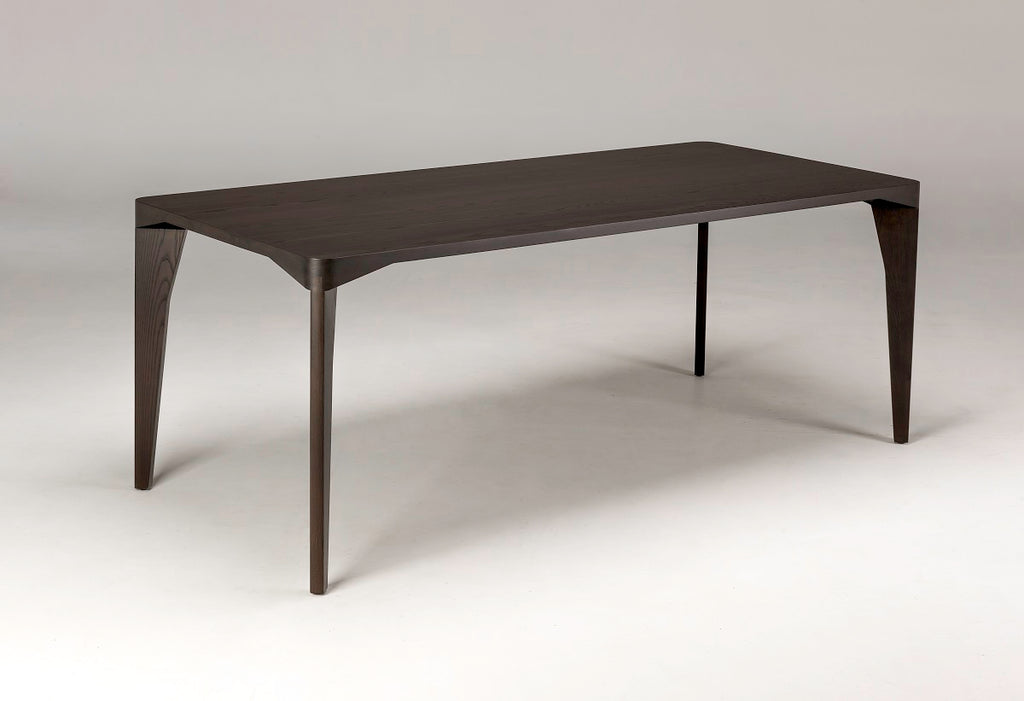
Crafted entirely from solid American ash timber, the Connor Dining Table is a true celebration of craftsmanship and natural beauty. With its softened edges, smooth matte finish, and the rich grain patterns unique to each piece, every table tells its own story - a refined elegance that brings the designer’s vision to life. Available in five stand...
Contessa Console
Contessa Console
$2,599.00
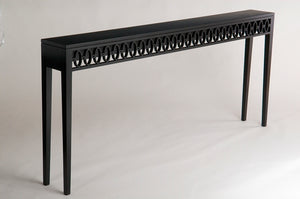
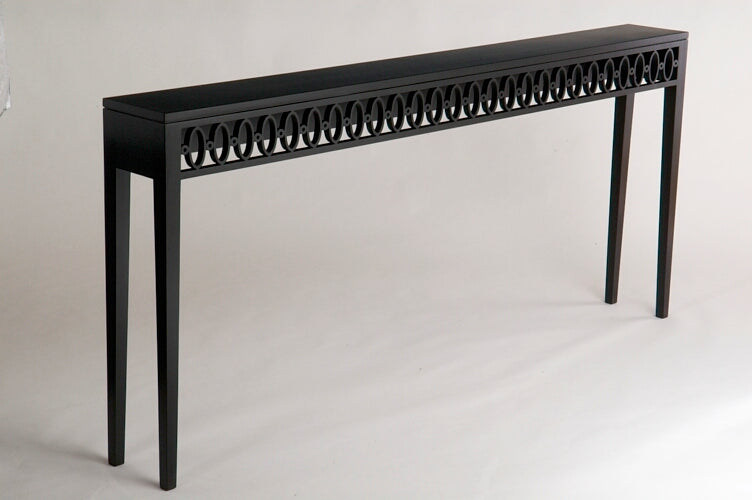
Crafted from solid ash, the Contessa Console features a unique laser-cut design and elegantly tapered legs, making it a standout piece in any space. Perfect for placement behind a sofa, down a hallway, or in other hard-to-fill areas, it offers both style and functionality. Available in five standard sizes, you select your preferred stain to comp...
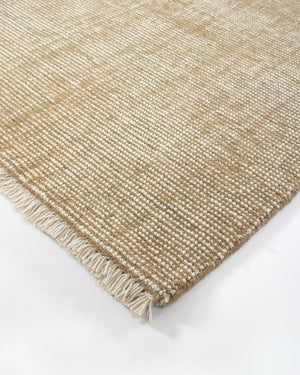
Corbett Floor Rug

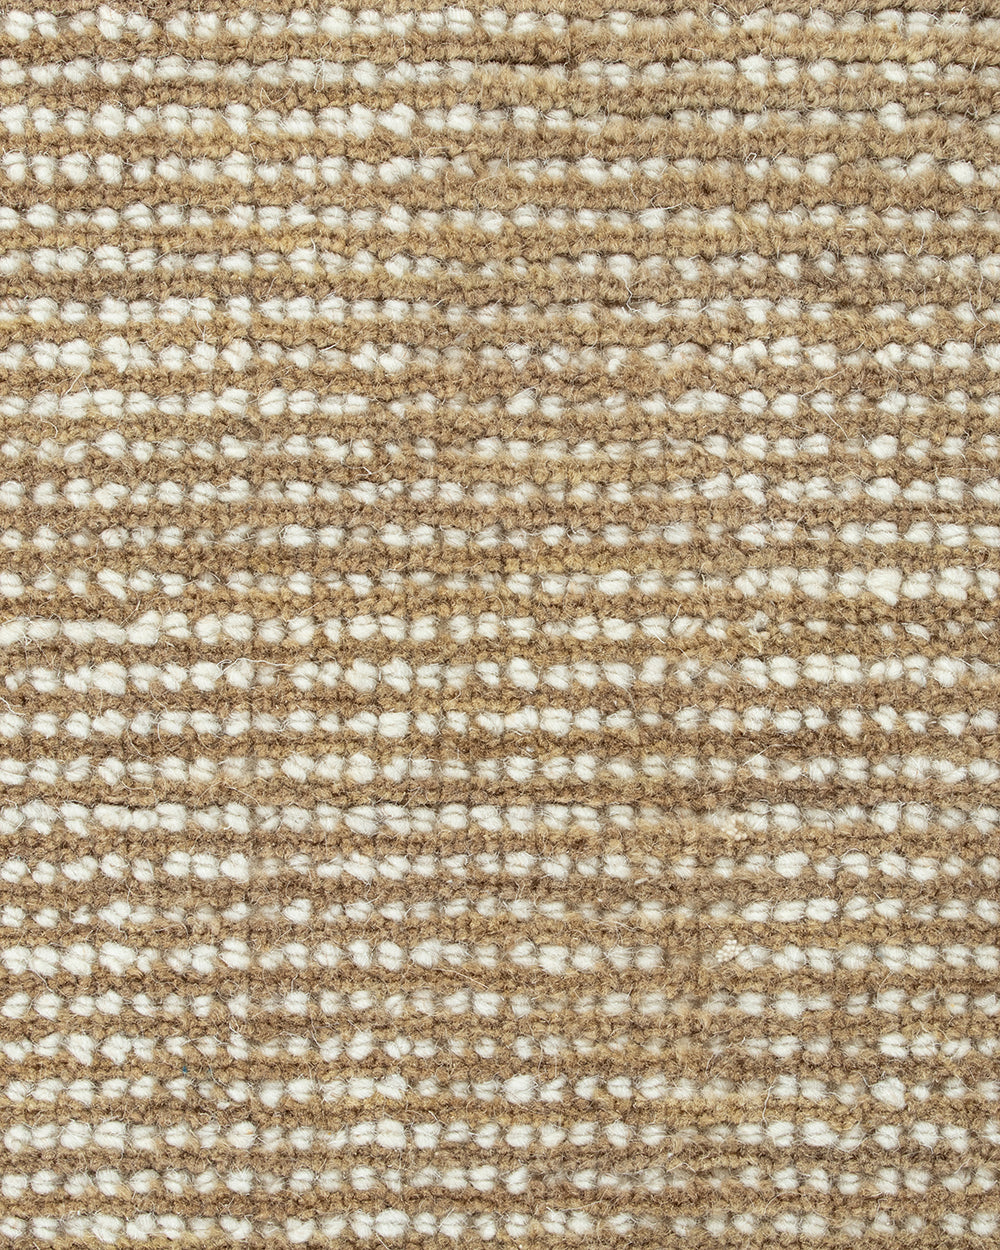
Corbett Floor Rug
$1,299.00
Handcrafted from pure New Zealand wool, the Corbett Floor Rug features a softly distressed design that brings vintage character to modern interiors. Its low pile height and subtle short fringe offer a refined finish, while the mottled texture adds depth, warmth, and a relaxed sense of ambience to any living space. Material 100% NZ wool with cott...

Coromandel Chair - Stainless Steel

Coromandel Chair - Stainless Steel
$699.00
Built for the wild beauty of New Zealand’s outdoors, Coromandel Chair in stainless steel is designed to stand up to coastal conditions — salty sea breezes, heavy rain, and humidity — making it a durable, low-maintenance companion for life outside. Equally at home indoors or out, Coromandel brings style and comfort to any setting. Perfect for sun...

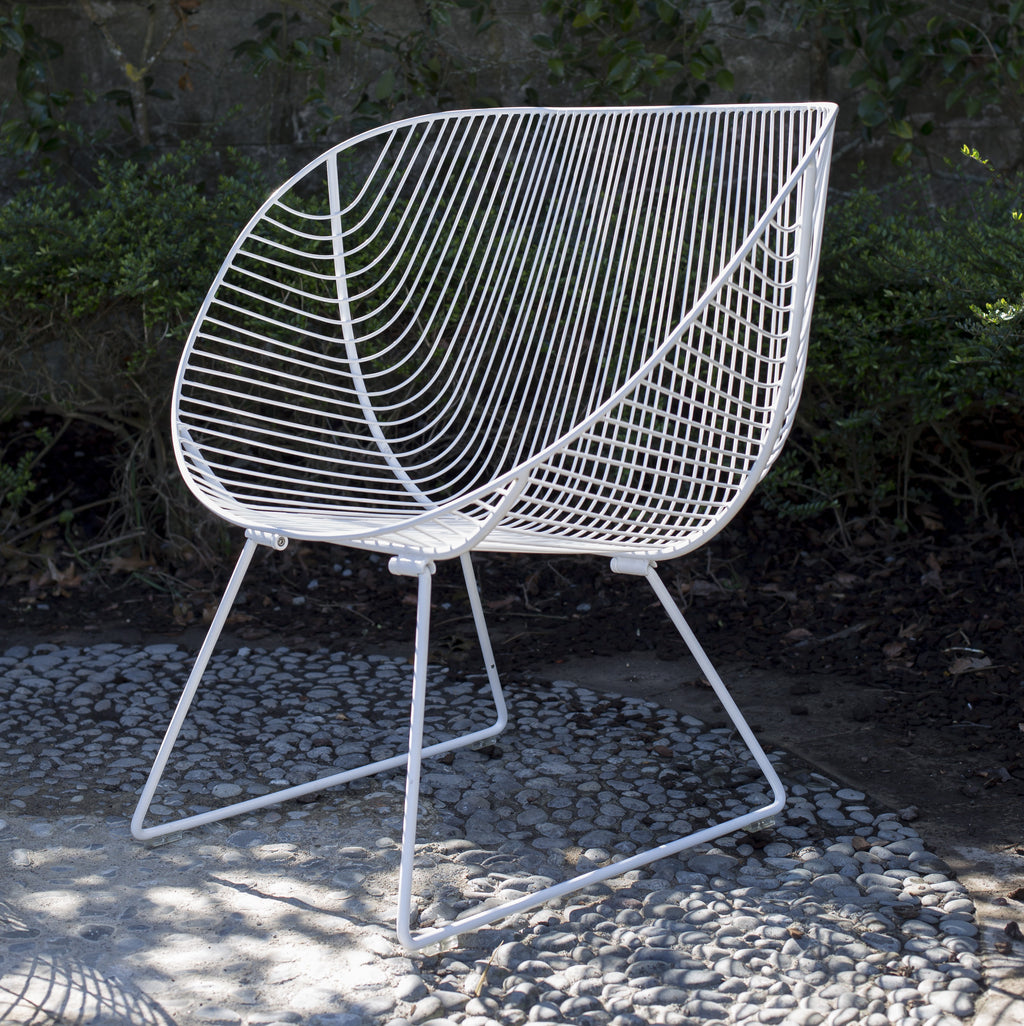
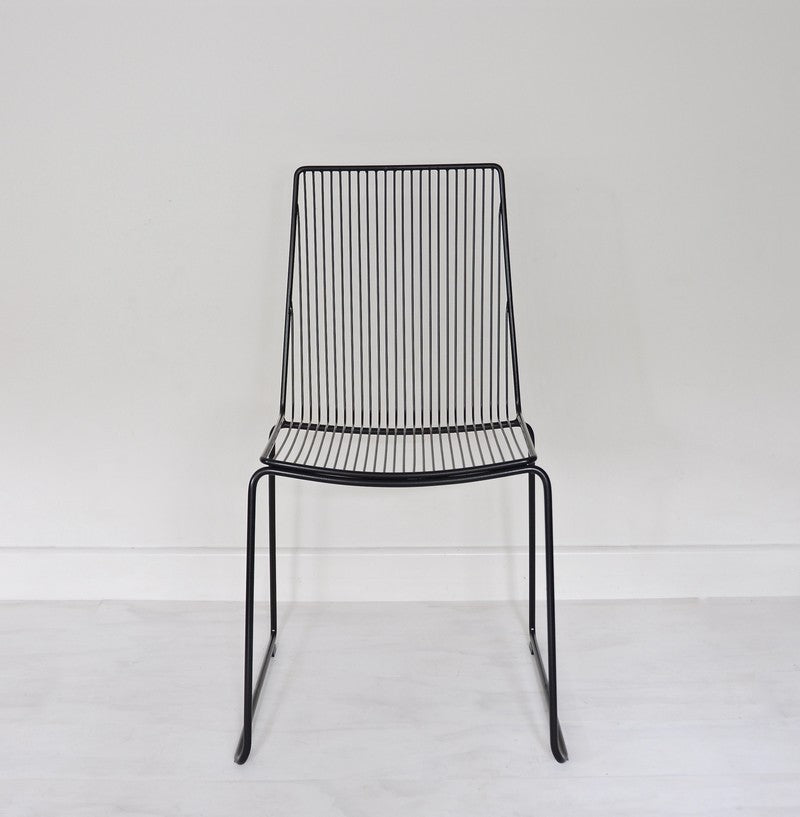
Coromandel Wire Chair

Coromandel Wire Chair
$539.00
A nod to 1960s design, the Coromandel Wire Chair is bold and sculptural, with a generously scooped seat and angled back that deliver both comfort and undeniable style. Each chair is individually handcrafted — its wires carefully shaped to balance strength, form, and everyday function. The wires are engineered and precisely spaced for comfort wit...

Corvo Side Table

Corvo Side Table
$699.00
The Corvo Side Table is a quietly confident accent piece, balancing refined materials with a purposeful, architectural form. Designed to sit effortlessly alongside sofas, armchairs, or beds, Corvo offers both function and visual clarity — available in two considered heights to suit different settings and seating depths. A solid circular ash timb...
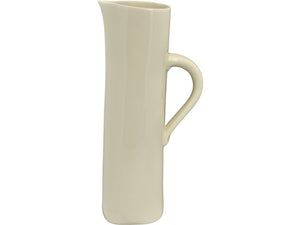
Cuba Jug
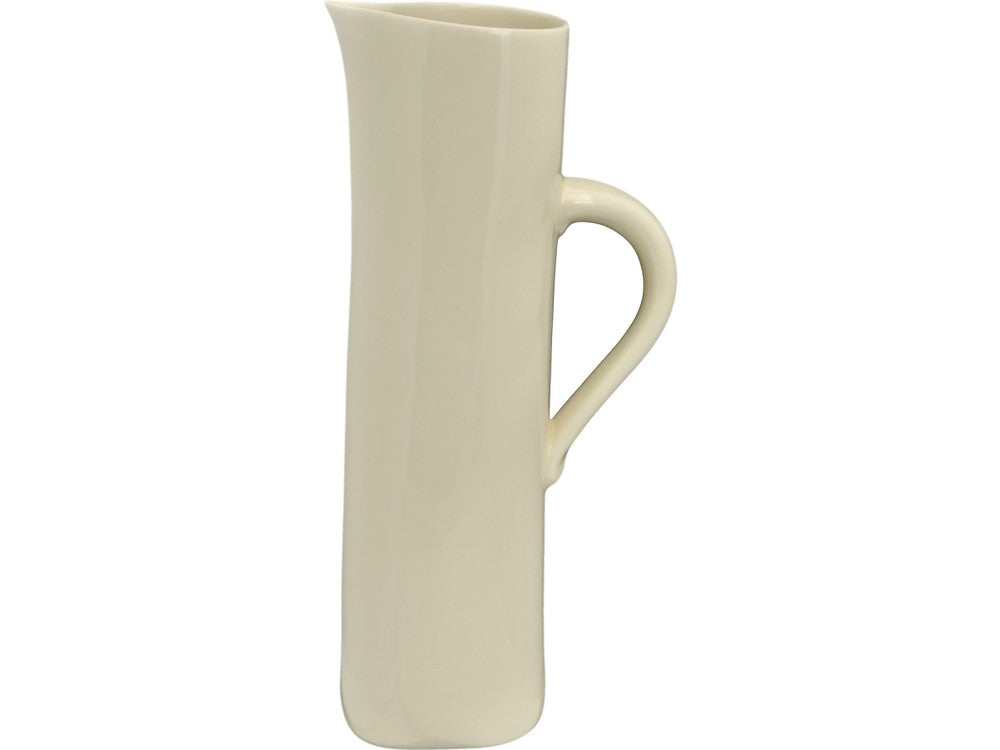
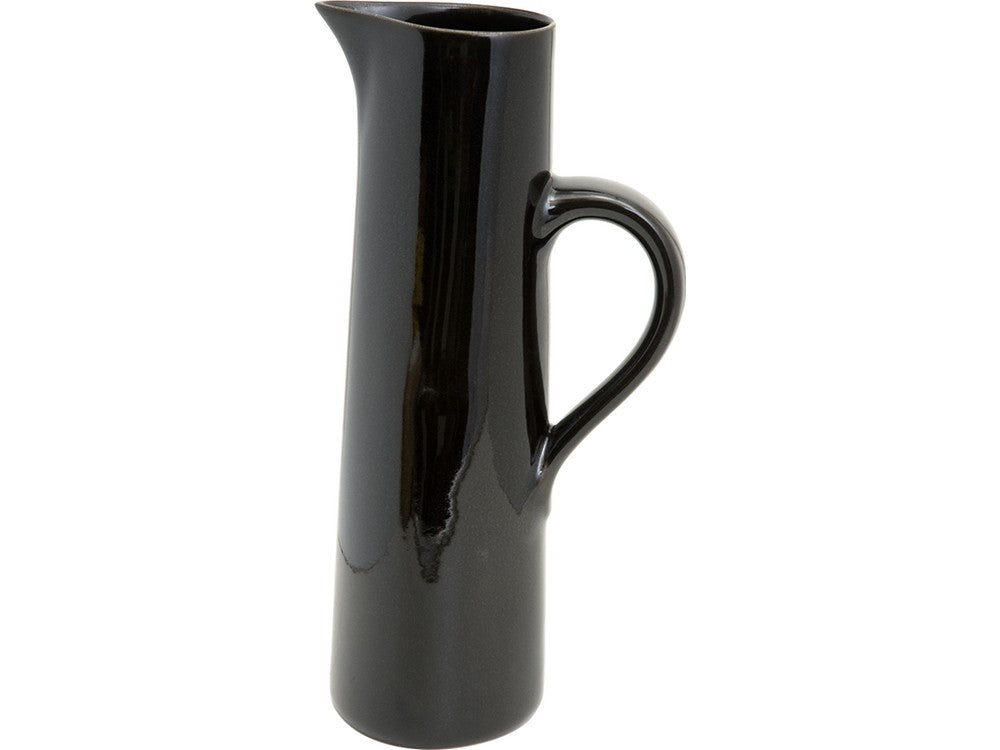
Cuba Jug
$149.00
Cuba Jug is a functional piece to adorn your table and other spaces - they work extremely well as a vase. Cuba Jug is part of this inspiring Kiwi's Pure Form series (no surface decoration). Material ceramic You may like other items in the Cuba range.
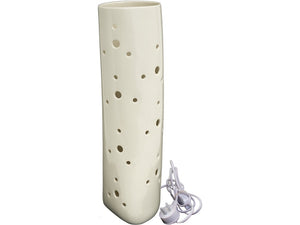
Cuba Table Light

Cuba Table Light
$379.00
Cuba table light brings a sense of the soft, plastic nature of clay that is often lost in the moulded production of pottery. Material ceramic Check out other items in the Cuba range
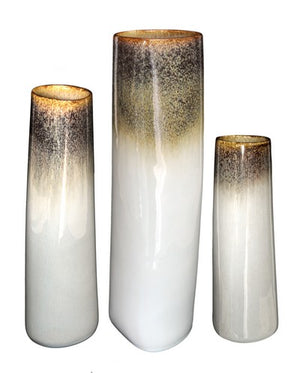
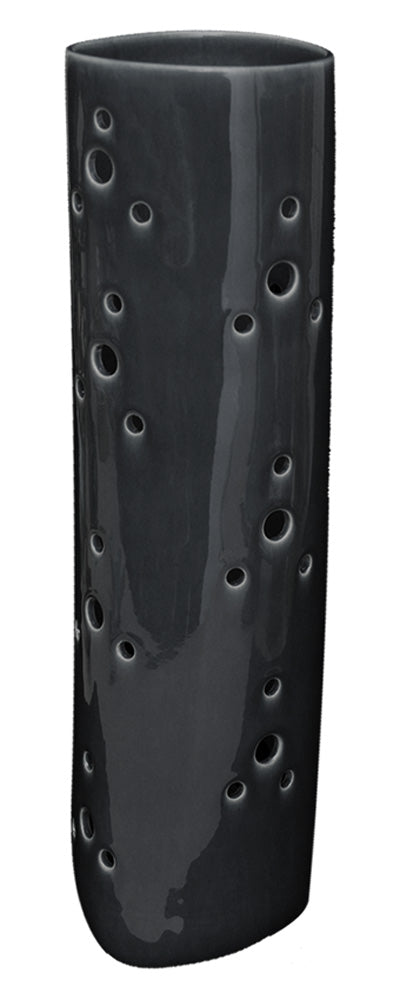
Cuba Vase

Cuba Vase
$139.00
Cuba Vase brings a sense of the soft, plastic nature of clay. At the same time it makes a bold and functional statement. Cuba Vase is part of this inspiring Kiwi's Pure Form series. Material ceramic You may like other items in the Cuba range.
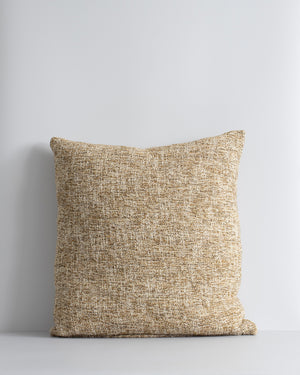
Cumbria Cushion

Cumbria Cushion
$109.00
Earthy colourways of marled yarn create the subtle tone of Cumbria cushion. Handwoven in a textural weave, the soft colourways and mottled effect make this a timeless style for restorative interiors. Material 50% cotton / 50% polyester (outer), feather (inner) Size 500 x 500 mm Check out other Essential cushions

Cutie Round Coin Purse
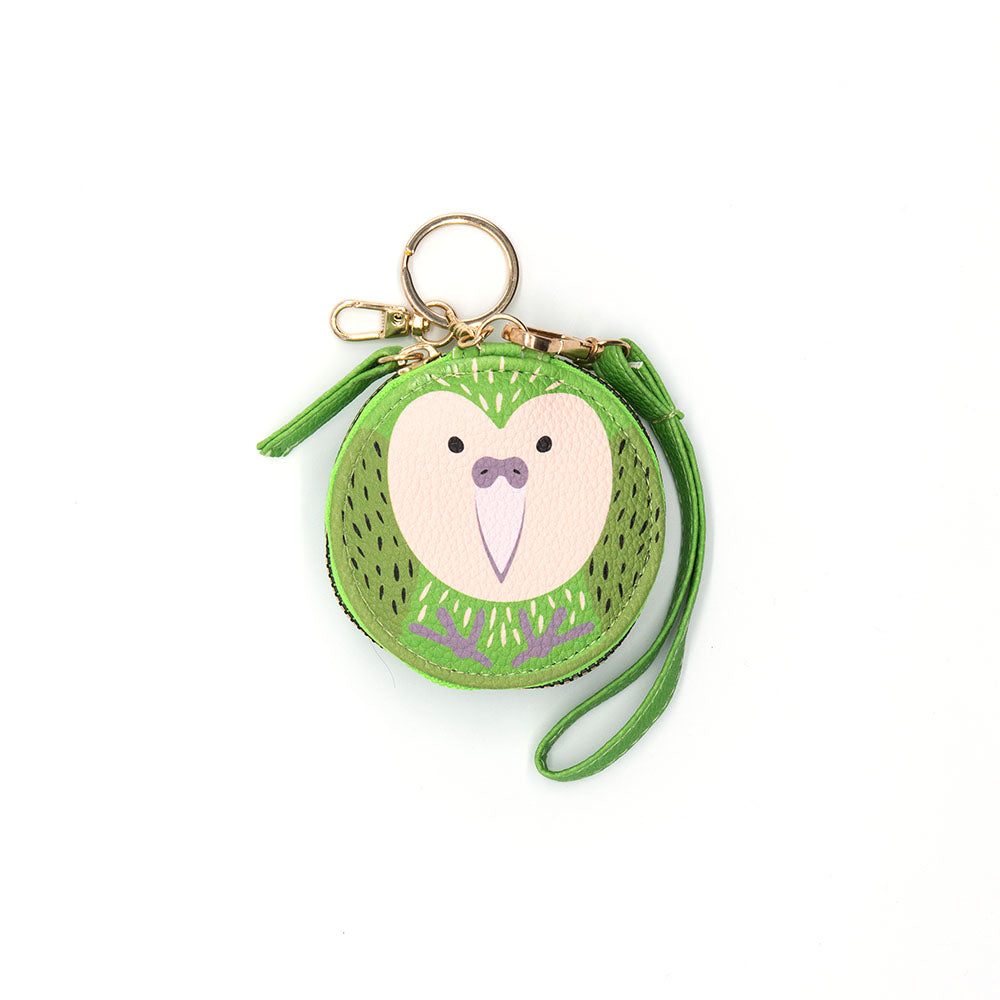
Cutie Round Coin Purse
$19.00
The Cutie Circular coin purse with adorable bird faces is a must-have accessory for all bird lovers and fashion enthusiasts alike. Ensuring that your coins and small goodies are kept safe and organised either inside your bag or clipped-on for handy access. Material vegan leather Size 80Dia mm
Cyprian Cushion
Cyprian Cushion
$129.00
Engage your senses with the soft, rustic texture of natural-fibre blend Cyprian cushion. The handwoven slub yarns offer a contemporary artisan aesthetic, while the seasonal colour tones keep your space modern and trend-forward. The minimal design makes Cyprian a versatile pairing cushion, or a beautiful feature when used on its own. Material 60%...

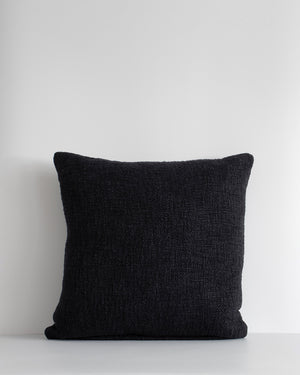
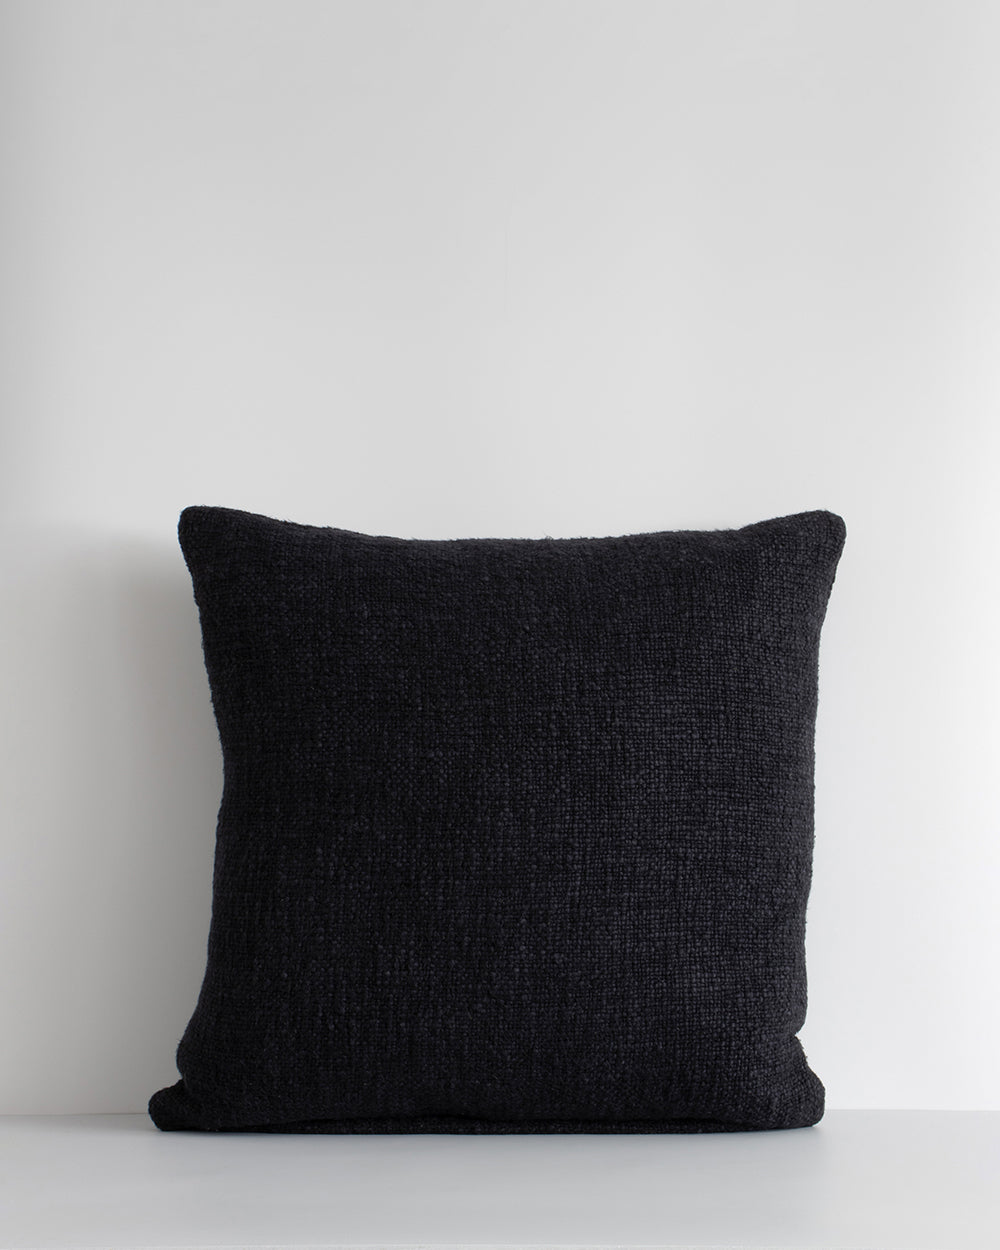
Dalton Square Cushion

Dalton Square Cushion
$119.00
Subtle texture and tonal depth define the Dalton square cushion, where a refined dobby weave meets understated design. Woven in a fine cotton pinstripe, irregular slubbed yarns create a softly textured surface rich in natural character. Available in chocolate, warm oat, or olive paired with ecru, Dalton offers a versatile, grounded palette suite...

Darcy Solia Print - Mothers

Darcy Solia Print - Mothers
$299.00
After graduating from Massey University’s School of Design in the late nineties, Darcy Solia began his career as a freelance illustrator. Working across both digital and traditional mediums, Darcy explores a wide range of styles. As a New Zealand–born Samoan, he often creates Pacific-inspired artworks, though his influences are as varied as his ...
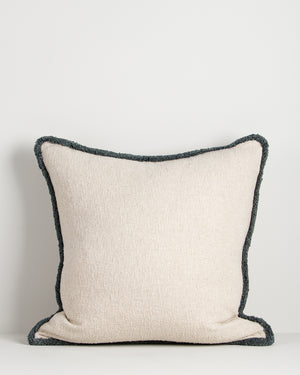
Darcy Square Cushion
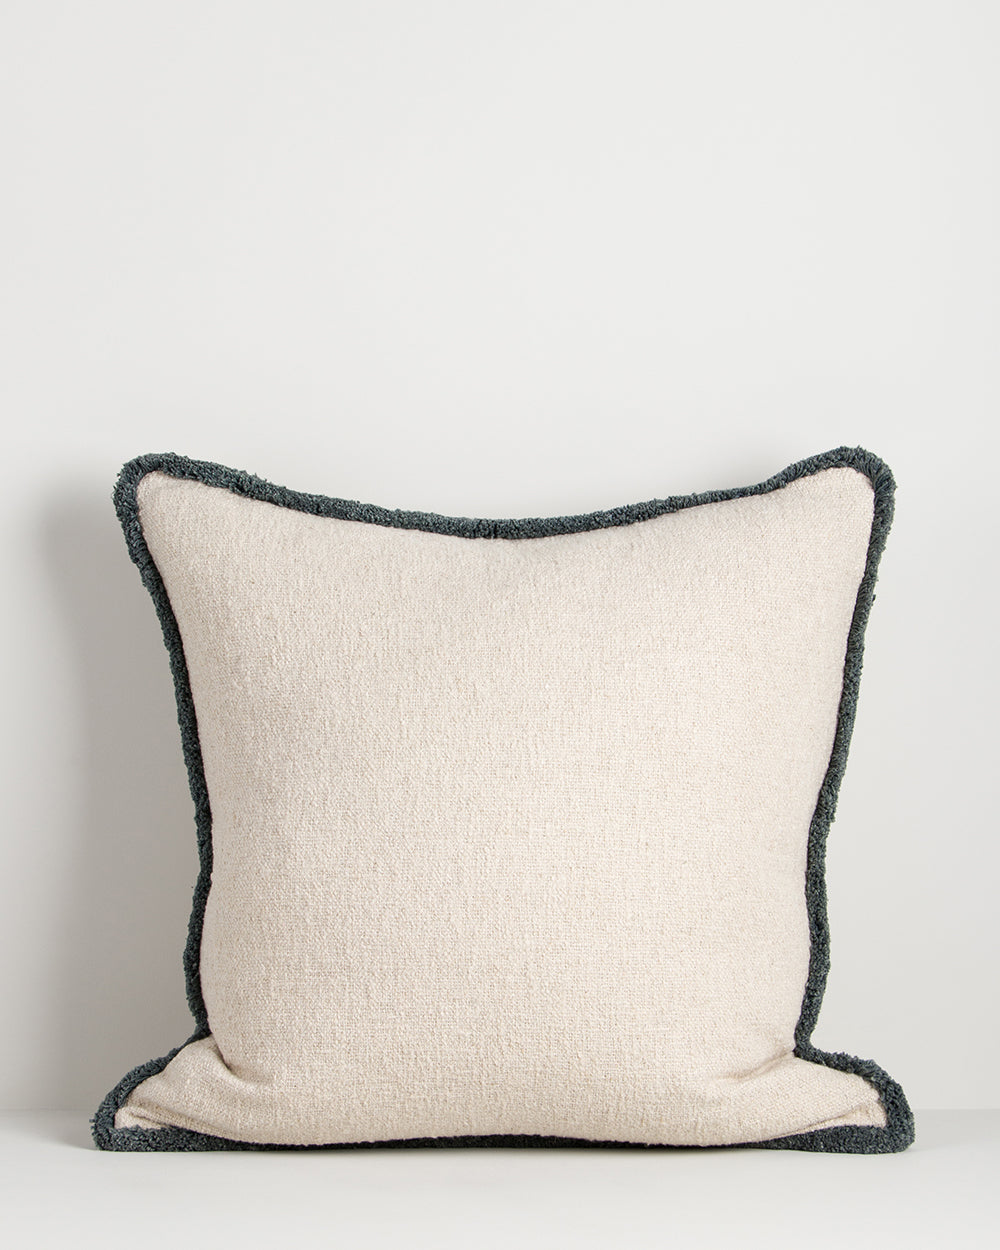
Darcy Square Cushion
$139.00
Featuring a soft, off-white bouclé base framed by a chunky cotton fringe, the Darcy square cushion combines inviting texture with a generous size, making it perfect for effortless layering. Subtle fringe tones introduce gentle contrast and depth, bringing a refined yet relaxed aesthetic to interior spaces. Material 50% cotton, 40% recycled polye...

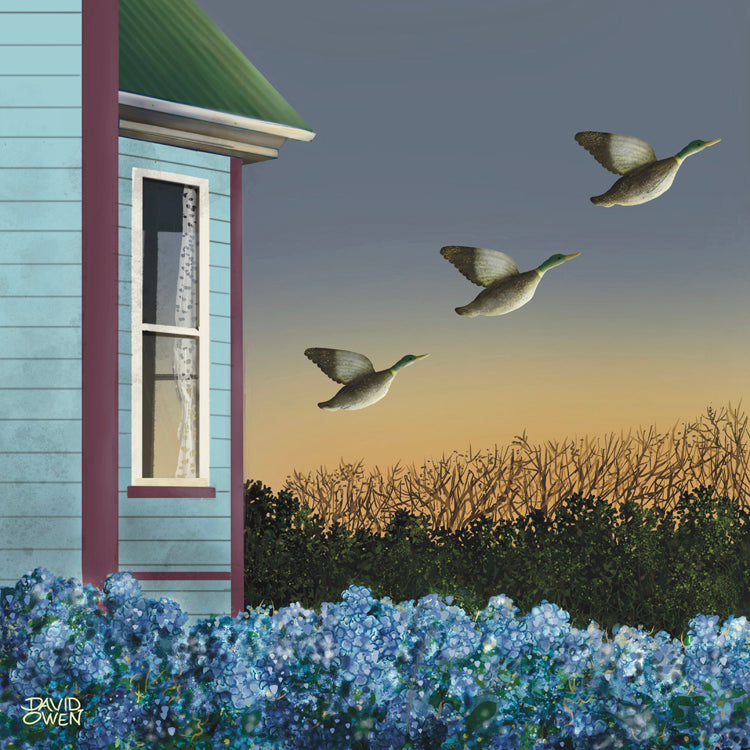
David Owen print - Dawn Departure
$199.00
David Owen studied graphic design at the Wellington School of Design in the 1980's. After his studies he worked for Wellington Newspapers as a graphic designer and illustrator. Moving on from print media, he spent nearly 11 years as a special effects digital artist at Weta Digital Studios. He started as a rotoscope artist, then as a texture arti...
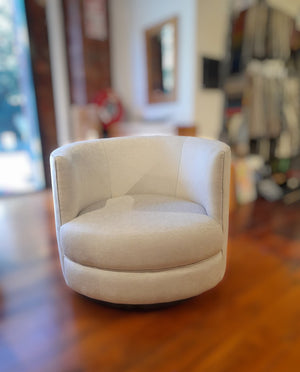
Day Spa Swivel Occasional Chair

Day Spa Swivel Occasional Chair
$2,899.00
Compact yet exceptionally comfortable, the Day Spa Swivel Occasional Chair is designed to suit a variety of settings. Its sleek, modern form invites you to sit back, relax, and swivel effortlessly. Whether you're unwinding with a book or engaged in conversation, this chair provides lasting support for hours of comfort. Frame kiln-dried, furnitur...
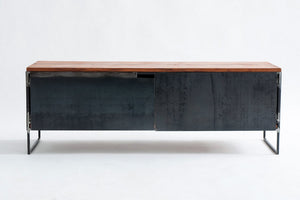
Delta Unit
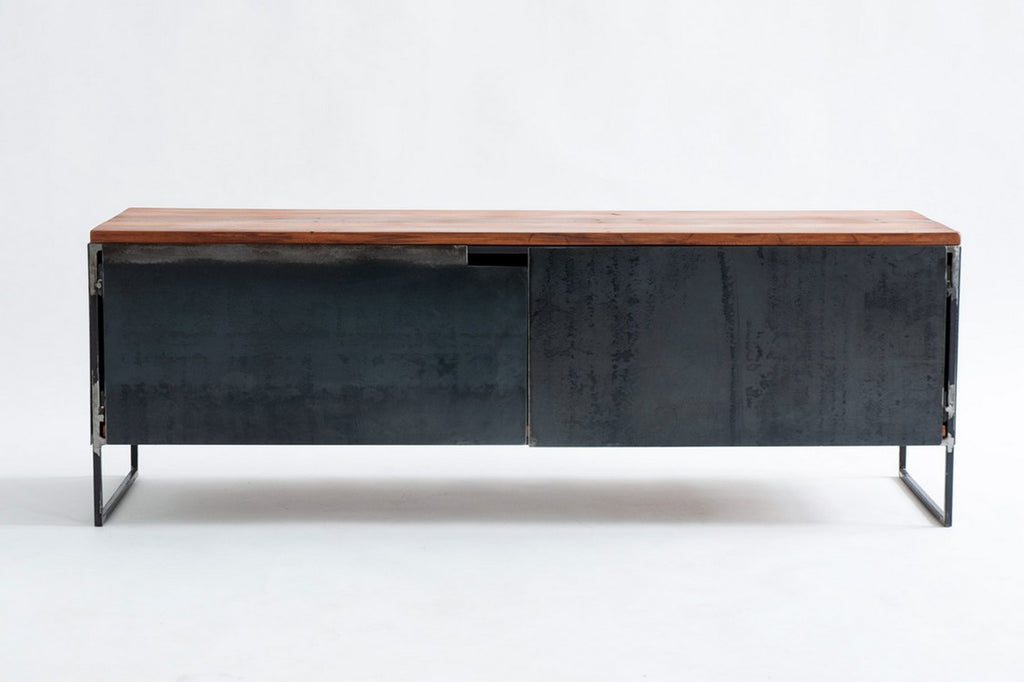
Delta Unit
$2,999.00
The Delta Entertainment Unit balances functionality with understated elegance. With its low profile and extended width, it works beautifully as both a sleek entertainment unit and a versatile indoor bench seat. Handcrafted in Tāmaki Makaurau / Auckland, each unit is unique. The top is made from salvaged rimu or plywood, finished in rich Danish o...

Devonport Wire Chair
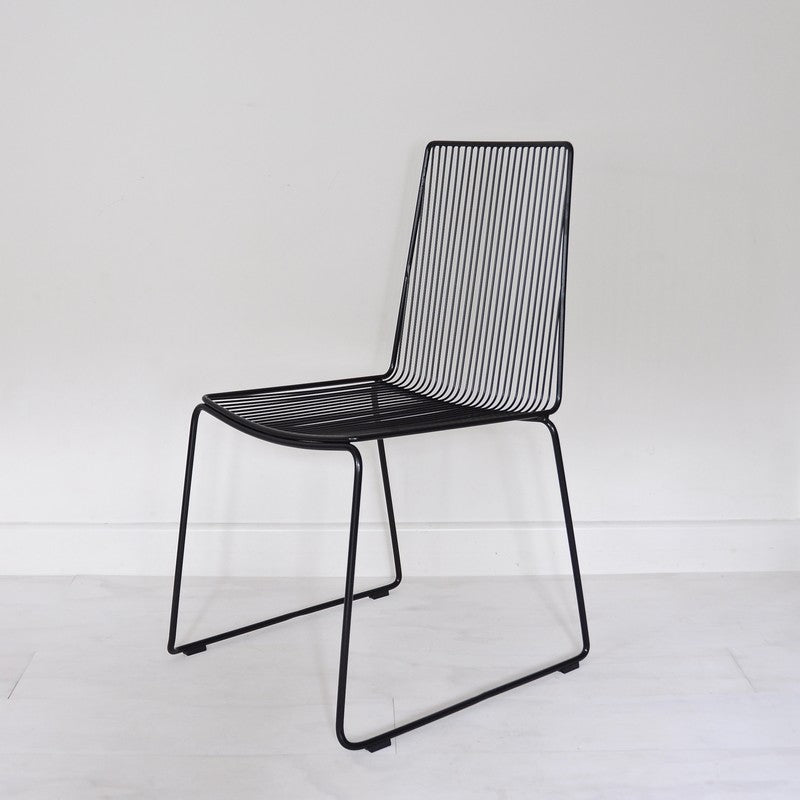
Devonport Wire Chair
$399.00
Simple, clean, and remarkably versatile, the Devonport Wire Chair fits seamlessly into a range of architectural and interior settings. When not in use, the chairs stack neatly for easy storage. The wires are engineered and precisely spaced for comfort without the need for extra cushioning. That said, for added softness and a touch of texture, si...

Dibber Planting Tool
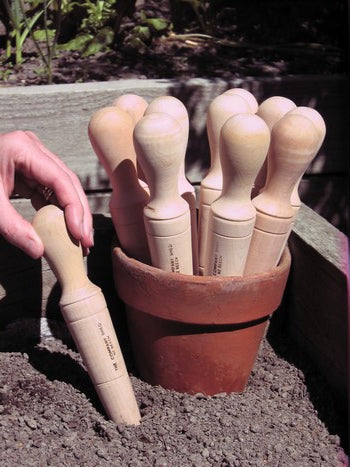
Dibber Planting Tool
$19.00
Reintroducing an old fashioned gardening tool that makes the planting of vegetables, bulbs and crops much easier. With grooves that indicate planting depths of 5, 10 and 15cm, simply insert Dibber into the soil to make a hole, rotate to make a larger hole, remove and then plant your various plants or bulbs. Made in New Zealand Material sustainab...

Diesel High Back Occasional Chair
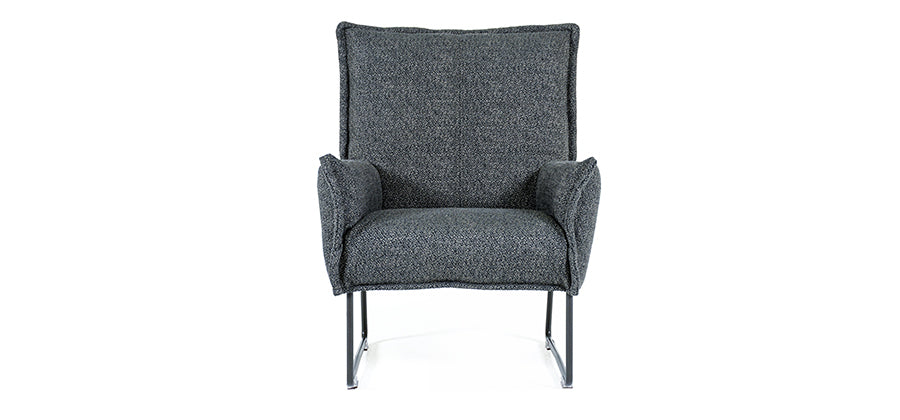
Diesel High Back Occasional Chair
$2,799.00
The Diesel High Back Occasional Chair doesn’t rely on gimmicks — it excels at doing one thing exceptionally well; providing uncompromised comfort. Ergonomically designed, its high back delivers luxurious support where it’s needed most, making it a chair that invites rest and relaxation. Modern elements keep the Diesel feeling current — a fully s...
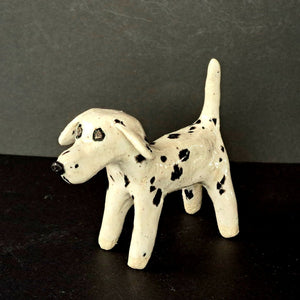
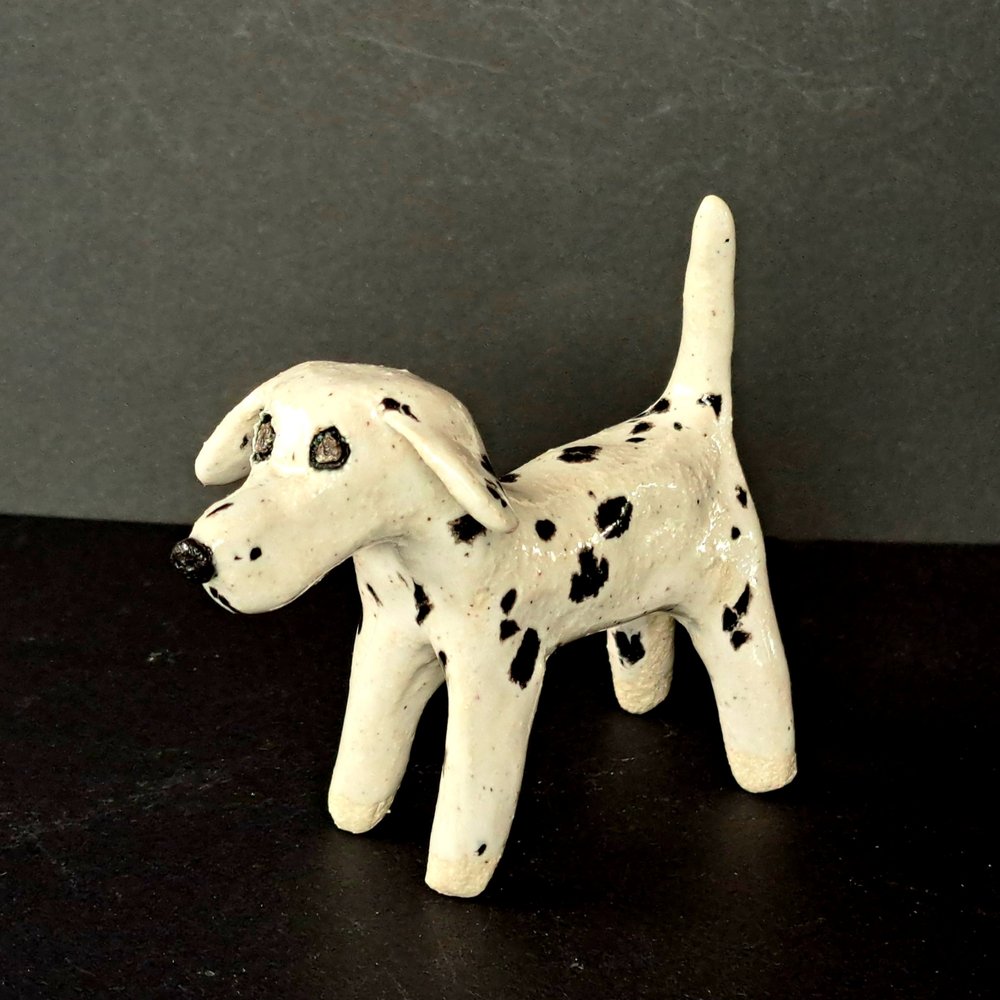
Dirty Dog Incense Holder ceramic
$49.00
The Dirty Dog Incense Holder ceramic was inspired by a trip to the vet. This doggie holds an incense stick where the vet puts the thermometer (three mini incense sticks are included). Hand sculpted from New Zealand clay and finished with a glossy glaze, each Dirty Dog is unique. Images shown are samples only, please contact us for details of cur...

Dodo Model - Blue Whale

Dodo Model - Blue Whale
$19.00
Despite age, anyone can befriend a dodo cardboard model. It's an excitement-filled activity, where you will unravel a 3D-model right in front of your eyes. Parents, it is suggested that you make the dodo model together with your children, as it's a great outlet for family bonding. Amaze yourselves as you witness the cardboard pieces come to life...

Dodo Model - Bumblebee
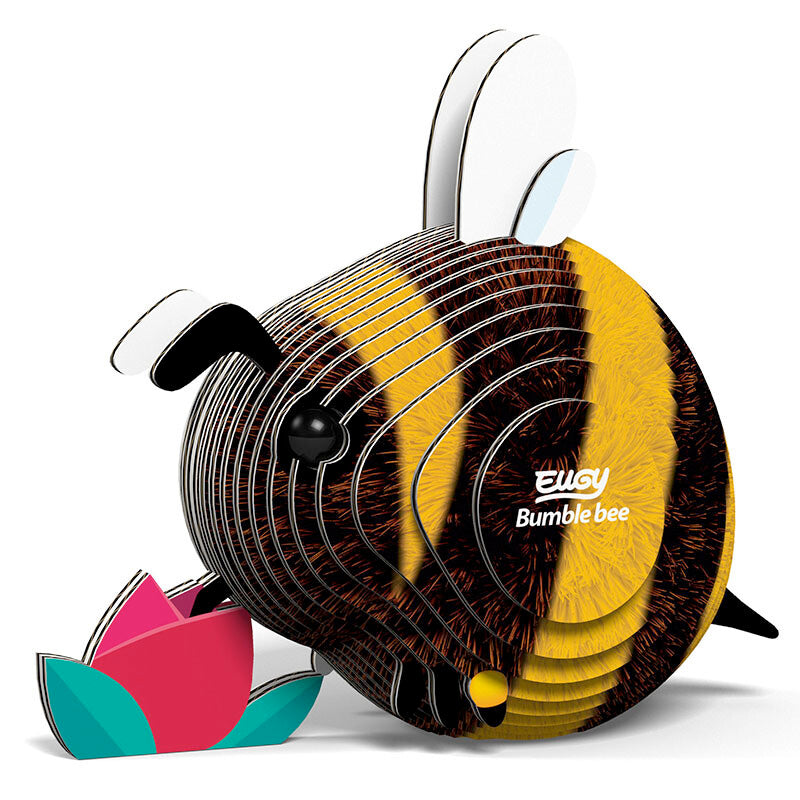
Dodo Model - Bumblebee
$19.00
Despite age, anyone can befriend a dodo cardboard model. It's an excitement-filled activity, where you will unravel a 3D-model right in front of your eyes. Parents, it is suggested that you make the dodo model together with your children, as it's a great outlet for family bonding. Amaze yourselves as you witness the cardboard pieces come to life...

Dodo Model - Lion

Dodo Model - Lion
$19.00
Despite age, anyone can befriend a dodo cardboard model. It's an excitement-filled activity, where you will unravel a 3D-model right in front of your eyes. Parents, it is suggested that you make the dodo model together with your children, as it's a great outlet for family bonding - together, witness the cardboard pieces come to life! The 'King o...
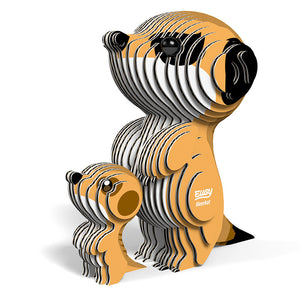
Dodo Model - Meerkat

Dodo Model - Meerkat
$19.00
Despite age, anyone can befriend a dodo cardboard model. It's an excitement-filled activity, where you will unravel a 3D-model right in front of your eyes. Parents, it is suggested that you make the dodo model together with your children, as it's a great outlet for family bonding. Amaze yourselves as you witness the cardboard pieces come to life...
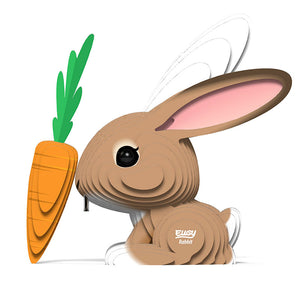
Dodo Model - Rabbit

Dodo Model - Rabbit
$19.00
Despite age, anyone can befriend a dodo cardboard model. It's an excitement-filled activity, where you will unravel a 3D-model right in front of your eyes. Parents, it is suggested that you make the dodo model together with your children, as it's a great outlet for family bonding - together, witness the cardboard pieces come to life! Rabbits are...
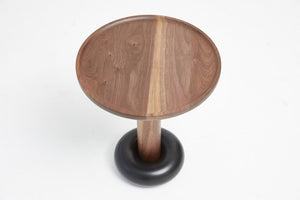
Donut Side Table

Donut Side Table
$1,499.00
The circular top and base of the Donut Side Table is linked by a solid walnut dowel. Also made of walnut, the table top is hand-turned in New Zealand and offers a practical moulded lip to prevent precious items slipping off the side. The unique base creates a fun detail in what is a clean, hand-crafted design. Made from a repurposed exhaust pipe...


