* Annual SALE : 1-31 March 2025. Save 15% Online by using the code 'MARCH15%OFF' at checkout. Excludes : Bart de Vries, Gus Leen, Tim Webber, tailor-made, gift vouchers and items already reduced. No refunds or exchanges on sale items.
* SALE Code : MARCH15%OFF
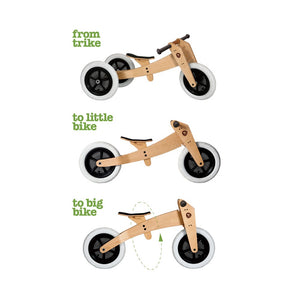

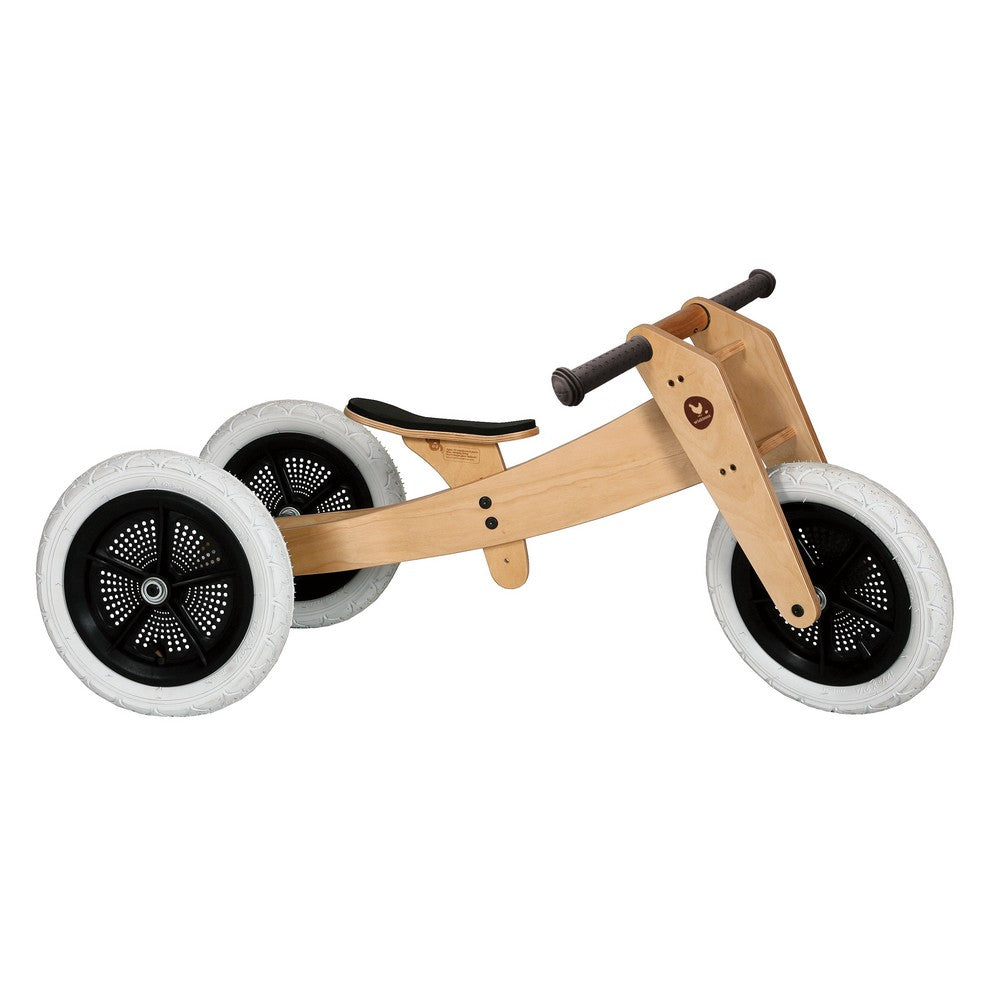
Wishbone Original 3n1 Balance Bike
$299.00
Wishbone Bike is the original 3-in-1 balance bike for kids learning to walk, balance and ride the easy way. This convertible trike-to-bike for kids is lightweight, durable and fully repairable. The highly adjustable frame fits perfectly from first birthday to 5 years old. Use in tricycle mode for infants learning to walk. Switch to a two wheele...
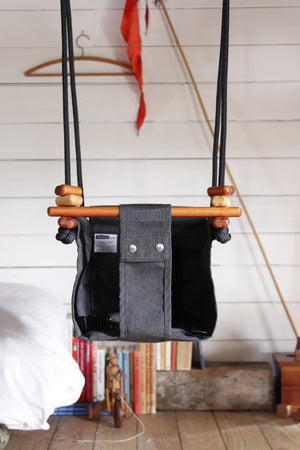
Solvej Baby & Toddler Swing


Solvej Baby & Toddler Swing
$289.00
Babies and children love to swing! Solvej Baby & Toddler Swing is a timeless design, skillfully crafted without compromise for safety, durability, functionality and beauty. Equally at home indoors and out, the swing features carbine hooks and screw eyes for easy transition between the two. Suitable for ages 6 months to 6 years (when the baby...

Pellé Leather Cleaner
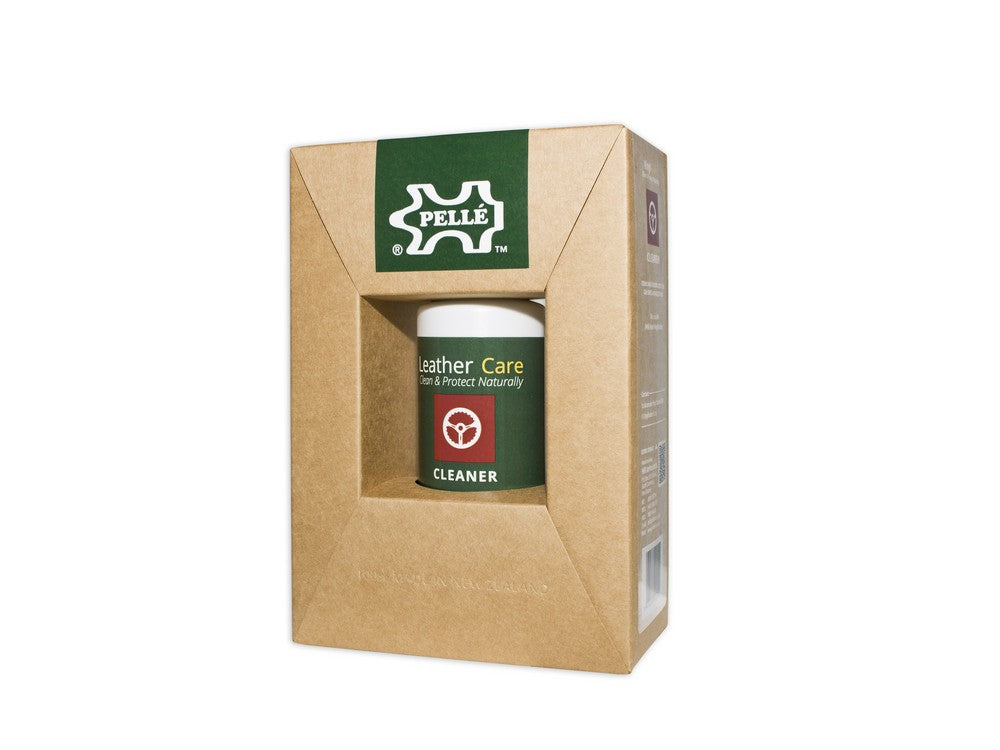
Pellé Leather Cleaner
$22.00
Pellé Leather Cleaner deep cleans both waxed / oiled, and finished leather upholstery; removing body oils, grease and dirt. The cleaning effectiveness and colour fastness has been proven against international standards by the New Zealand Leather & Shoe Research Association (LASRA) operating under ISO 9002 & ISO/EMC 17025. Use every three...
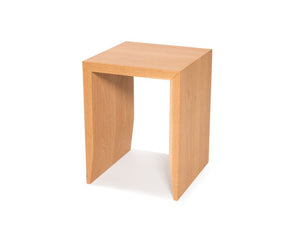
LD Stool

LD Stool
$699.00
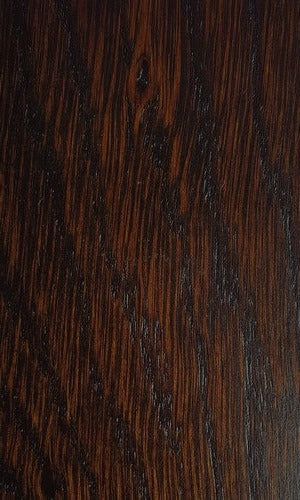
Highly versatile, exceedingly strong, solid timber LD Stool, or side table - you choose, you use! Precisely handcrafted miter joins with the smoothest of finishes, deliver lasting quality. Material ash, matai, oak or recycled rimu (finished with woca oil) This product can be customised i.e. alternative dimensions, colour, material, or upholstery...
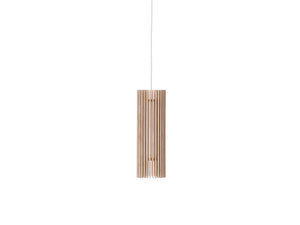
iO Flute Light Shade

iO Flute Light Shade
$369.00
iO Flute light shade is created using a mix of traditional craft skills and digitally based production methods, balancing between the realms of human and digital fabrication. This allows for a product that has meticulous detail in a simple form. Each iO Flute is unique, yet precise, eclipsing the challenges of its creation. The light emitted wit...
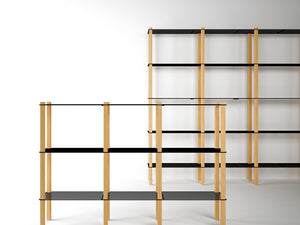
Historian Shelving

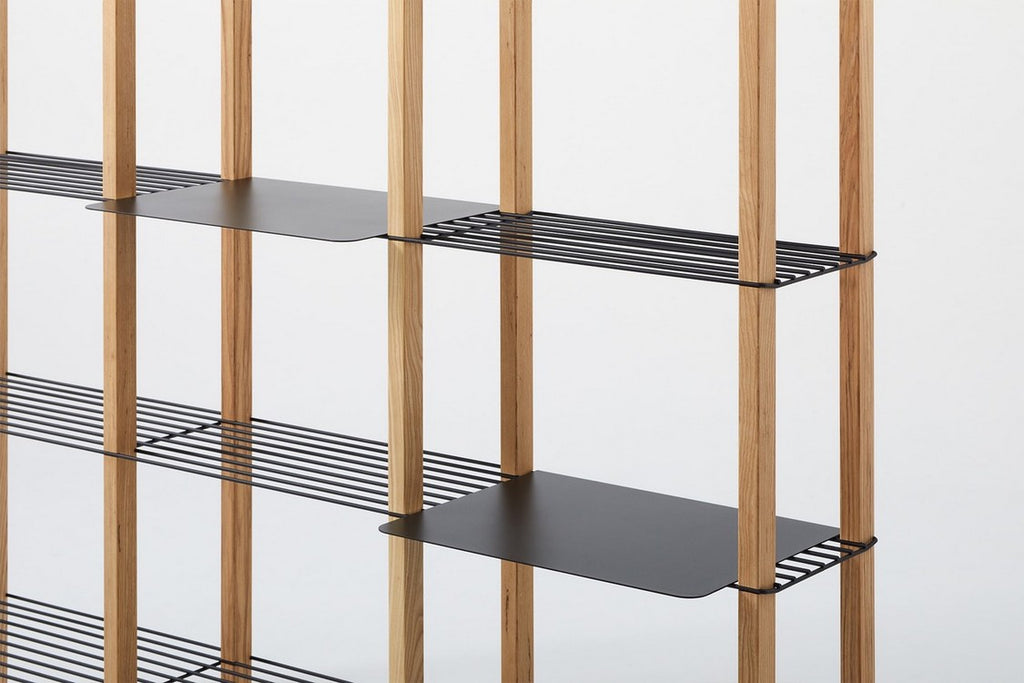
Historian Shelving
$2,199.00
Historian Shelving utilises just two materials, steel and wood, in a simple restrained manner. Elegant and refined, the Historian Shelving system is cleverly designed to be assembled and reconfigured without tools or fixings. Material power-coated steel (black or white); American white ash (stained back or natural) Flat-packed for delivery. This...


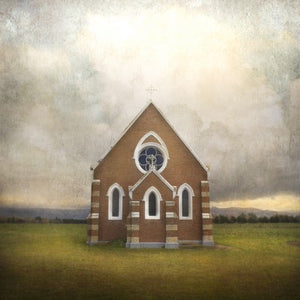
Hamish Allan Print - Cops and Robbers
$189.00
Hamish Allan’s clean precise imagery incorporates New Zealand landscape, architecture and symbolic icons to give a contemporary visual experience. His work has a feeling of space and a sense of the serene created by leaving out unnecessary imagery creating a stripped back essential image. Material print in white box frame (flush with print, no g...
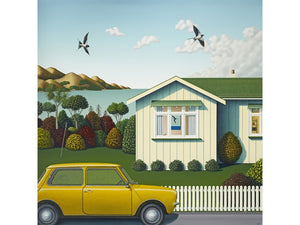

Hamish Allan Print - Bach with Mini
$189.00
Hamish Allan’s clean precise imagery incorporates New Zealand landscape, architecture and symbolic icons to give a contemporary visual experience. His work has a feeling of space and a sense of the serene created by leaving out unnecessary imagery creating a stripped back essential image. Material print in white box frame (flush with print, no g...
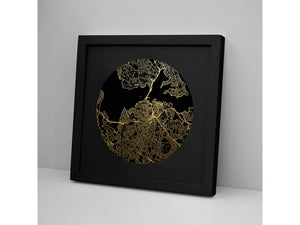
Foil Print - Auckland
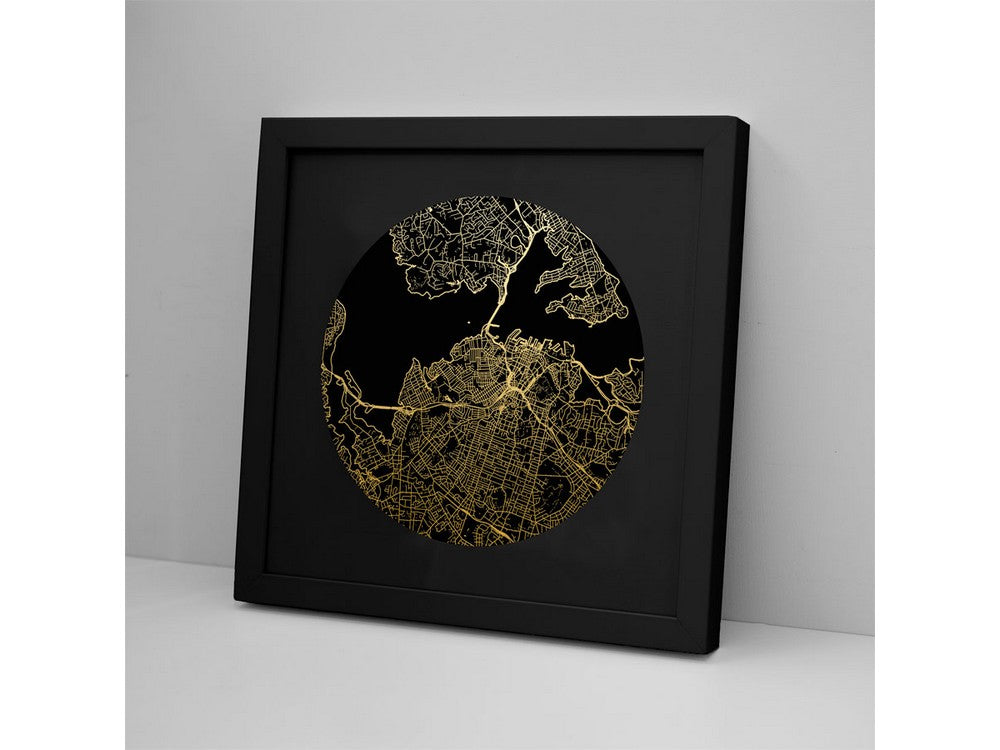
Foil Print - Auckland
$129.00
Kiwiana gold Foil Print - Auckland, select between stunning black on black or contemporary white on white. Material print matt mounted in wooden frame, glass front Size 310 x 310 mm (print 200Dia) You may like other items in the Foil Print series.
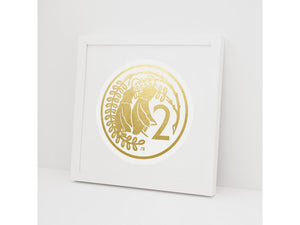
Foil Print - 2 Cent


Foil Print - 2 Cent
$129.00
Kiwiana gold Foil Print - 2 Cent, select between stunning black on black or contemporary white on white. Material print matt mounted in wooden frame, glass front Size 310 x 310 mm (print 200Dia) You may like other items in the Foil Print series.
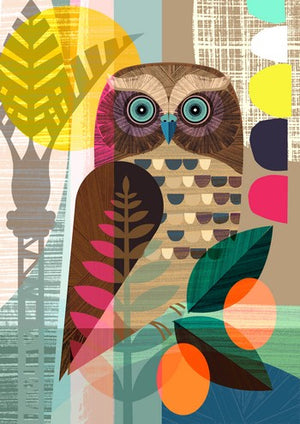

Ellen Giggenbach Print - Morepork
$249.00
Ellen Giggenbach is a freelance graphic designer living in seaside Petone, Wellington, NZ. Ellen is passionate about simple beautiful shapes, and considers straight lines and circles to be foremost. In fact, you'll find that her art is primarily made up of these two things! Her mid century inspired illustrations appear on paper crafts, textiles,...
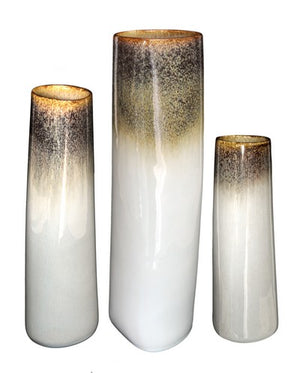
Cuba Vase


Cuba Vase
$89.00
Cuba Vase brings a sense of the soft, plastic nature of clay. At the same time it makes a bold and functional statement. Cuba Vase is part of this inspiring Kiwi's Pure Form series. Material ceramic You may like other items in the Cuba range.
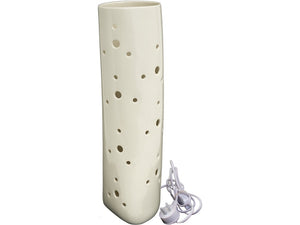
Cuba Table Light

Cuba Table Light
$249.00
Cuba table light brings a sense of the soft, plastic nature of clay that is often lost in the moulded production of pottery. Material ceramic Check out other items in the Cuba range
Brenda Qualls Print - Hallelujah

Brenda Qualls Print - Hallelujah
$199.00
Based in Christchurch, Brenda Qualls has been a photographer since the late 80’s. The majority of her work has included portraiture, weddings, commercial, editorial and illustrative photography. Having spent the last ten years exploring other creative avenues, she is now happily concentrating on Portraiture, Places & Spaces, and fine art Cre...

Attra Entertainment Unit - Oak
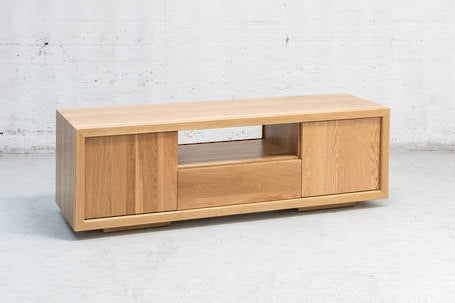
Attra Entertainment Unit - Oak
$3,699.00
Handcrafted from premium solid American ash or white oak, the Attra dining range features simple clean lines and solid timber construction. The contemporary designs are suited to the discerning consumer looking for quality New Zealand made furniture with style and versatility. The range features fixed and adjustable tables, dining chairs, and a ...

Anna Evans Print - Wawaroa
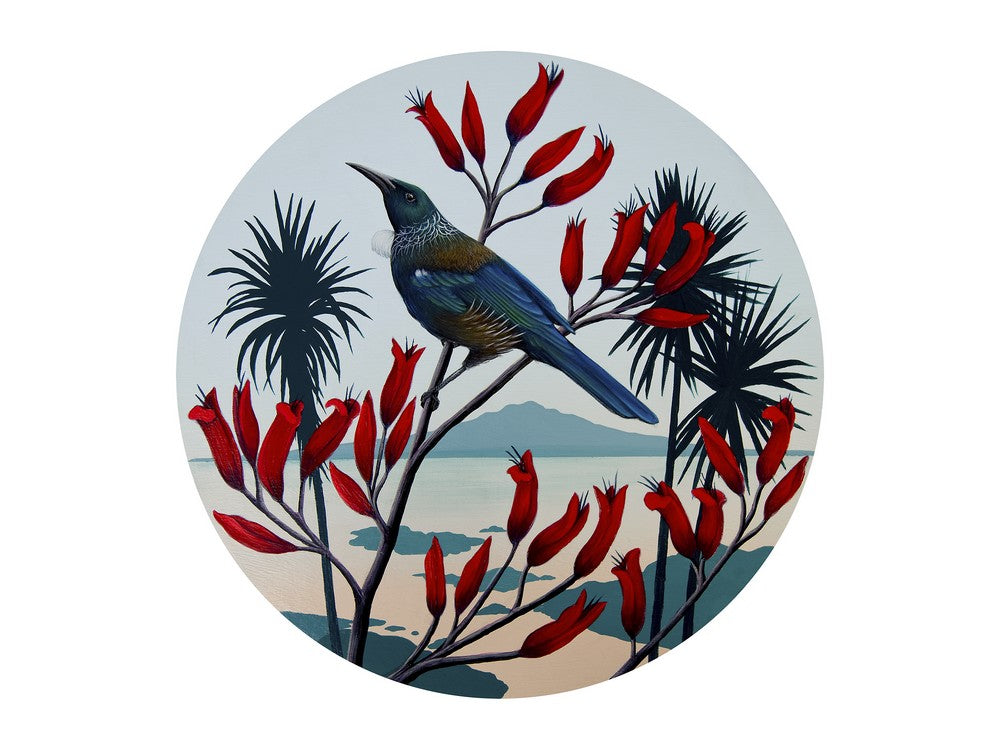
Anna Evans Print - Wawaroa
$229.00
Versatile creative, Anna Evans says “my passion is painting, my profession is design and illustration, my exploration is ceramics”. A 2004 graduate of Elam School of Fine Arts specialising in painting, Evans has illustrated over 100 books, created Vector art for numerous ipad games, android apps and education learning aids, and facilitated large...
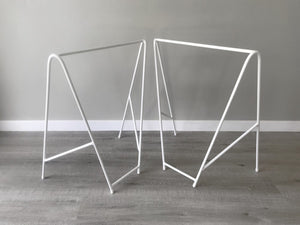
Angle Trestle Legs

Angle Trestle Legs
$699.00
Do you have a table or desk top in need of legs? Angle Trestle Legs (set of two) could provide the perfect foundation. They are designed to pack down, stacking together effortlessly. Material powder-coated 12mm mild steel Size 720H x 600W (bottom) x 550W (top) mm This product can be customised i.e. alternative dimensions, colour, material, or up...
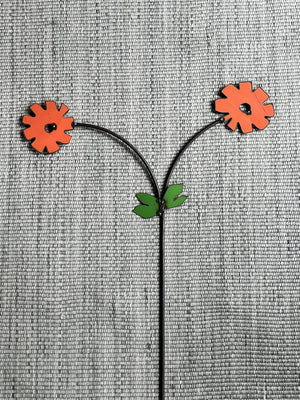
Twin-Headed Metal Flower

Twin-Headed Metal Flower
$39.00 $59.00
The Twin-Headed Metal Flower is a vibrant, playful addition to any garden - perfect for lovers of color and creativity. Handcrafted with care, each piece is unique, bringing its own personality to your outdoor space. Find the perfect spot to showcase its charm and let it brighten your garden year-round. Please note, due to its handmade nature, n...
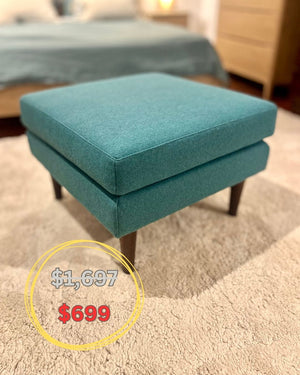
Aumoe Ottoman

Aumoe Ottoman
$1,499.00
SALE Floor-stock - as priced in yellow string The epitome of comfort and versatility, the Aumoe Ottoman is more than just a footrest—it's a statement piece. Generously proportioned with contemporary lines and stunning craftsmanship, it seamlessly complements the Aumoe Sofa and Chair while standing strong on its own as additional seating or a sty...
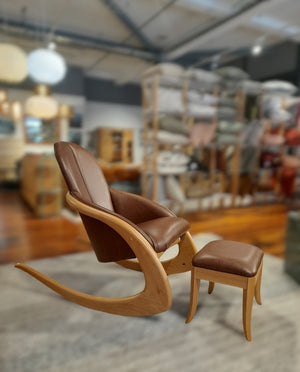
Bloomfield Rocker Chair and Footstool
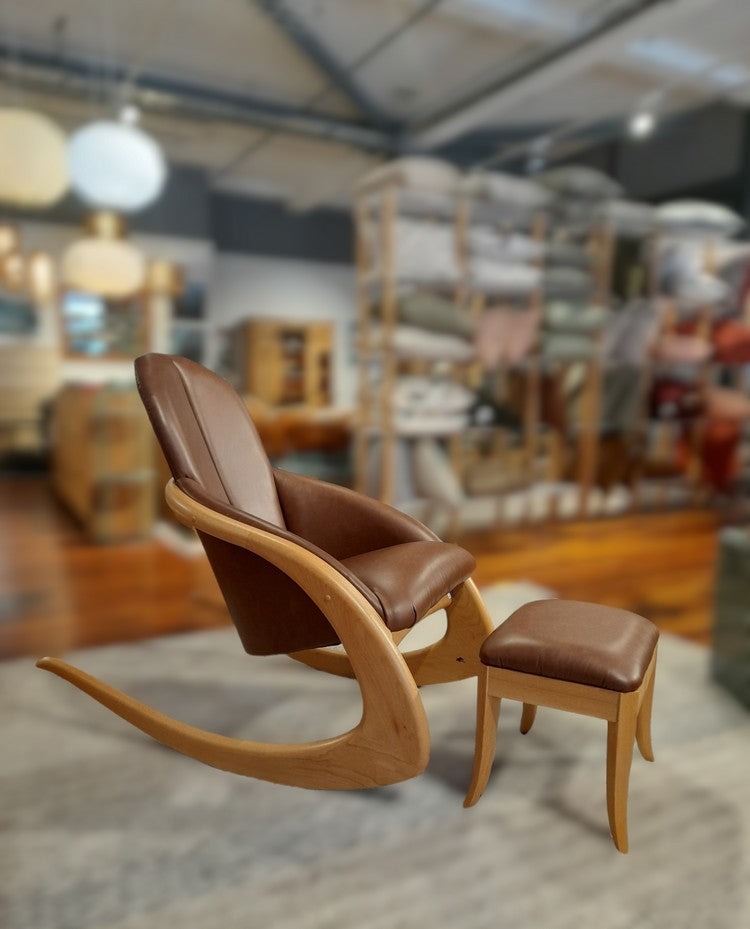
Bloomfield Rocker Chair and Footstool
$5,999.00
The Bloomfield Rocker Chair and Footstool (sold as a pair) is based on the archetypal eclipse chair; a continuous line, curved like the elliptical orbits of the spherical planets. Their shape generates a clean and essential seat, which conveys lightness. Greg Bloomfield has been building furniture for over 45 years. In 2021, following on from su...
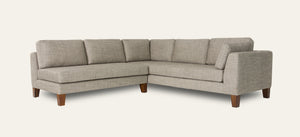
Kurtis Sectional Sofa
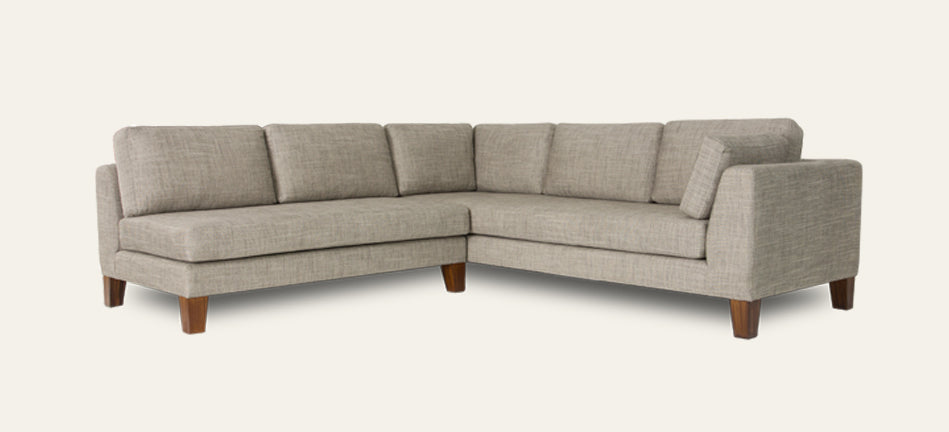
Kurtis Sectional Sofa
$6,999.00
The Kurtis Sofa effortlessly adapts to both contemporary and traditional spaces, depending on your upholstery choice. Available as a 2-seater, 2.5-seater, 3-seater, or sectional sofa, its versatile design features reversible cushions for added style and comfort. Side bolster cushions enhance relaxation, while the sectional sofa - typically desig...
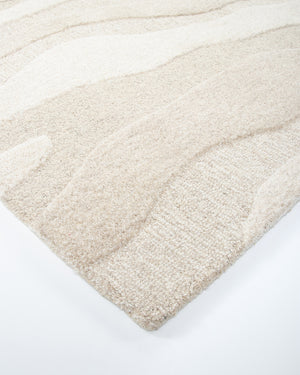
Shoreline Floor Rug
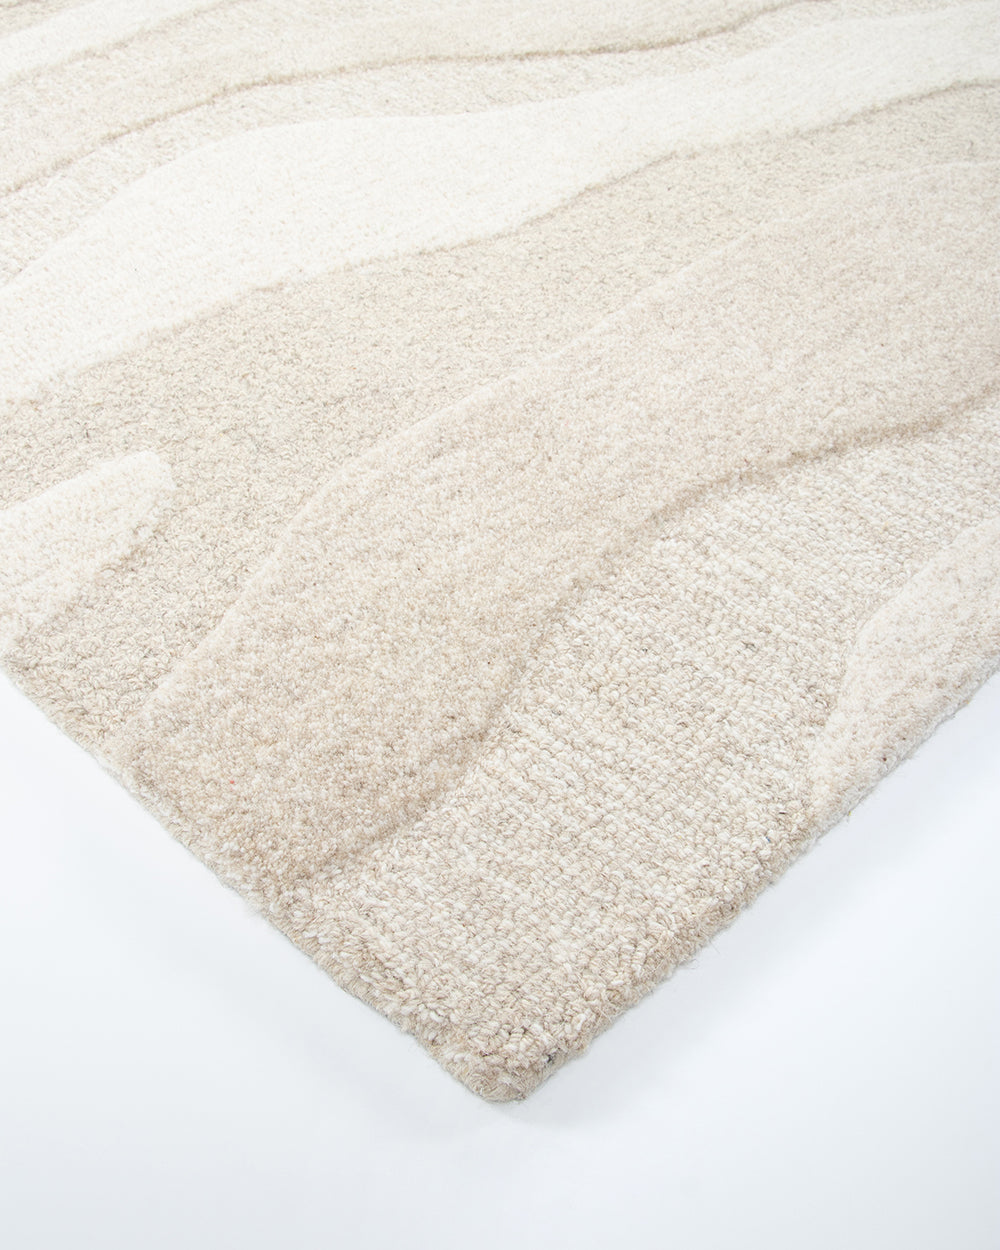
Shoreline Floor Rug
$999.00
An ode to coastal walks, the Shoreline floor rug echoes the rhythmic patterns carved into the sand. Handtufted from 100% wool, the undulating design is achieved through sections of cut and looped pile, resulting in a captivating visual piece. Soft and supportive underfoot, the warm sandy tone embodies understated luxury. Material 100% wool, with...

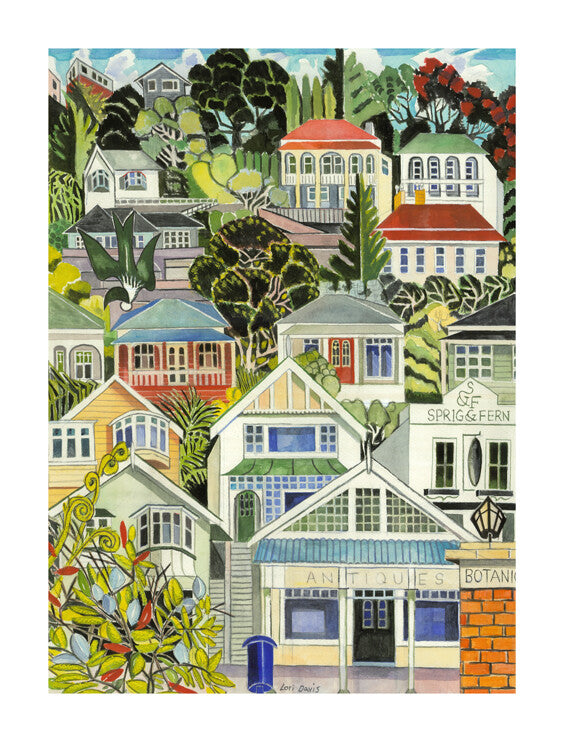
Lori Davis print - Tinakori Road Wellington
$279.00
Lori Davis loves to paint. She is passionate about the patterns, rhythms and colours of Wellington and regional landscapes of New Zealand. “The land we stand on, what it provides, how it is made, the geology and layers creating hills, valleys, rivers and bush, are things that increasingly fascinate and inspire me, to understand and tell the stor...

Lori Davis Print - Tohu Pou
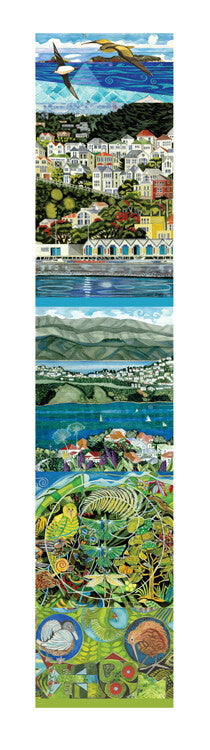
Lori Davis Print - Tohu Pou
$199.00
Lori Davis loves to paint. She is passionate about the patterns, rhythms and colours of Wellington and regional landscapes of New Zealand. “The land we stand on, what it provides, how it is made, the geology and layers creating hills, valleys, rivers and bush, are things that increasingly fascinate and inspire me, to understand and tell the stor...
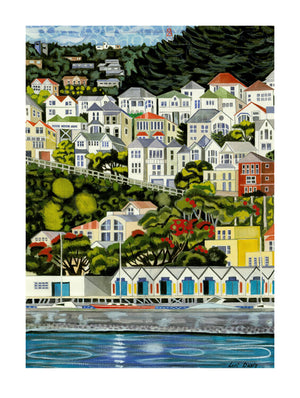

Lori Davis Print - House Stack Mt Victoria
$279.00
Lori Davis loves to paint. She is passionate about the patterns, rhythms and colours of Wellington and regional landscapes of New Zealand. “The land we stand on, what it provides, how it is made, the geology and layers creating hills, valleys, rivers and bush, are things that increasingly fascinate and inspire me, to understand and tell the stor...

Darcy Solia Print - Mothers

Darcy Solia Print - Mothers
$299.00
After graduating from Massey University’s School of Design in the late nineties, Darcy Solia began his career as a freelance illustrator. Darcy works in a variety of styles, both digital and traditional. As a New Zealand-born Samoan, he frequently creates Pacific Island art, but his inspirations are as diverse as his interests. While Darcy has n...

Vibrant Square Cube
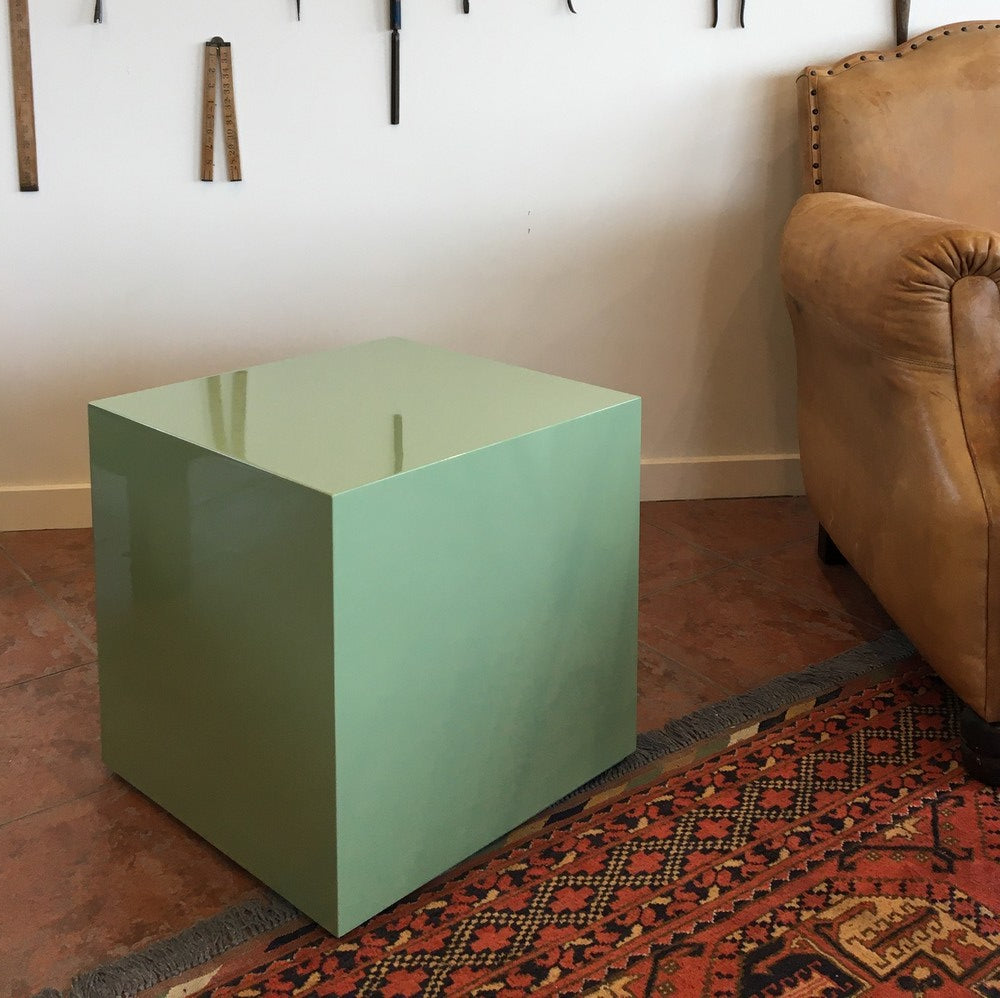
Vibrant Square Cube
$1,199.00
Add a pop of colour to your space with a gorgeous smooth high-gloss Vibrant Square Cube, proudly made in New Zealand. Versatile and stylish, these cubes can be used as a side table, seat, or decorative accent. Handcrafted from durable MDF, each one is unique and the perfect blend of functionality and flair. Care for your cube by not applying hea...

Vibrant Rectangle Cube
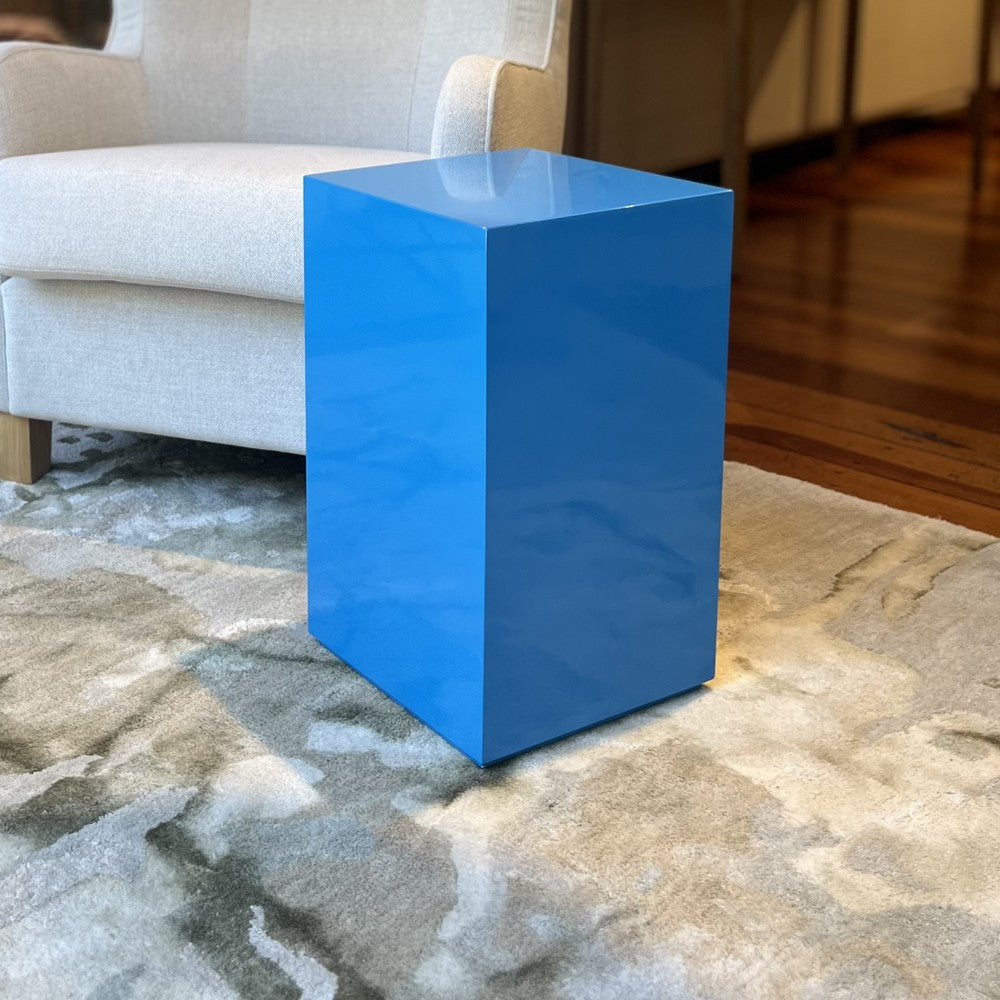
Vibrant Rectangle Cube
$1,199.00
Add a pop of colour to your space with a gorgeous smooth high-gloss Vibrant Rectangle Cube, proudly made in New Zealand. Versatile and stylish, these cubes can be used as a side table, seat, or decorative accent. Handcrafted from durable MDF, each one is unique and the perfect blend of functionality and flair. Care for your cube by not applying ...
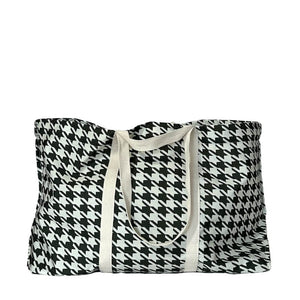
Muchmore Bag
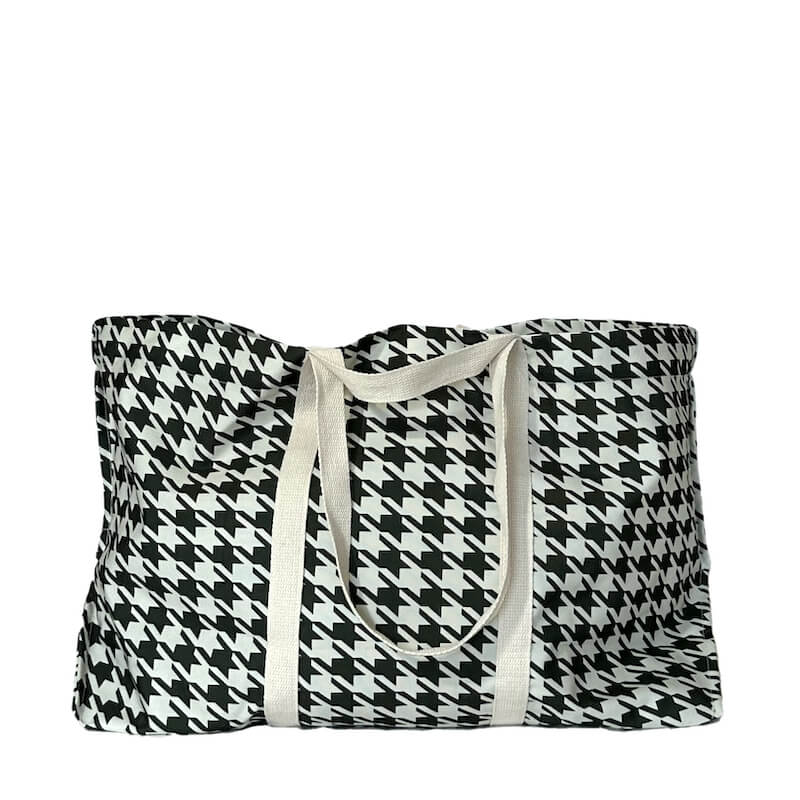
Muchmore Bag
$59.00
The Muchmore Bag, named such for obvious reason, will carry everything you need this summer and more! Use it to lug gear to the beach, to the sports field, or to your favourite picnic spot. It's great for groceries too. Made using premium grade canvas and featuring double handles for ease of carrying, the Muchmore Bag is strong enough to fill to...
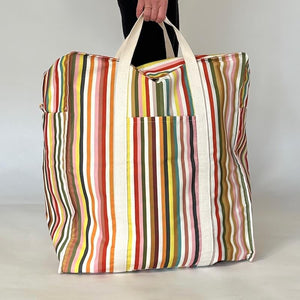
Tokyo Stripe Stuffer Bag
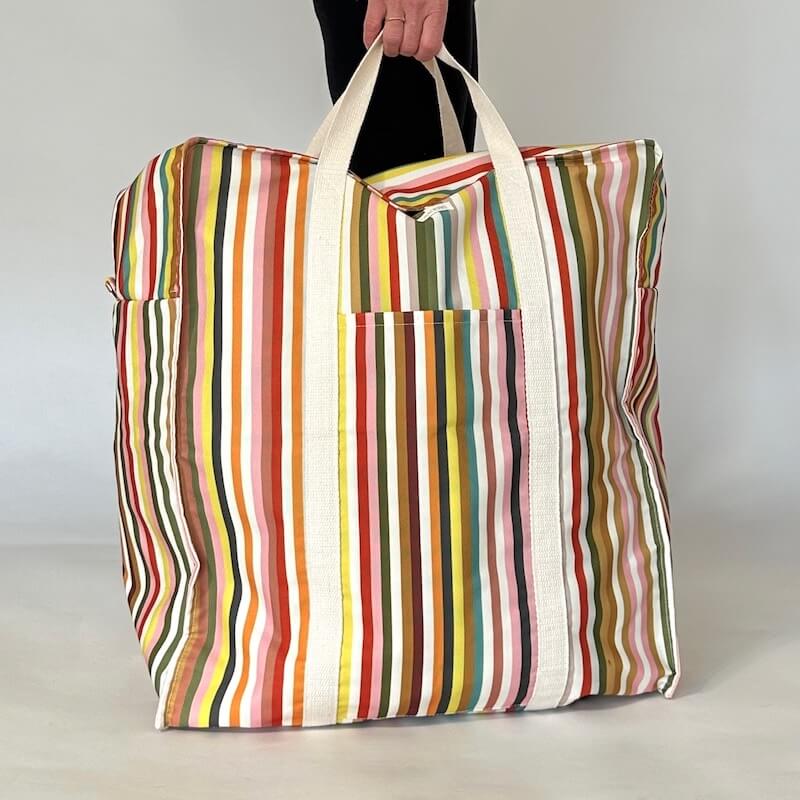
Tokyo Stripe Stuffer Bag
$79.00
The Tokyo Stripe Stuffer Bag is designed for storing and lugging stuff around. Fill this stuffer bag with anything you want to keep, but are not using right now. Shove in your ski gear when you're going up the mountain, your wetsuit and snorkels when heading to the ocean, or use as an extra travel bag for a shopping trip. Featuring double handl...
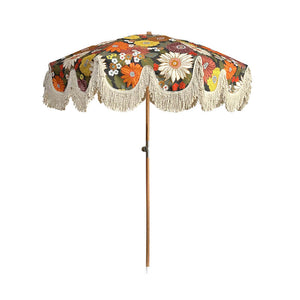
Summer Sun Umbrella
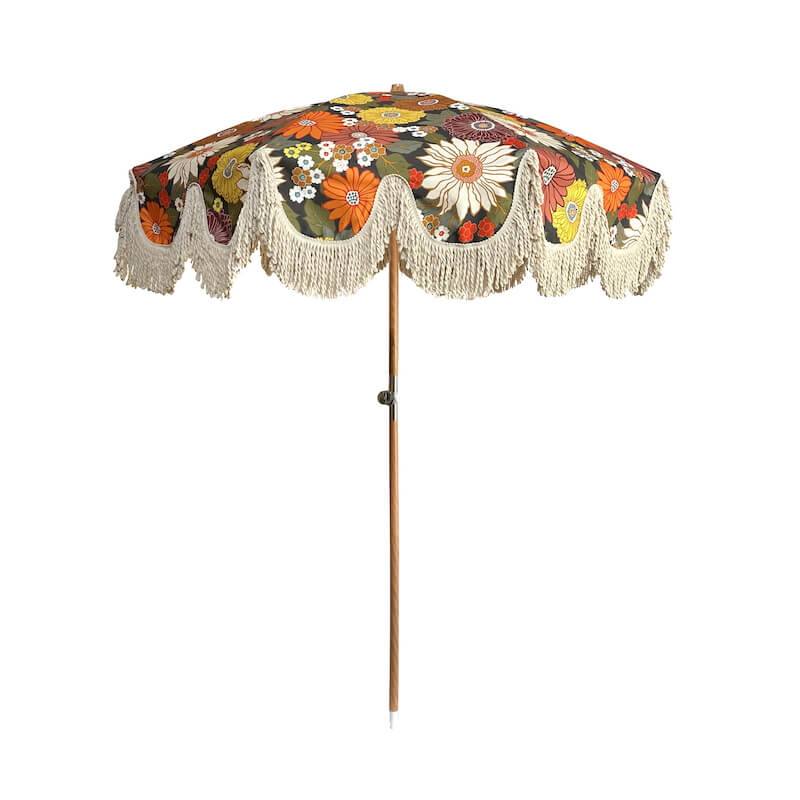
Summer Sun Umbrella
$399.00
Inspired by beach brollies from the 70s, a Summer Sun Umbrella is a fun and stylish way to shield from the sun's harmful UV rays. The sturdy wooden beech pole holds the SPF 50 canopy 2.3m high. There’s plenty of shade cast by the 1.9m wide canopy. Charm is added to your sun protection by the exaggerated scalloped edging and natural cotton fringi...
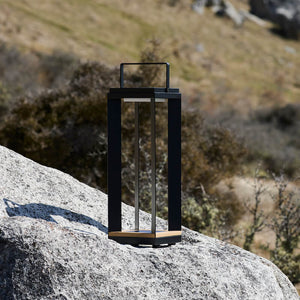
Betty & Bob Outdoor Solar Lamps

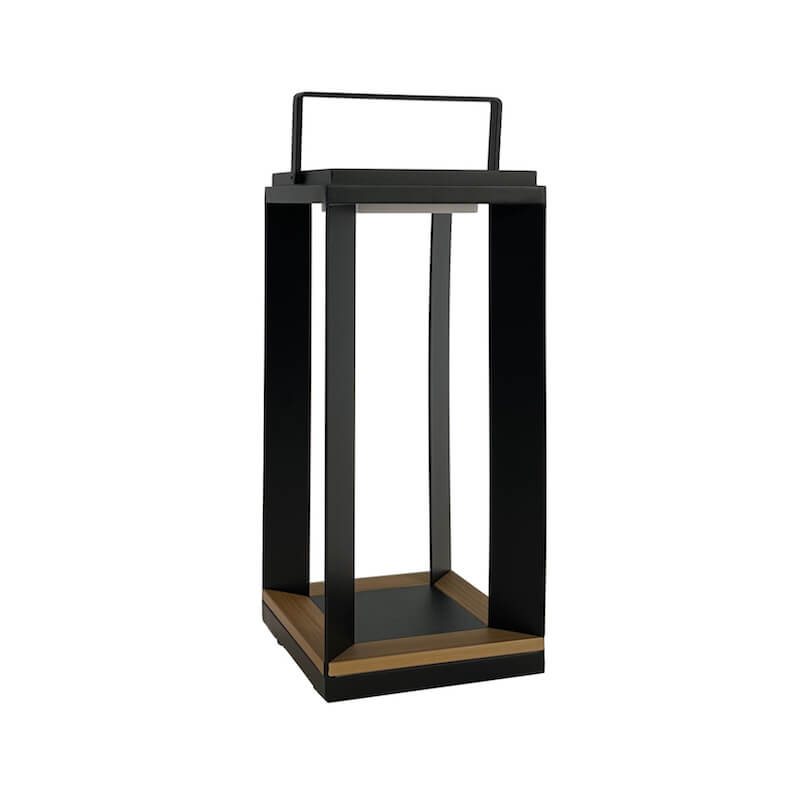
Betty & Bob Outdoor Solar Lamps
$379.00
Meet Betty & Bob outdoor solar lamps. Made from aluminum, and recycled high-density polyethylene (HDPE) plastic aka polywood, they are suitable for use outside and anywhere. The taller Bob version is an ideal height for sitting on the ground, while Betty comfortably sits on a table. Or you could make use of their handles to suspend them. Th...


