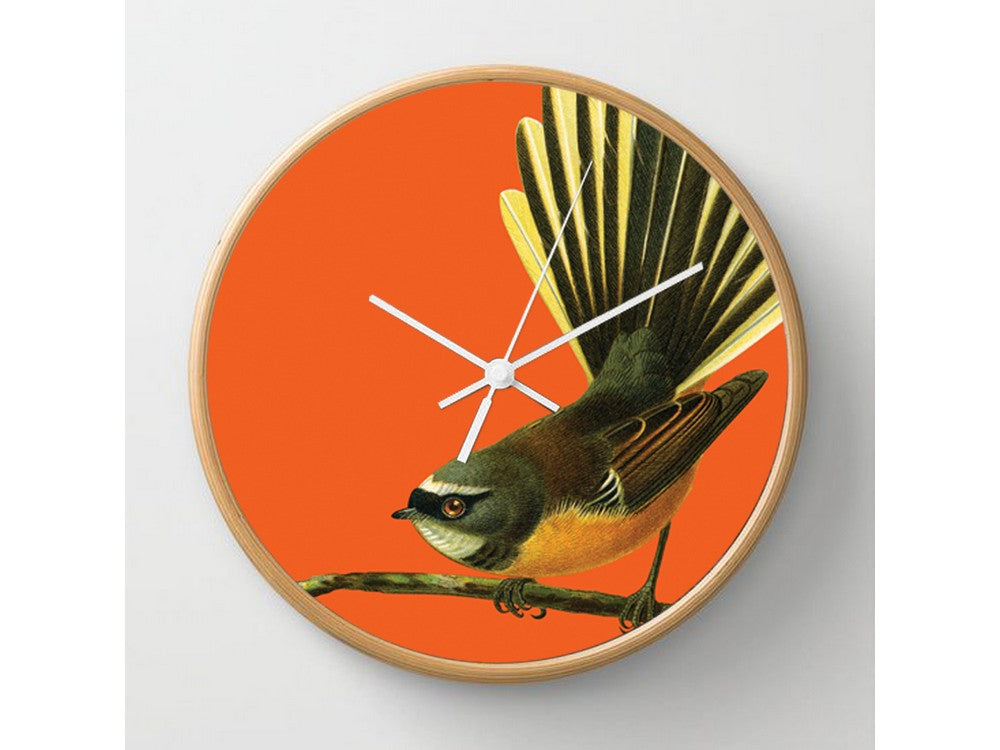
Home Office
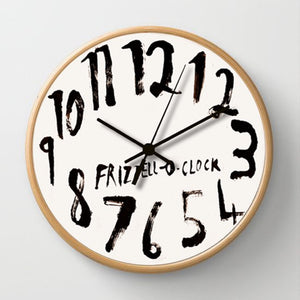
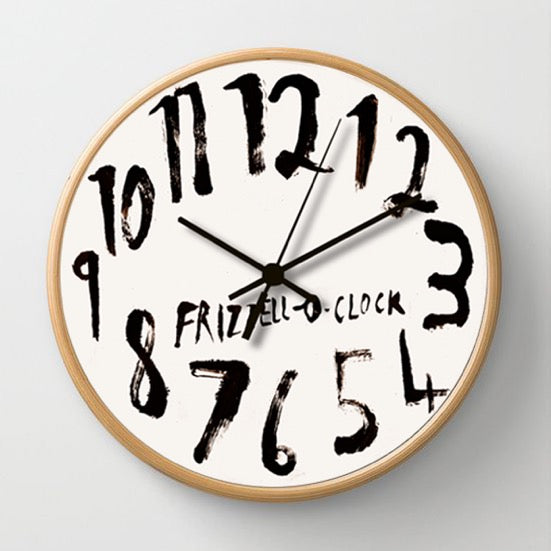
Frizzell O-Clock Wooden Frame Clock
$119.00
Blonde wood framed Frizzell O-Clock Wooden Frame Clock, featuring artwork by renowned New Zealand artist Dick Frizzell. The silent movement clock is protected by a glass front and sits 45mm deep from the wall. Dick Frizzell (b. 1943) is one of New Zealand’s most high-profile contemporary artists. His work is often described as pop art, drawing o...

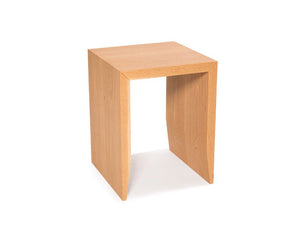
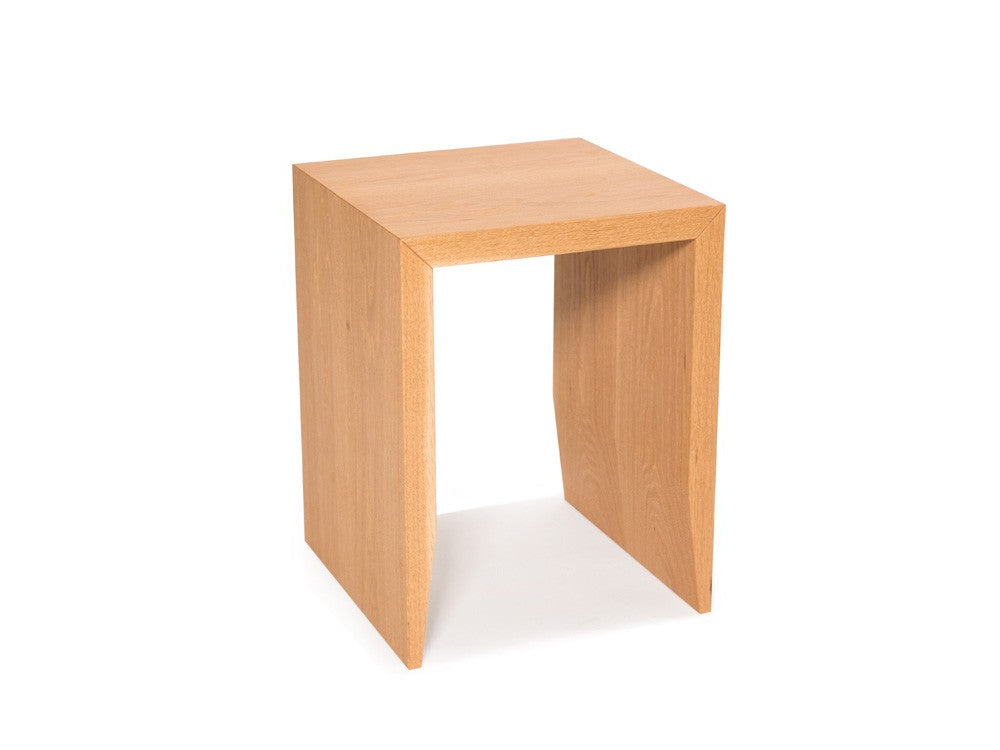
Willowby Cube
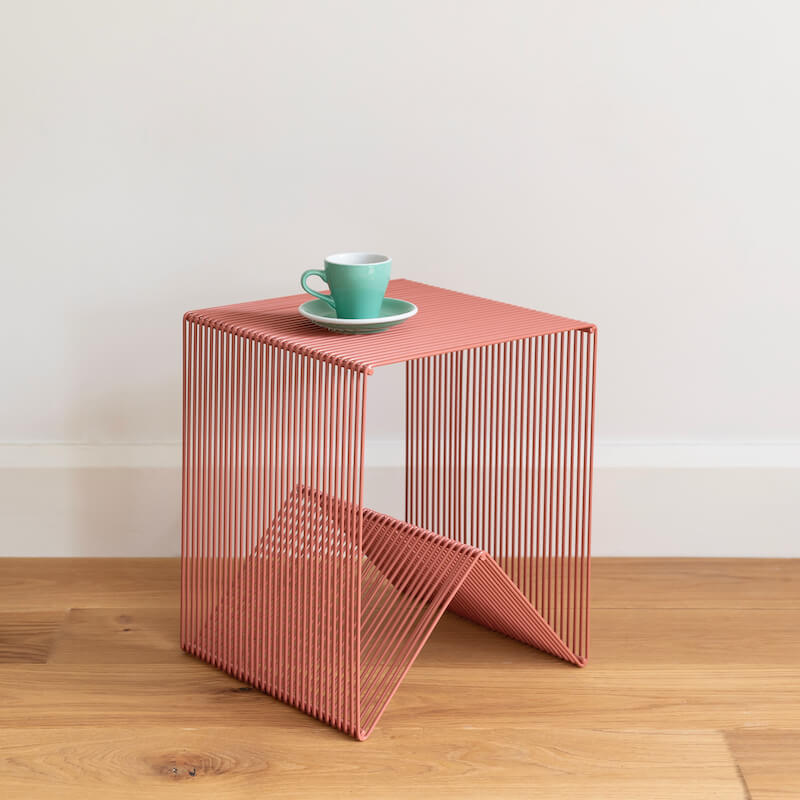
Willowby Cube
$389.00
New Season Colour - Carbon Channelling a cool ’70s vibe, the Willowby Cube is one of the most versatile pieces you’ll own. Use it as a side table, magazine rack, footstool, or extra seat - it’s the same height as a standard chair. Strong and durable, it’s sturdy enough to stand on when you need a little extra reach. When grouped together, multip...
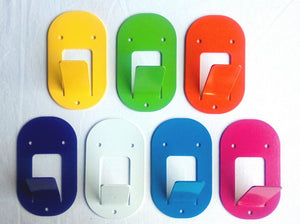
Tiki Hook

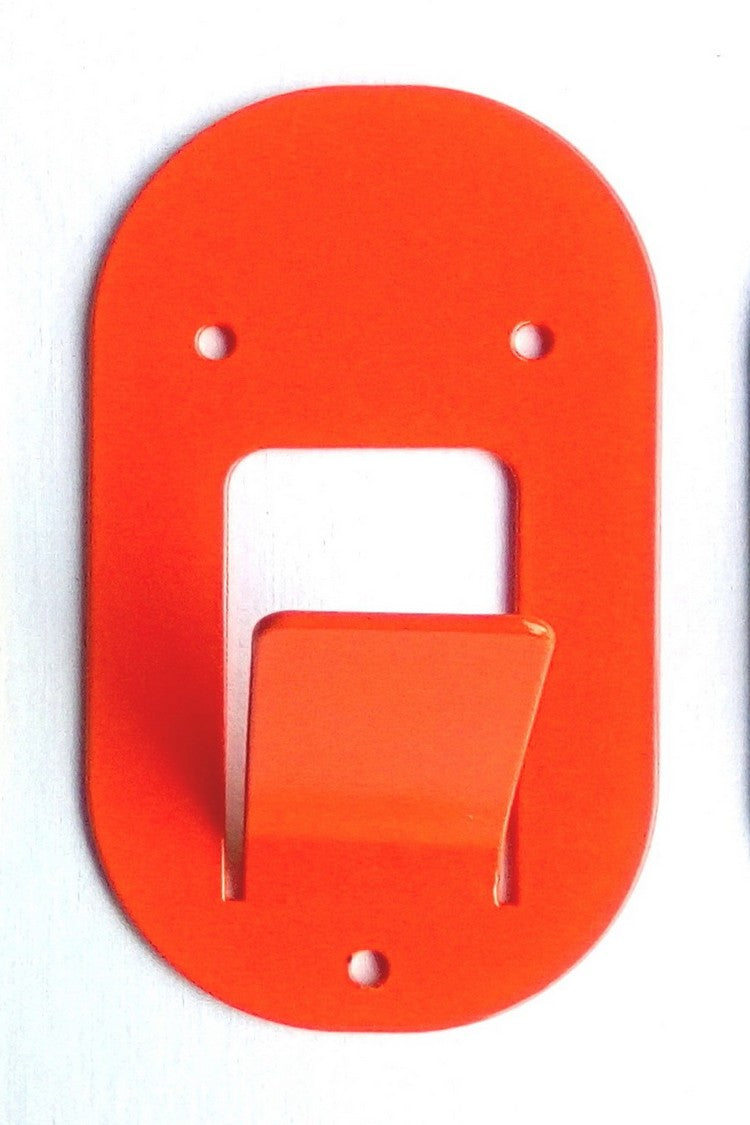
Tiki Hook
$49.00
Looking for somewhere to hang your coat? Look no further than Tiki Hook, a clever twist on the iconic east Polynesian figure - the Tiki is a symbol of good luck. Tiki Hook was inspired by the wonderfully carved figures on the walls of a Waitangi Marae. Material galvanised steel 1.95mm thick; powder-coated for indoor or outdoor use Size 90W x 60D...
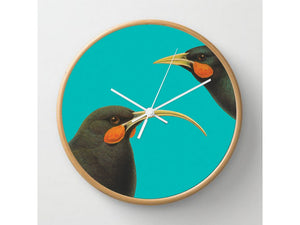
Bright Bird Wooden Frame Clock

Bright Bird Wooden Frame Clock
$119.00
Blonde wood framed Bright Bird Wooden Frame Clock, featuring a striking New Zealand native bird design. The silent movement clock is protected by a glass front and sits 45mm deep from the wall. Designed, printed and assembled in Aotearoa New Zealand. Material blonde wood frame, glass front, silent movement Size 320Dia x 45D mm
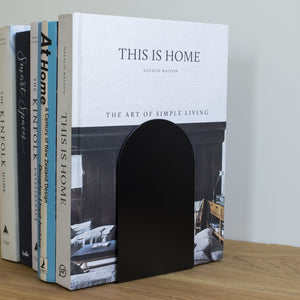
Jamb Bookends (Set of 2)


Jamb Bookends (Set of 2)
$89.00
Proof that less really is more. The Jamb Bookends offer understated style and practical function, keeping your books - or vinyl, if you're like Mr YOYO - neatly in place. Clean, minimal, and quietly effective. Indoor use only Material powder-coated steel Size 160 x 180 x 110 mm This piece can be tailor-made, just for you. Customisation options...

The Box
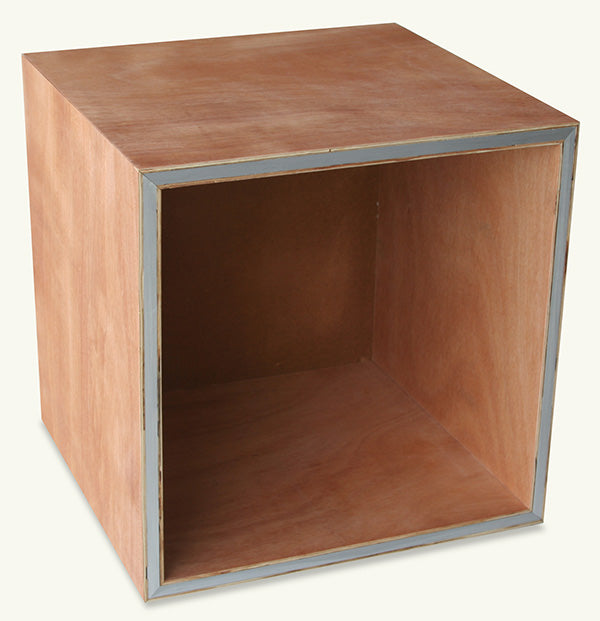
The Box
$229.00
The Box is an ideal storage solution. The solid and stackable design, originally intended for vinyl storage, holds up to 80 albums. However, you could store countless other items i.e. books, magazines, toys, musical instruments. Keep your 'things' contained in The Box. Designed and handcrafted in the sunny Hawke's Bay (east coast of the North Is...
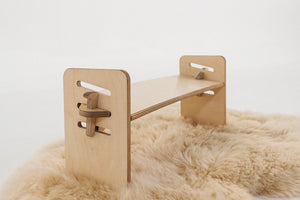
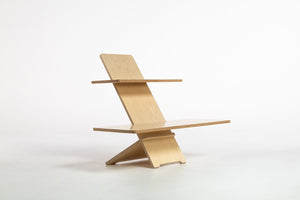
Limber Stool
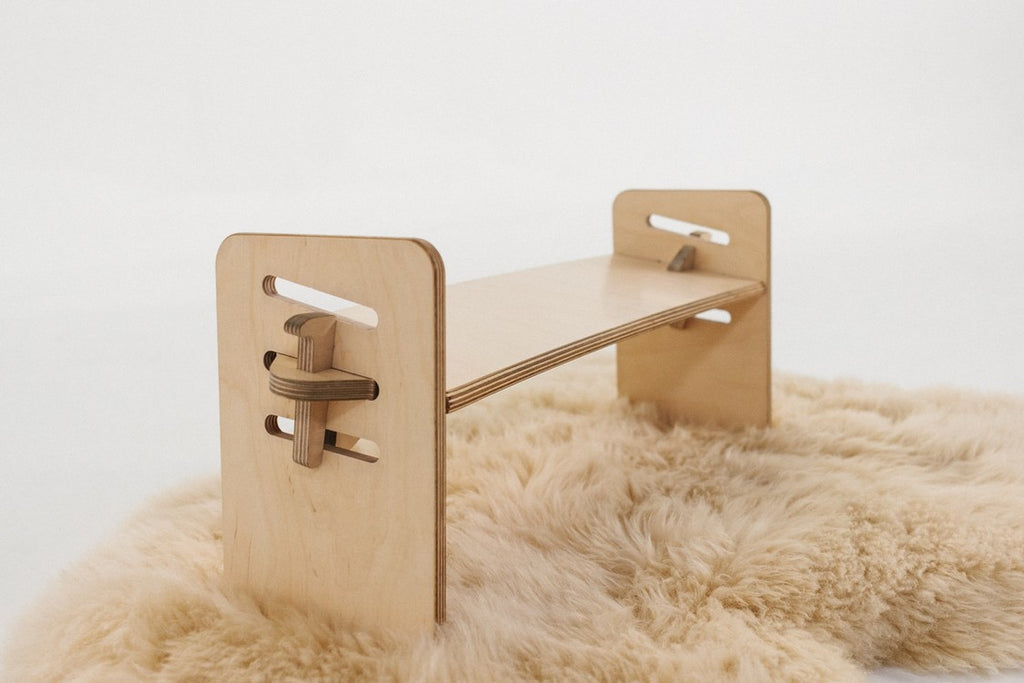
Limber Stool
$199.00
Find calm in comfort. Limber Stool creates comfort by lifting weight off your knees and ankles and removing tension from your lower back. It does this by lifting your hips up to any of three heights allowing the weight of your upper body to be taken by the stool, not your knees and ankles. The precise angle of the bench at each height, tilts you...
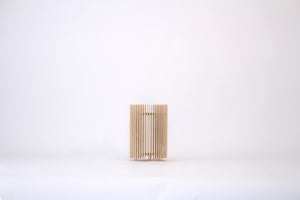
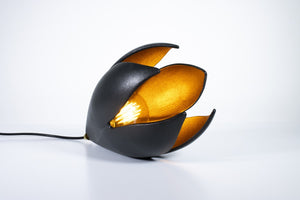
iO Table Light
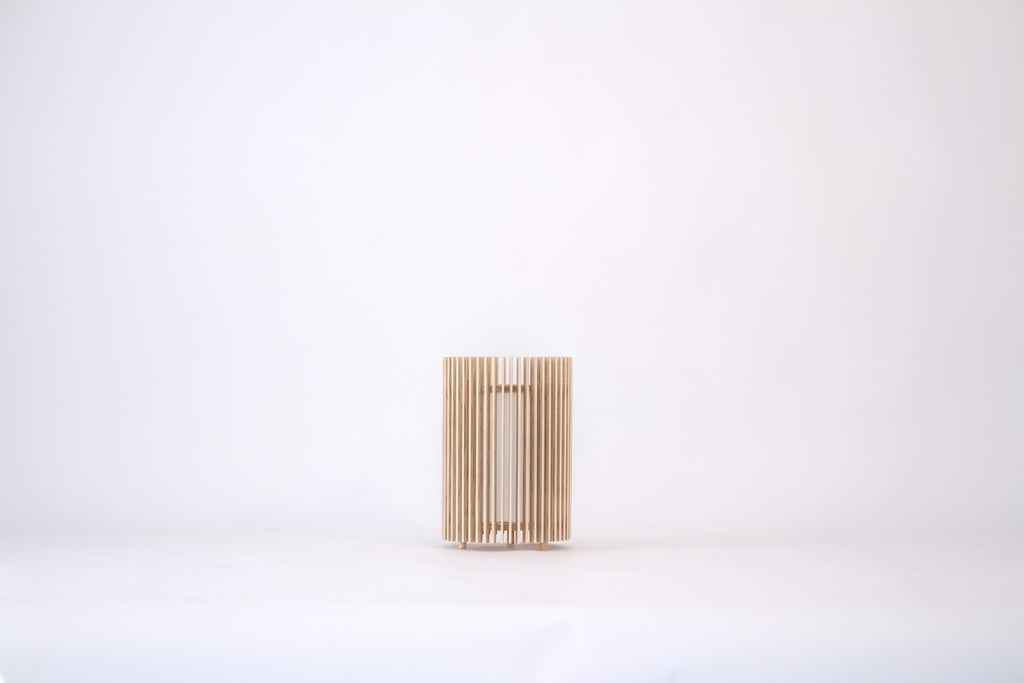
iO Table Light
$625.00
The iO Table Light merges traditional craftsmanship with digital precision, creating a form that is both meticulously detailed and beautifully simple — each piece unique yet precise. With its diffuser, it casts a warm, soft glow, perfect for creating a cosy and relaxing ambiance. Designed to sit gracefully on any table, sideboard, desk, or bedsi...

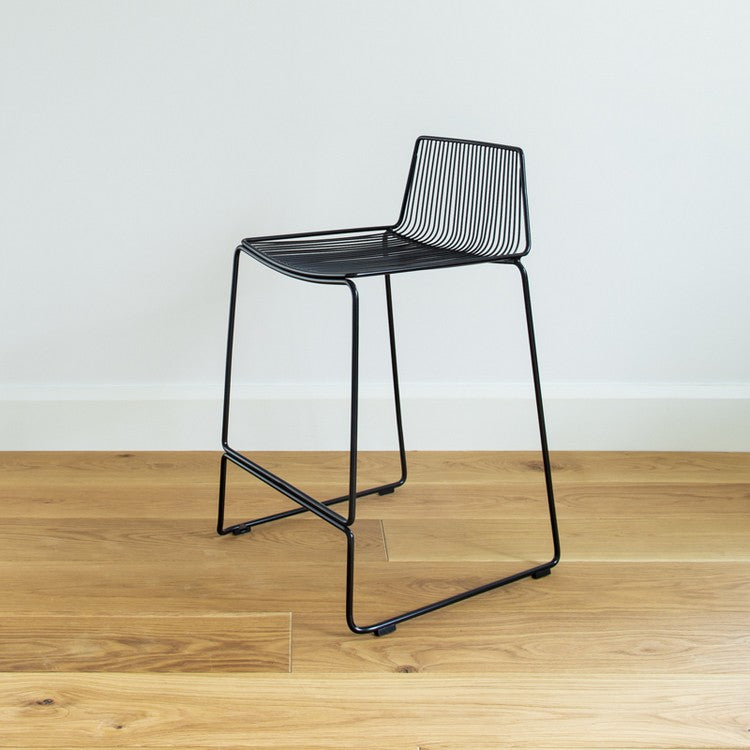
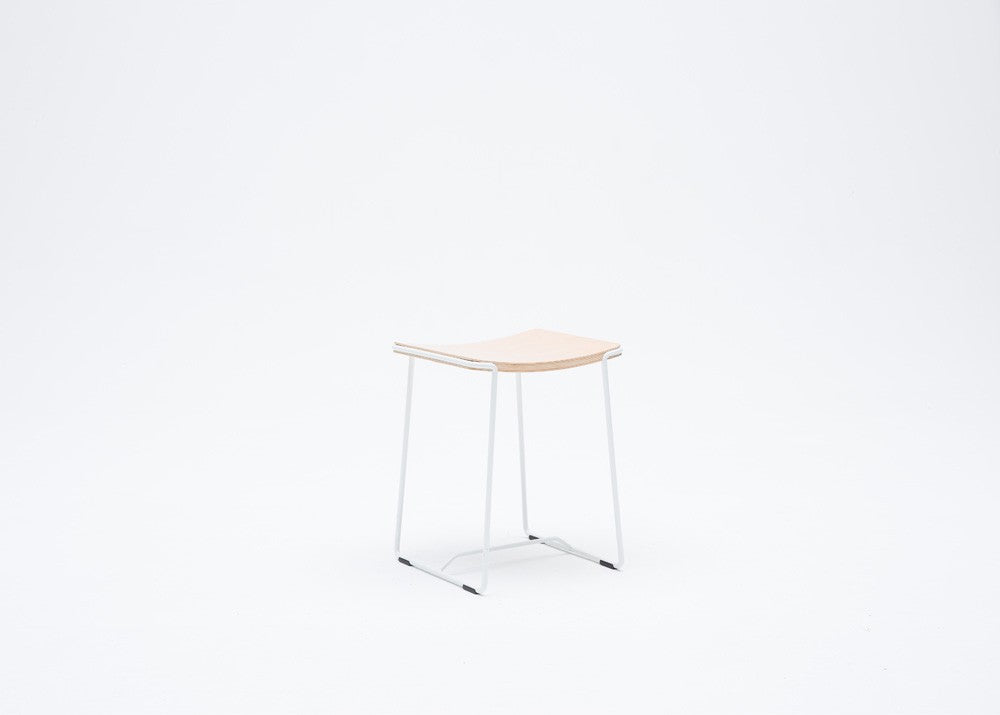
Rangitoto Wire Barstool
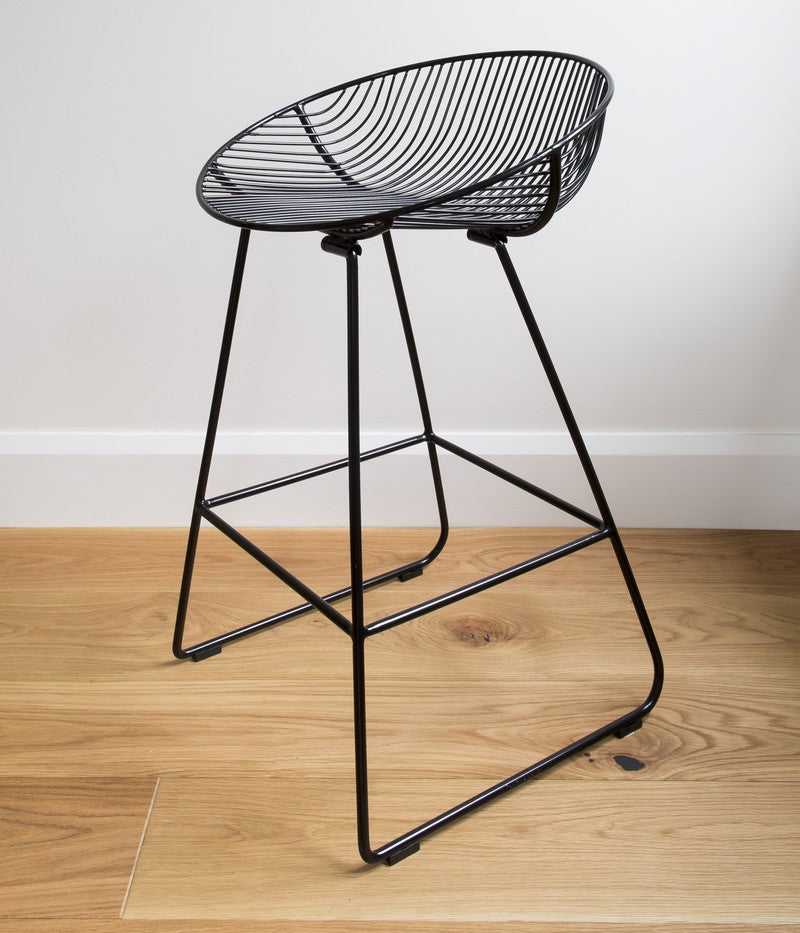
Rangitoto Wire Barstool
$399.00
Modern yet effortlessly understated, the Rangitoto Wire Barstool blends clean lines with timeless appeal. Its sleek, simple design suits a wide range of interiors and is made to outlast passing trends - style that stands the test of time. The wires are engineered and precisely spaced for comfort without the need for extra cushioning. That said, ...
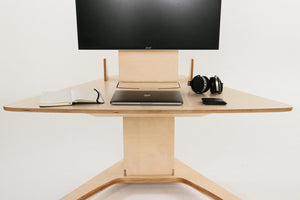
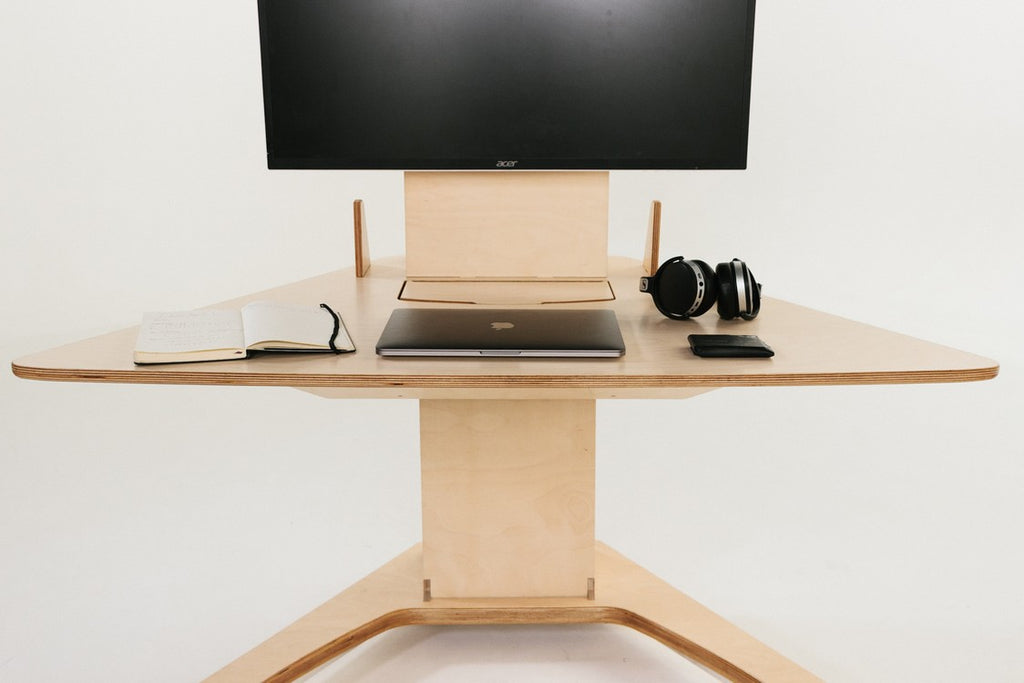
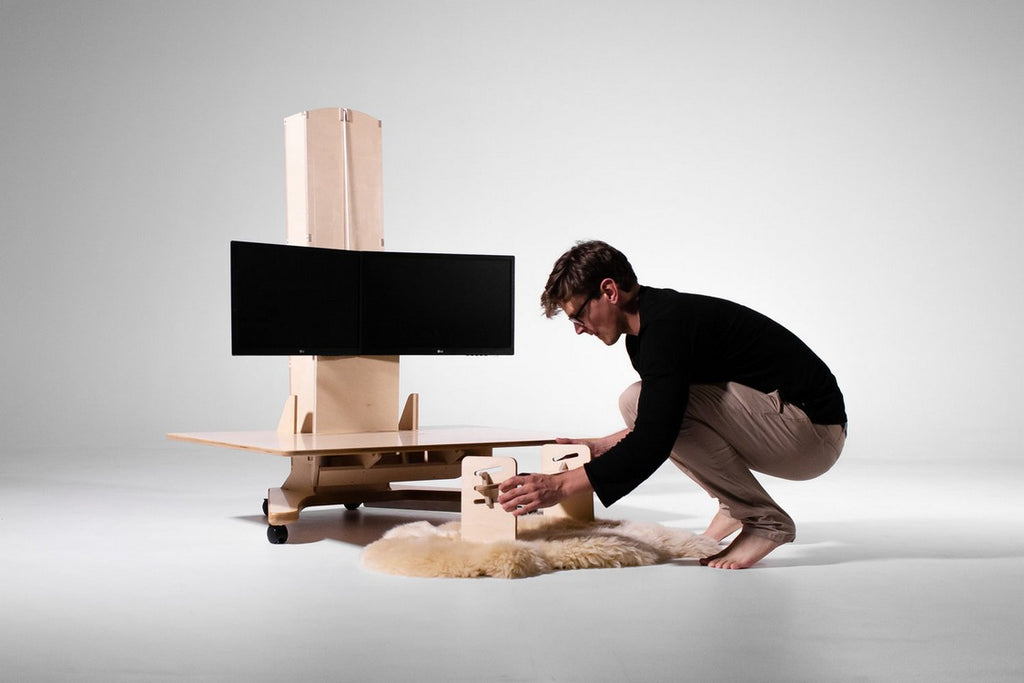
Limber Mini Desk

Limber Mini Desk
$699.00
Feel better at work. Reduce back and neck pain, increase productivity by up to 46% and improve your health by moving much more. The Limber Mini Desk is for people who want all of the health and performance benefits of moving while working without the chunkiness or cost of a full workstation setup. The Limber Mini Desk is a minimal, fully ergonom...
Limber Petal Desk
Limber Petal Desk
$2,799.00
Feel better at work. Limber Desks (Petal and Linear) allow you to have a workspace ergonomically specific to your body, move much more and create a space-efficient workplace. Limber Petal Desk tapers inwards towards the back to give it a unique shape and reduced footprint. Petal is more space efficient than Linear, great for corners or for putti...
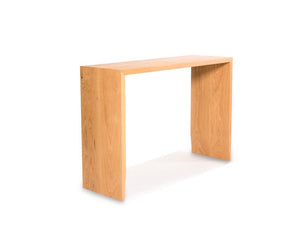
LD Hall Table
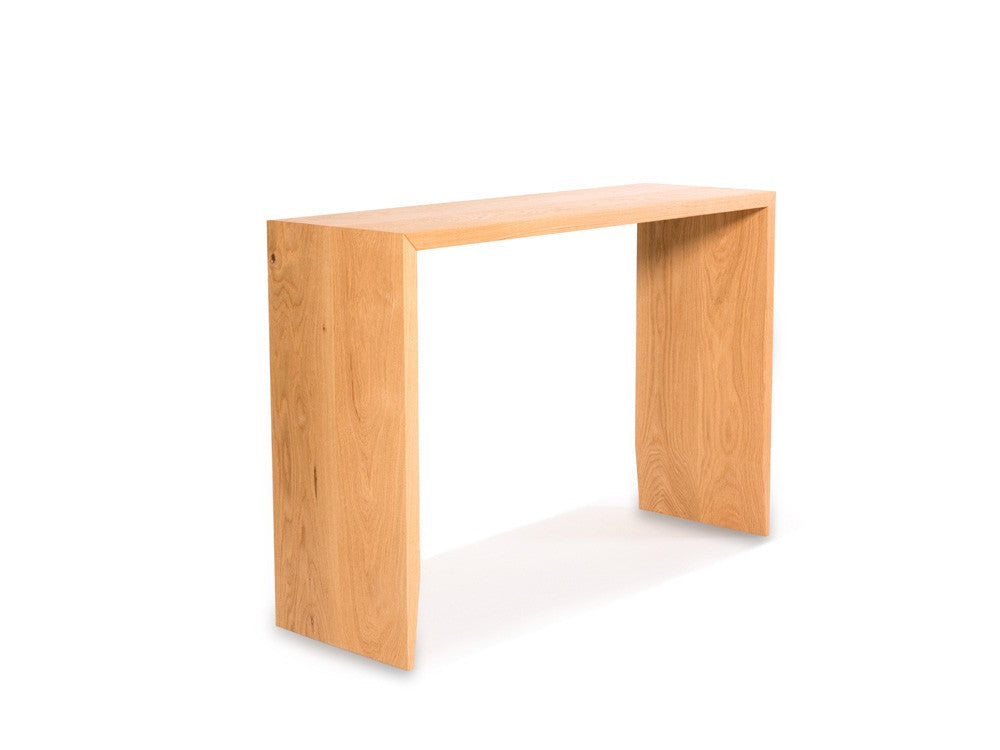
LD Hall Table
$1,299.00
Highly versatile and beautifully built, the solid timber LD Hall Table works equally well as a slimline desk or hallway console — you choose, you use. Handcrafted mitre joints and a flawless finish deliver strength, style, and enduring quality. Available in four beautiful timber options to suit your space. Material American ash, oak, recycled ma...
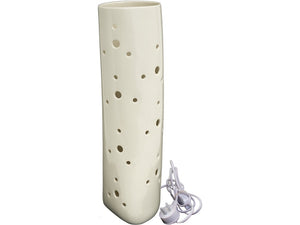
Cuba Table Light

Cuba Table Light
$379.00
Cuba table light brings a sense of the soft, plastic nature of clay that is often lost in the moulded production of pottery. Material ceramic Check out other items in the Cuba range
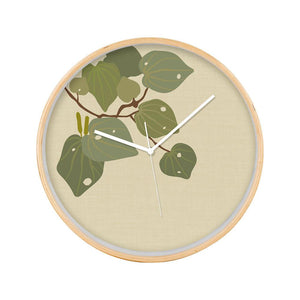
Raw Botanical Wooden Frame Clock

Raw Botanical Wooden Frame Clock
$119.00
Blonde wood framed Raw Botanical Wooden Frame Clock, featuring well-known New Zealand native flora. The silent movement clock is protected by a glass front and sits 45mm deep from the wall. Designed, printed and assembled in Aotearoa New Zealand. Material blonde wood frame, glass front, silent movement Size 320Dia x 45D mm
Drop Table Light

Drop Table Light
$899.00
Sculpturally striking, ceramic Drop Table Light is sure to become the talking point of the room. Created to sit on either a table or the floor, every Drop Light is handcrafted and thus each one is unique. Available in all white glaze, or an external white or matt black glaze with a hand-painted copper lustre interior. Designed and made in New Z...
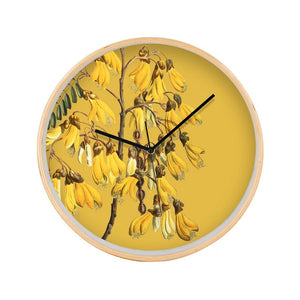

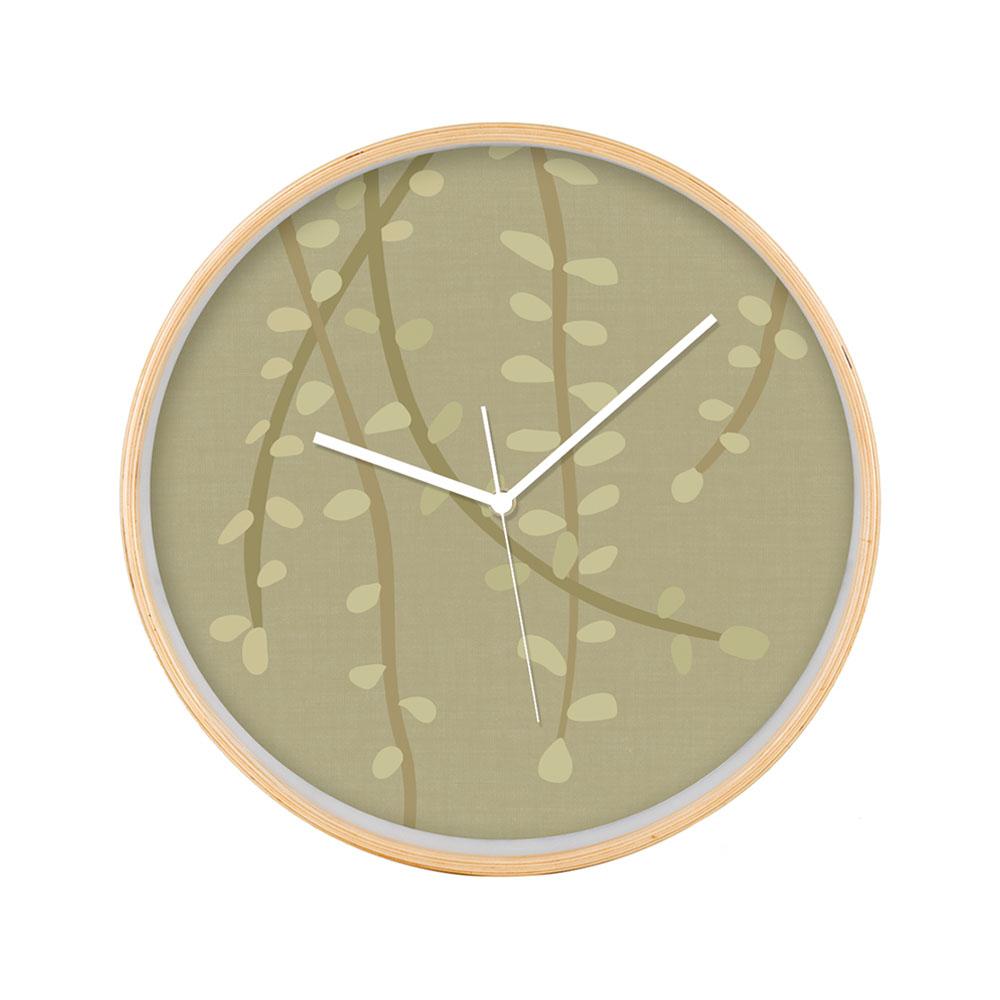
Vintage Botanical Wooden Frame Clock
$119.00
Blonde wood framed Vintage Botanical Wooden Frame Clock, featuring native New Zealand flora. The silent movement clock is protected by a glass front and sits 45mm deep from the wall. Designed, printed and assembled in Aotearoa New Zealand. Material blonde wood frame, glass front, silent movement Size 320Dia x 45D mm Check out the full Vintage range
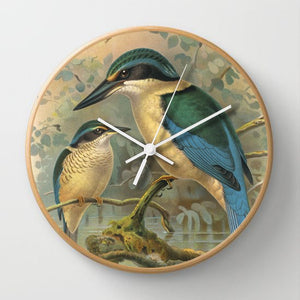
Kingfisher Wooden Frame Clock
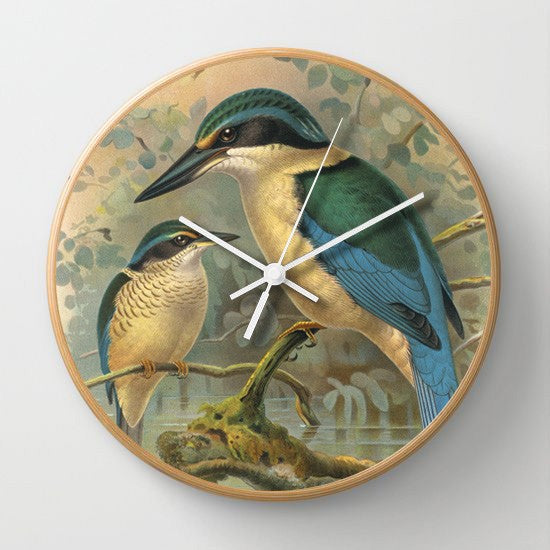
Kingfisher Wooden Frame Clock
$119.00
Blonde wood framed Kingfisher Wooden Frame Clock, featuring an iconic native New Zealand kingfisher. The silent movement clock is protected by a glass front and sits 45mm deep from the wall. Designed, printed and assembled in Aotearoa New Zealand. Material blonde wood frame, glass front, silent movement Size 320Dia x 45D mm

Limber Linear Desk
Limber Linear Desk
$2,899.00
Feel better at work. Limber Desks (Petal and Linear) allow you to have a workspace ergonomically specific to your body, move much more and create a space-efficient workplace. Limber Linear Desk maintains a classical rectangle shape, providing more surface space than Petal. All Limbers include height adjustable single and double monitor mounts. T...

Dunedin Wire Bar Chair
Dunedin Wire Bar Chair
$399.00
Strong, stylish, and made to last — the Dunedin Wire Bar Chair is built for everyday living. Its clean wire design and low, supportive back bring a modern edge while delivering comfort and support, whether at the kitchen counter, home bar, or café. Lightweight and stackable, Dunedin is as practical as it is versatile, making it a popular choice ...
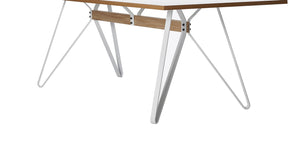
Monarch Rectangle Table Legs

Monarch Rectangle Table Legs
$1,540.00
Do you have a rectangle table or desk top, in need of some legs? Monarch Rectangle Table Legs, powder-coated aluminium connected by a central solid oak beam, could be your top's perfect foundation. Material powder-coated aluminium; solid American oak This product can be customised i.e. alternative dimensions, colour, material, or upholstery, may...
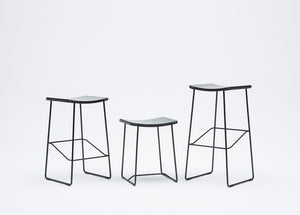
Wrap Stool
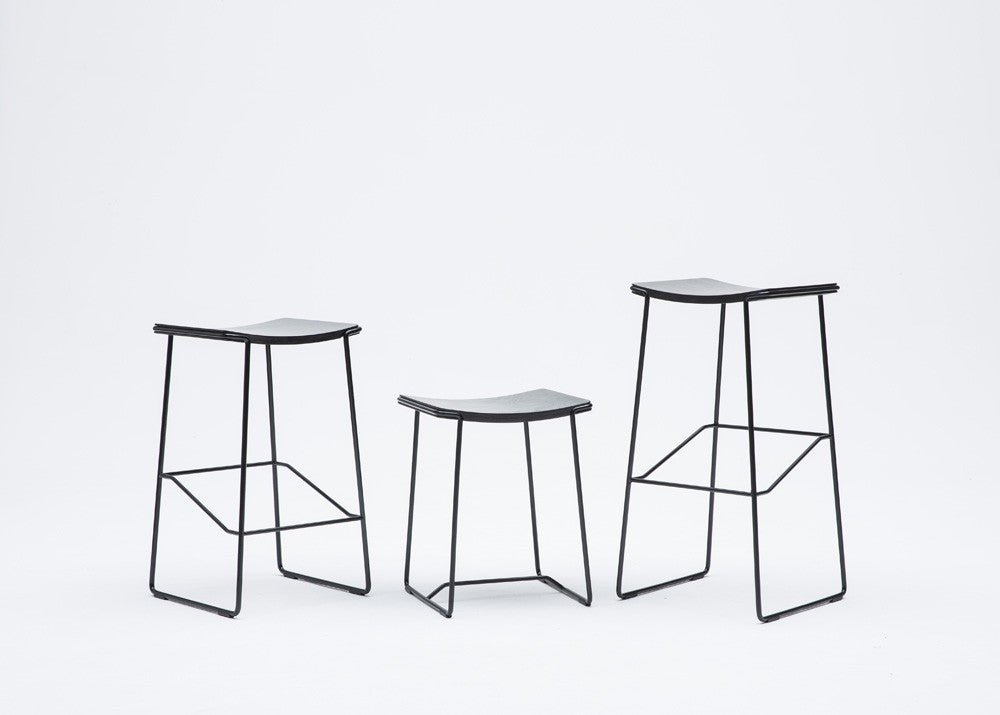
Wrap Stool
$699.00
Wrap Stool is a simple, sophisticated design. The name derives from the way the bent steel rod and the plywood seat top ‘embrace’ each other around the edge of the seat. Three heights and various colour options lend Wrap Stool well to both commercial and residential settings. Material bent 12mm steel rod frame, laminated european beech plywood seat
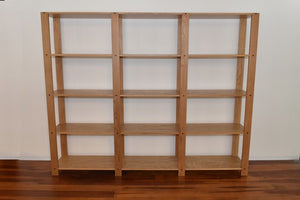
Wooden Display Unit

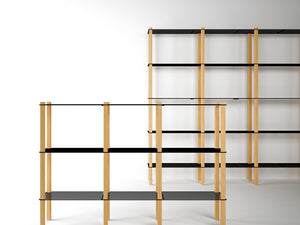
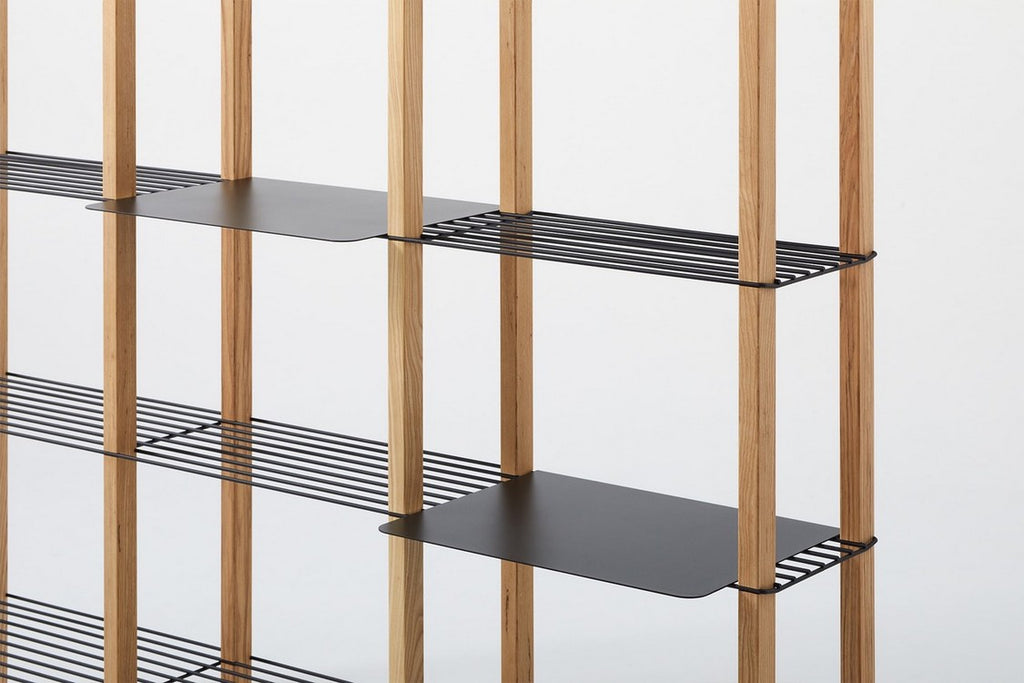
Wooden Display Unit
$3,490.00
Our solid American oak Wooden Display Unit is a simple, understated shelving solution. Featuring five shelves for ample storage, this versatile piece can be positioned against a wall, or free-stand to double as a room divider. Material solid American oak beams with oak veneer MDF shelves. finished in clear stain This product can be tailor-made. ...
LD Stool
LD Stool
$699.00
Highly versatile and exceedingly strong, the solid timber LD Stool doubles effortlessly as a side table — you choose, you use. Precisely handcrafted mitre joints and a silky-smooth finish deliver lasting quality. Available in four beautiful timber options to suit your style. Material American ash, oak, recycled matai, or recycled rimu (finished ...
Historian Shelving

Historian Shelving
$2,199.00
Historian Shelving utilises just two materials, steel and wood, in a simple restrained manner. Elegant and refined, the Historian Shelving system is cleverly designed to be assembled and reconfigured without tools or fixings. Material power-coated steel (black or white); American white ash (stained back or natural) Flat-packed for delivery. This...
Angle Trestle Legs

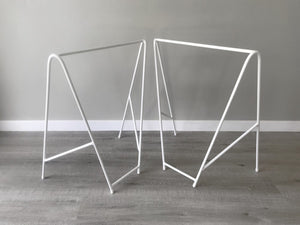
Angle Trestle Legs
$699.00
Do you have a table or desk top in need of legs? Angle Trestle Legs (set of two) could provide the perfect foundation. They are designed to pack down, stacking together effortlessly. Material powder-coated 12mm mild steel Size 720H x 600W (bottom) x 550W (top) mm This product can be customised i.e. alternative dimensions, colour, material, or up...

Corvo Side Table

Corvo Side Table
$699.00
The Corvo Side Table is a quietly confident accent piece, balancing refined materials with a purposeful, architectural form. Designed to sit effortlessly alongside sofas, armchairs, or beds, Corvo offers both function and visual clarity — available in two considered heights to suit different settings and seating depths. A solid circular ash timb...

Queenstown Wooden Frame Clock

Queenstown Wooden Frame Clock
$119.00
Blonde wood framed Queenstown Wooden Frame Clock, featuring a vintage print of Queenstown. The silent movement clock is protected by a glass front and sits 45mm deep from the wall. Designed, printed and assembled in Aotearoa New Zealand. Material blonde wood frame, glass front, silent movement Size 320Dia x 45D mm

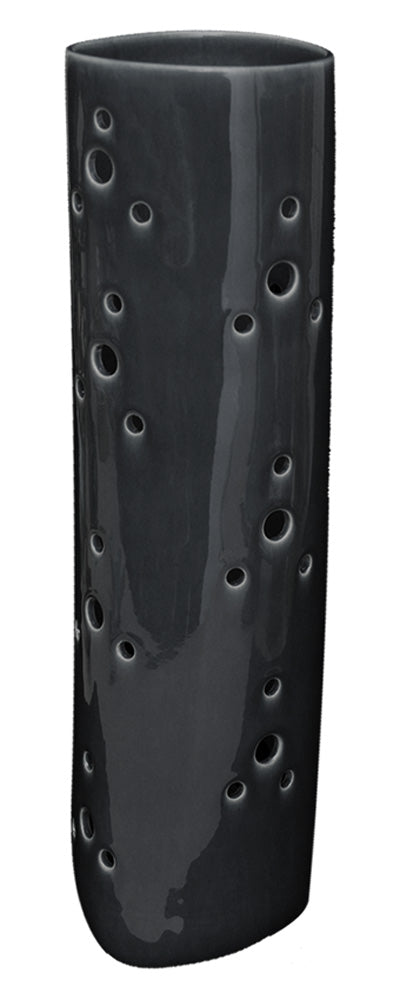
Vibrant Square Cube
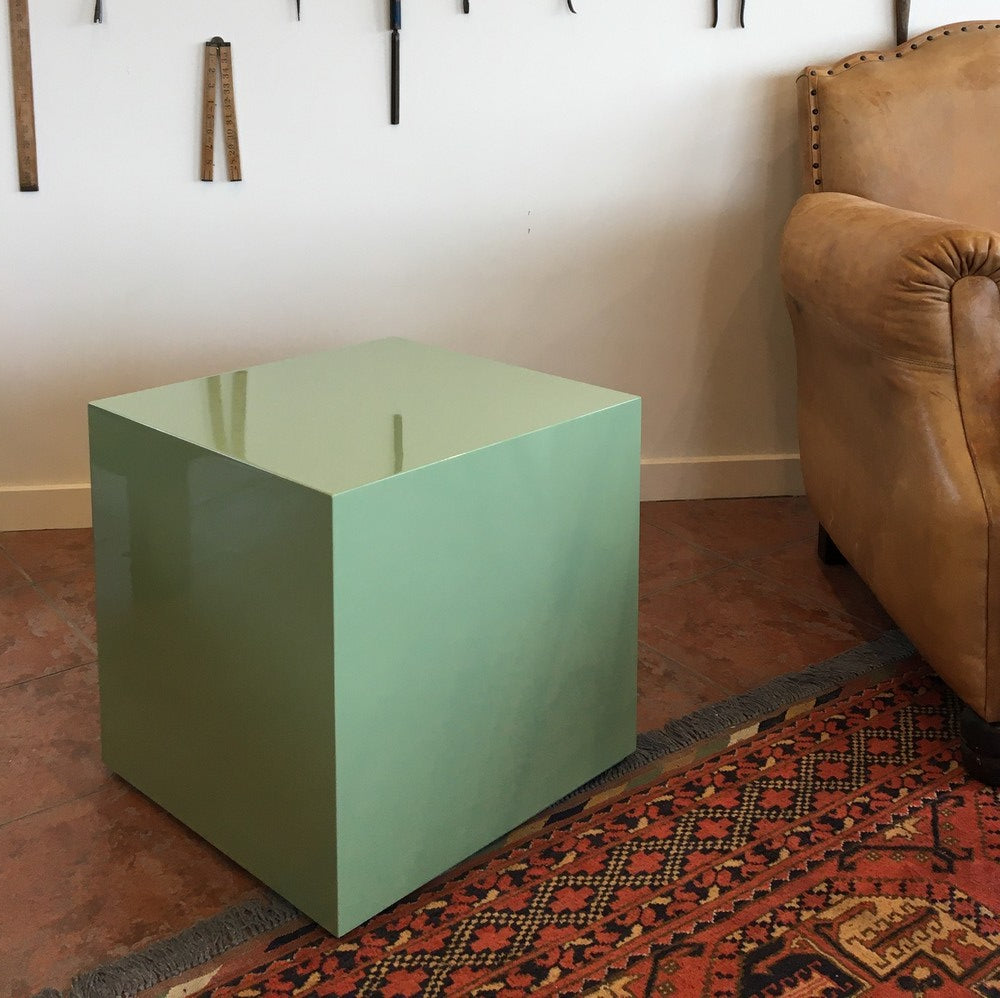
Vibrant Square Cube
$599.00
Add a pop of colour to your space with a gorgeous smooth high-gloss Vibrant Square Cube, proudly made in New Zealand. Versatile and stylish, these cubes can be used as a side table, seat, or decorative accent. Handcrafted from durable MDF, each one is unique and the perfect blend of functionality and flair. Care for your cube by not applying hea...

Vibrant Rectangle Cube
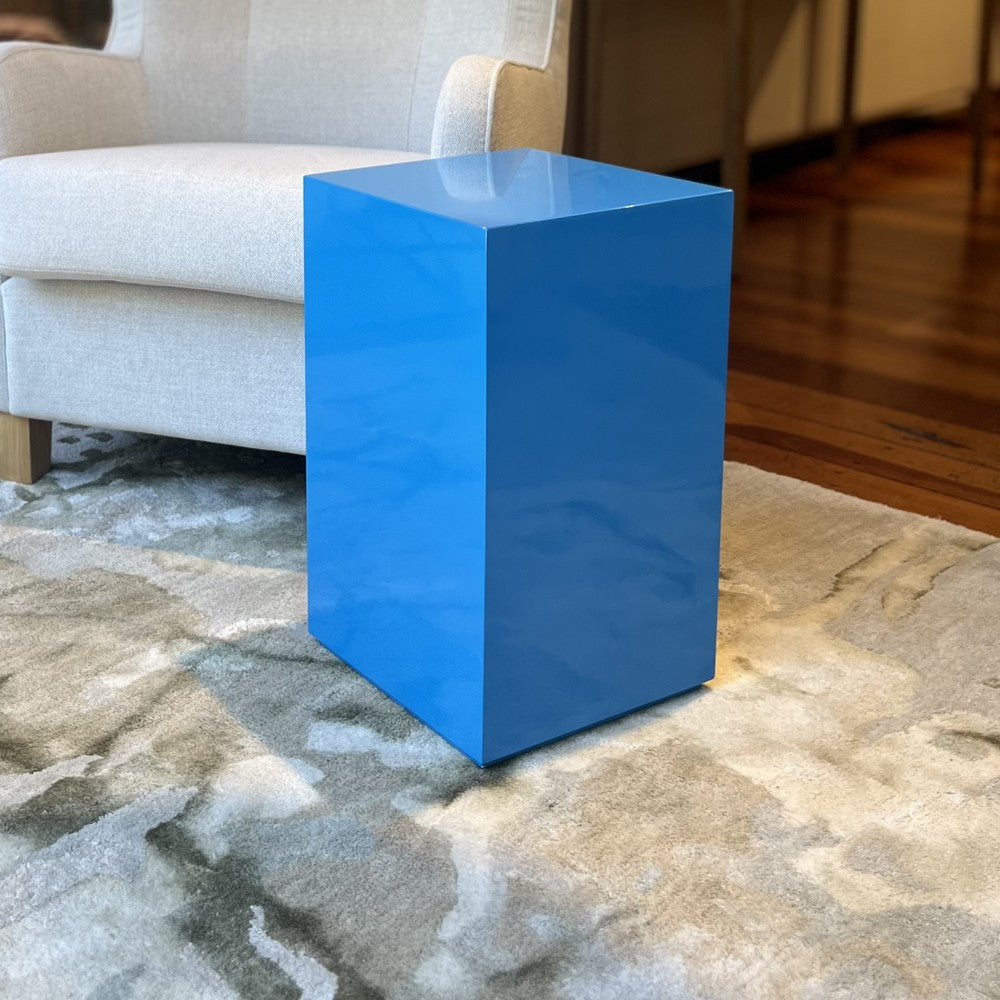
Vibrant Rectangle Cube
$599.00
Add a pop of colour to your space with a gorgeous smooth high-gloss Vibrant Rectangle Cube, proudly made in New Zealand. Versatile and stylish, these cubes can be used as a side table, seat, or decorative accent. Handcrafted from durable MDF, each one is unique and the perfect blend of functionality and flair. Care for your cube by not applying ...

Francis Bookcase

Francis Bookcase
$2,599.00
Handcrafted from solid American ash, the Francis Bookcase brings natural beauty and versatility to your space. Designed with adjustable inner shelves, it offers flexible storage to suit your needs. Available in three standard heights - 0.8 meters (three shelves), 1.8 meters (four shelves) and 2 meters (six shelves) - the Francis Bookcase is perf...
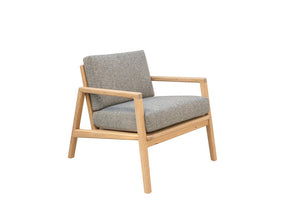
Strait Occasional Chair - Oak

Strait Occasional Chair - Oak
$2,599.00
The Strait Occasional Chair combines solid craftsmanship with refined design. Its clean geometric lines, timber feature back, and gently moulded arms and legs create a look that is both striking and inviting. Crafted from solid American oak or American white ash, the chair is available in a selection of stains to complement your choice of uphols...

Attra Hall Table - Ash
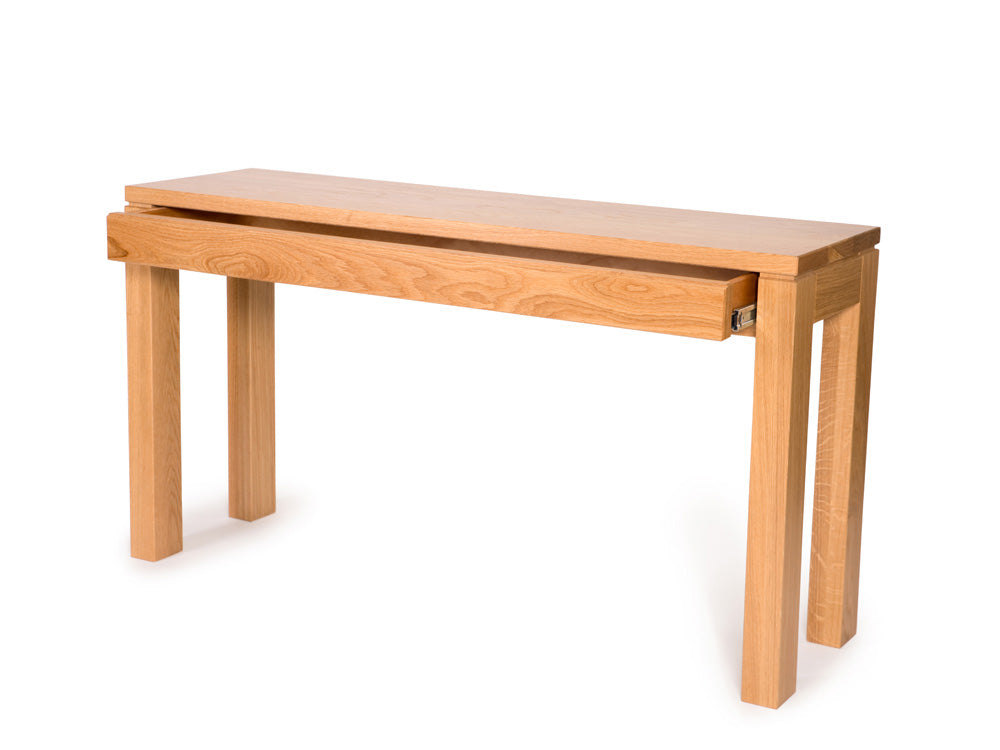
Attra Hall Table - Ash
$2,199.00
Handcrafted from premium solid American ash or white oak, the Attra dining range showcases clean lines and solid timber construction. Designed for the discerning consumer seeking high-quality, New Zealand-made furniture, the collection features fixed and adjustable tables, dining chairs, and a variety of buffet and entertainment unit configurati...


