Products

That's It — First Aid Gel
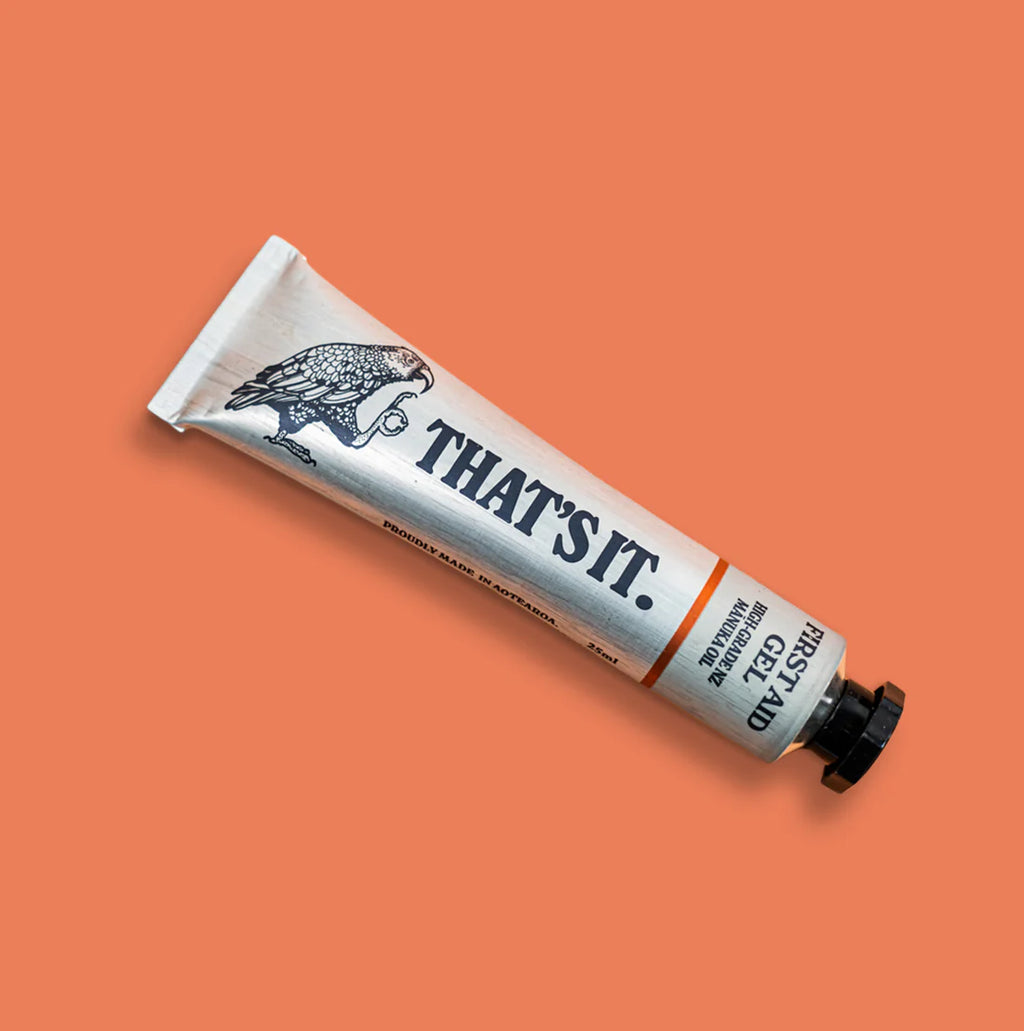
That's It — First Aid Gel
$29.00
A must-have for every first aid kit, That’s It — First Aid Gel is a powerful anti-bacterial and anti-fungal formula made with high-grade NZ Mānuka Oil. Designed to soothe, protect, and repair, it’s your go-to for cuts, burns, and bites. Compact and travel-friendly, it’s perfect for home, the car, or your next adventure! ✅ 100% natural✅ Antisepti...

That's It — Hot Rub

That's It — Hot Rub
$35.00
Introducing That’s It — Hot Rub, made with New Zealand Kānuka Oil and Capsaicin — the ultimate companion for pre- and post-exercise care. This dual-action rub warms and activates muscles before activity, while helping soothe soreness and support recovery afterwards. ✅ Pre- and post-workout support✅ 100% natural, high-grade NZ Kānuka Oil✅ Capsaic...

That's It — Pure Kānuka Oil

That's It — Pure Kānuka Oil
$35.00
Tested and certified for its powerful anti-inflammatory properties, That's It — Pure Kānuka Oil penetrates deep into muscles to support recovery and repair. ✅ Aids in muscular repair and sports injuries✅ Helps heal burns, bruises, and bites✅ Soothes itchy, inflamed skin✅ Natural insect repellent✅ Relaxes muscles✅ Easy-to-use dropper Easy As Hea...

That's It — Pure Mānuka Oil
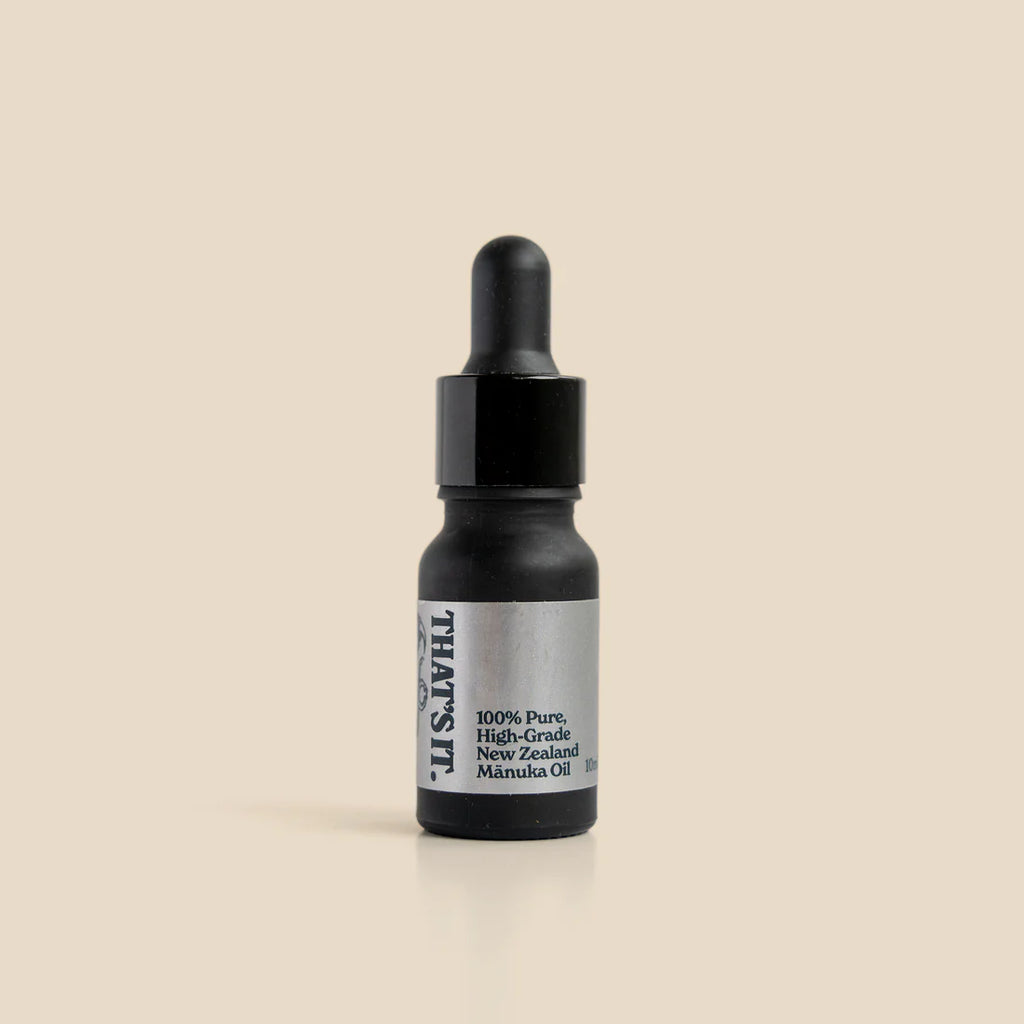
That's It — Pure Mānuka Oil
$39.00
Like liquid gold, That’s It — Pure Mānuka Oil is a must-have around the house. This powerful natural antiseptic and anti-inflammatory is your go-to for healing, soothing, and nourishing. ✅ Heals cuts, burns, and bites✅ Prevents infection on large body scrapes✅ Natural insect repellent✅ Relaxes muscles✅ Nourishes your skin✅ Convenient, mess-free ...

That's It — SPF30+ Lip Balm
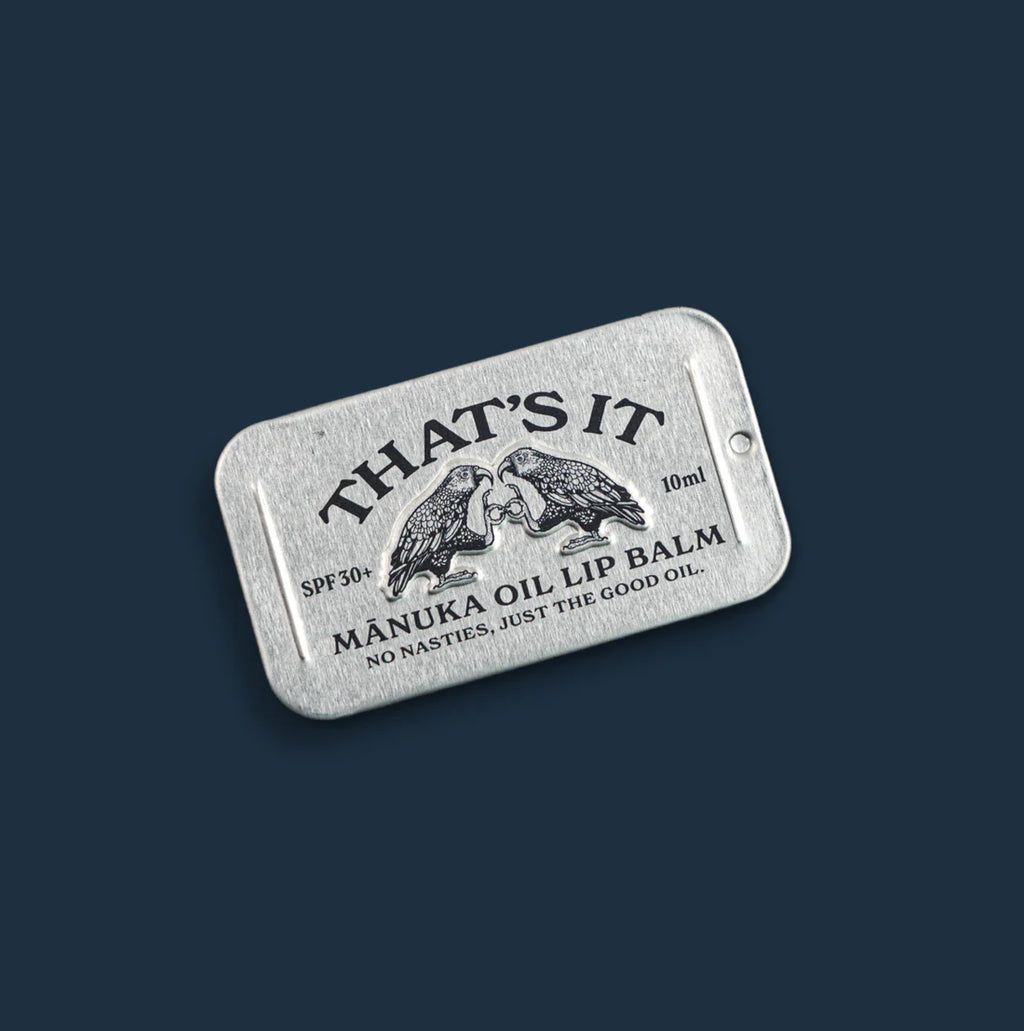
That's It — SPF30+ Lip Balm
$19.00
Tough adventures call for tough protection! That’s It — SPF30+ lip balm, made with 100% high-grade NZ Mānuka Oil, is built to soothe, protect, and repair. Give your lips the care they deserve - wherever your adventures take you! ✅ SPF30+ for sun protection✅ Shea butter & beeswax base for deep hydration✅ Prevents dryness & cracking year-r...

That’s It — Blister Stop Wool

That’s It — Blister Stop Wool
$19.00
Don’t let blisters ruin your adventure! That’s It — Blister Stop Wool - unbleached lamb’s wool, infused with high-grade NZ Mānuka Oil - cushions, protects, and absorbs moisture to keep hotspots at bay while you run, hike, or walk. ✅ 100% natural – breathable & moisture-wicking✅ Prevents rubbing & provides soft padding✅ Infused Mānuka Oil...

That’s It — Insect Repel

That’s It — Insect Repel
$39.00
That’s It — Insect Repel is built for backyard BBQs, bush missions, beach days, and every adventure in between. Formulated with a 100% natural active ingredient, this tropical-strength repellent is lab-tested to deliver up to 5 hours of effective defence against mozzies, sandflies, and biting insects. Powered by Lemon Eucalyptus Oil — nature’s p...

That’s It — The Sampler

That’s It — The Sampler
$24.00
Get adventure-ready with the That’s It — The Sampler pack, featuring three of the most-loved That’s It products in convenient 8g sachets. Perfect for slipping into a pack, pocket, or first-aid kit — or as a gift for the outdoor lover in your life. First Aid Gel Powered by New Zealand Mānuka Oil, this natural antiseptic gel helps soothe, protect,...

The Box
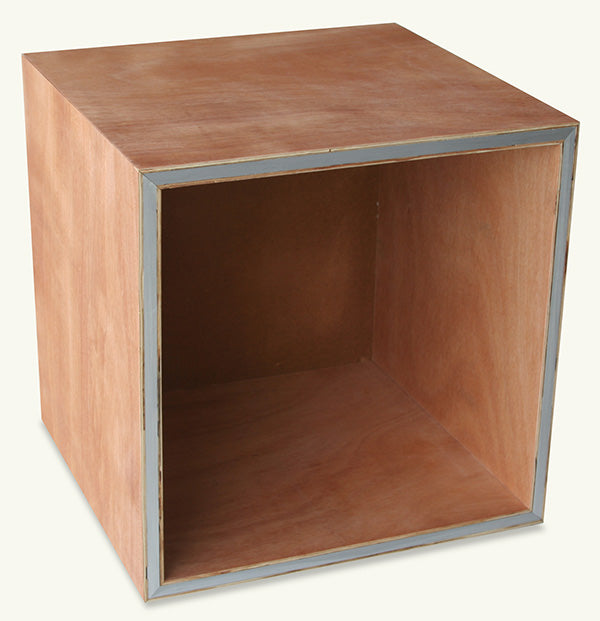
The Box
$229.00
The Box is an ideal storage solution. The solid and stackable design, originally intended for vinyl storage, holds up to 80 albums. However, you could store countless other items i.e. books, magazines, toys, musical instruments. Keep your 'things' contained in The Box. Designed and handcrafted in the sunny Hawke's Bay (east coast of the North Is...

The Getting Lost Game
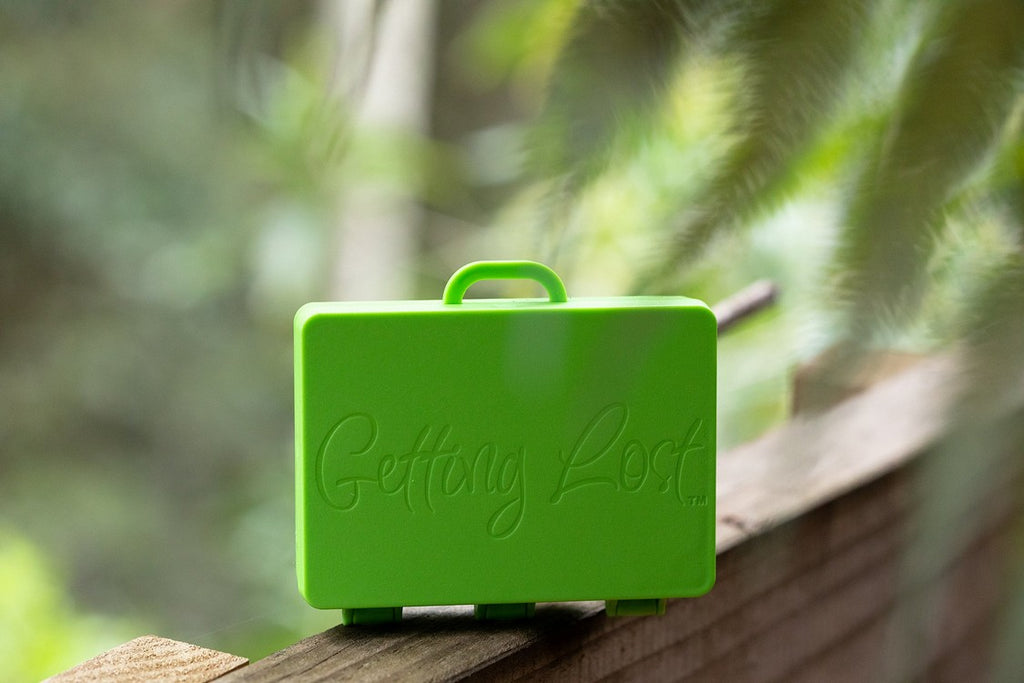
The Getting Lost Game
$39.00
The Getting Lost Game is a unique game designed right here in New Zealand to get wonderfully lost and explore new places. Purposefully offline, The Getting Lost Game is designed to inspire adventures and get people out of what they know and explore that untravelled path. Each kit contains 26 “misdirection cards” which give you random directions ...

The Good Reusable Face Mask

The Good Reusable Face Mask
$25.00
Wearing a face mask can help stop the spread of infectious droplets when speaking, laughing, coughing or sneezing. The Good Reusable Face Mask is washable, ethically made in New Zealand and comes in a variety of fun unique organic patterns. Surgical ties and a wire nose piece help ensure the mask fits tightly to your face. The Good Reusable Face...
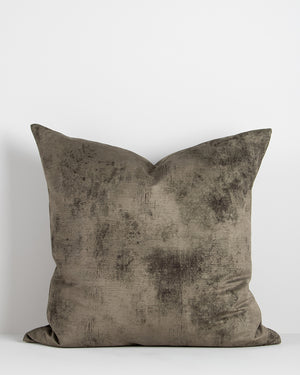
Theo Cushion
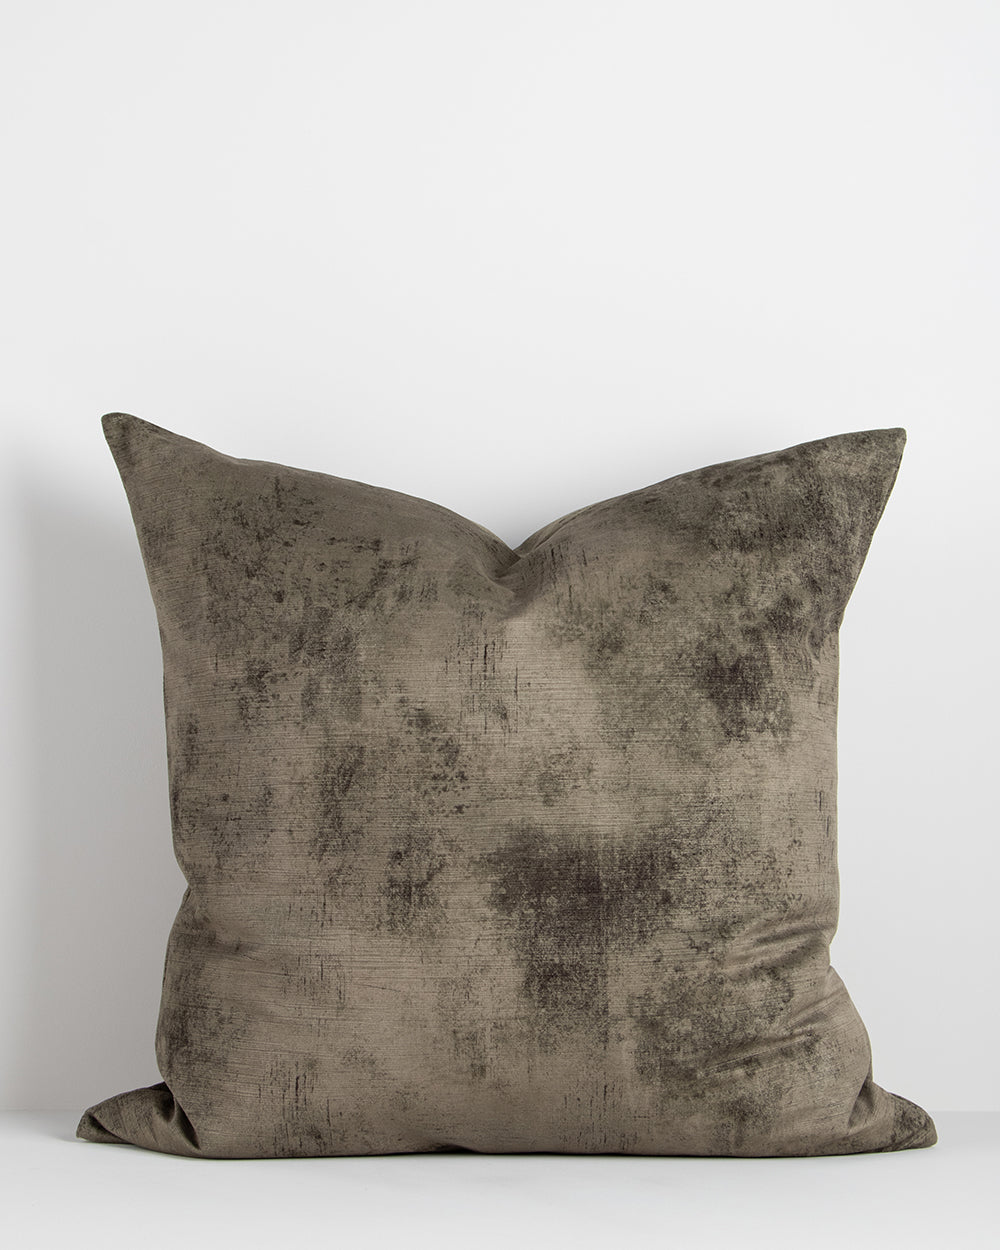
Theo Cushion
$139.00
The Theo cushion brings a luminous, sophisticated touch to any space. Crafted in a generous 60x60cm size, it serves as an essential building block for a captivating and luxurious interior. Designed for both commercial and residential settings, this hard-wearing yet soft cushion is made from high-performance polyester velvet, offering easy-care d...
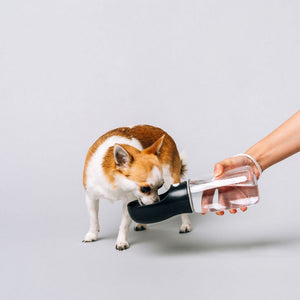
Thirsty Dog Drink Bottle

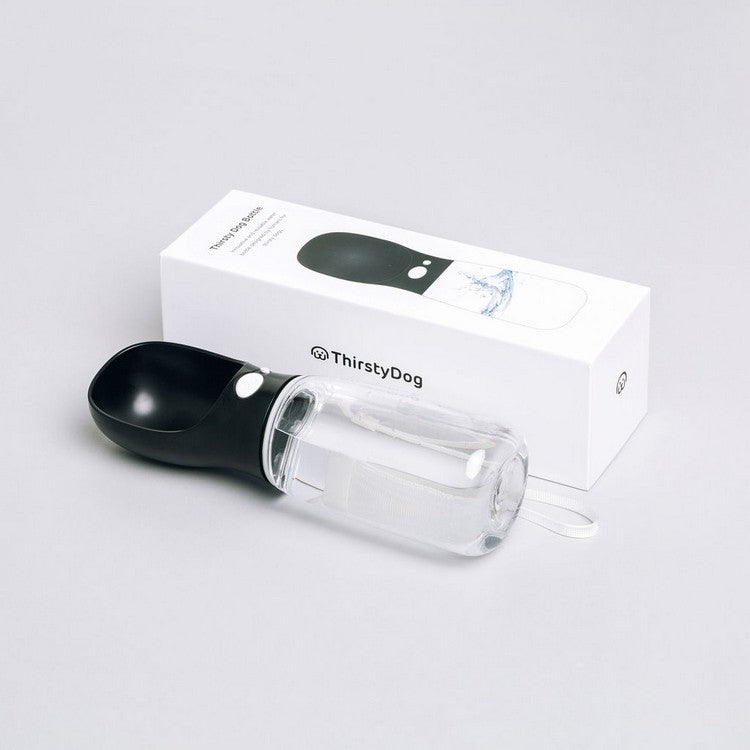
Thirsty Dog Drink Bottle
$59.00
Thirsty Dog Drink Bottle is an elegant, reusable drinking reservoir tailored for your pooch. You can hydrate any sized dog in style, on demand, anywhere you and your best 'friend' go. Fully leak-proof thanks to a unique water locking valve system, Thirsty Dog Drink Bottle is convenient and easy to use. Simply fill the cup with water from the pre...
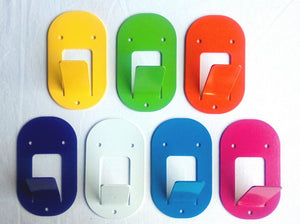
Tiki Hook

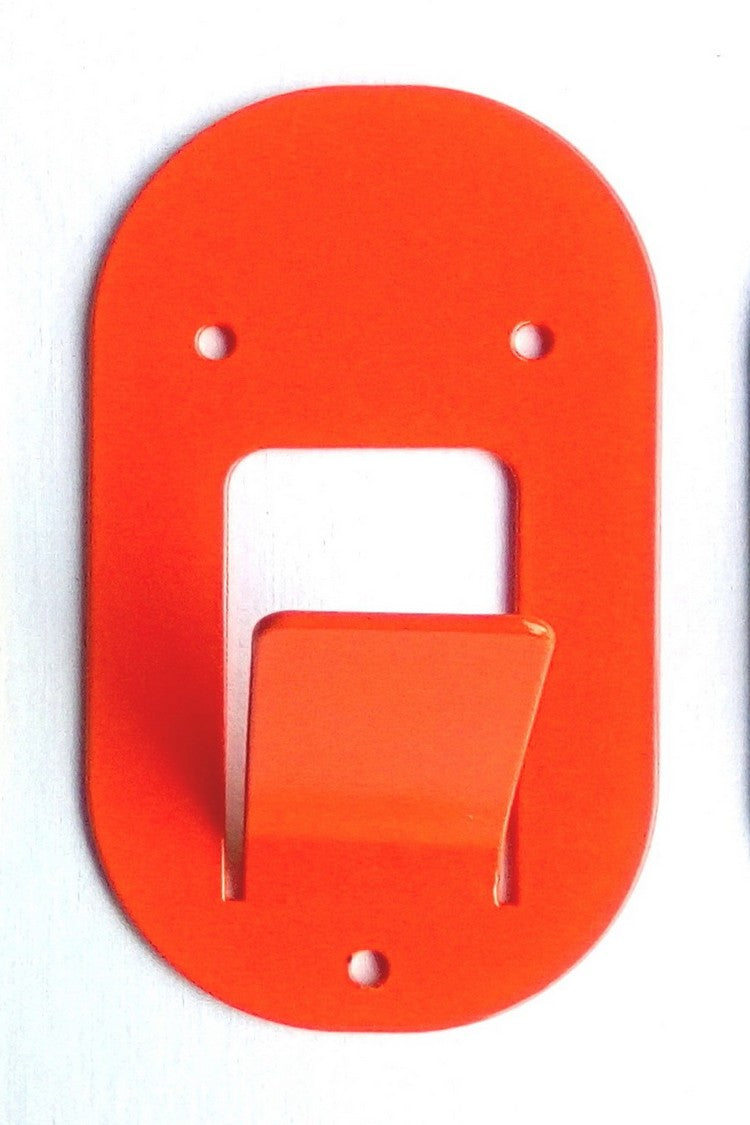
Tiki Hook
$49.00
Looking for somewhere to hang your coat? Look no further than Tiki Hook, a clever twist on the iconic east Polynesian figure - the Tiki is a symbol of good luck. Tiki Hook was inspired by the wonderfully carved figures on the walls of a Waitangi Marae. Material galvanised steel 1.95mm thick; powder-coated for indoor or outdoor use Size 90W x 60D...

Tokyo Roaming Rug
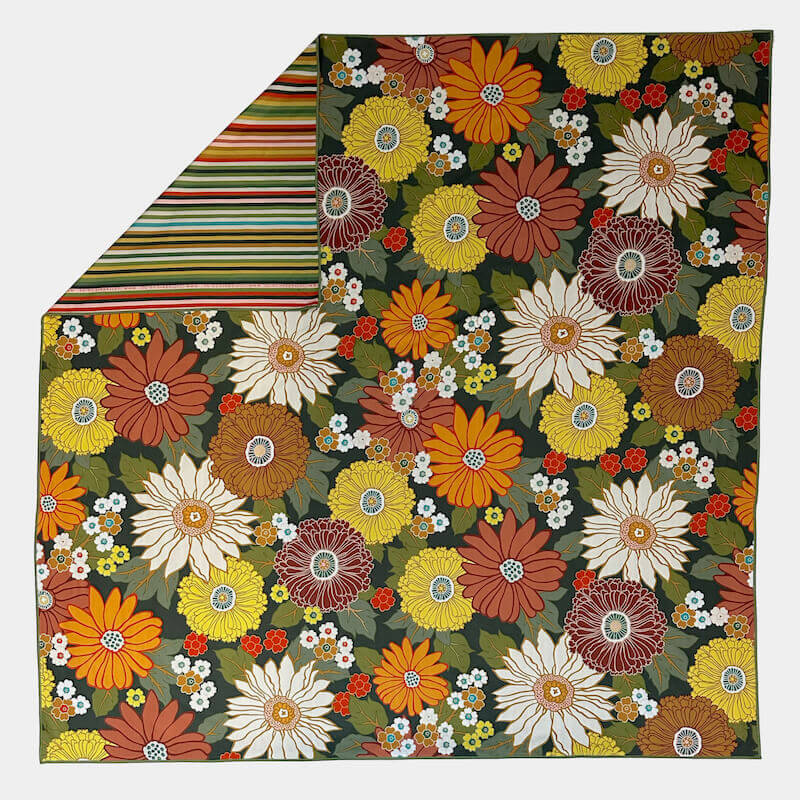
Tokyo Roaming Rug
$99.00
The Tokyo Roaming Rug is your go-anywhere essential - picnic blanket, throw, and wrap all in one. Made from soft-touch, moisture-absorbent, and sand-resistant material, it features original artwork on both sides. Lightweight and versatile, each rug comes in its own drawstring carry bag - perfect for spontaneous adventures and tidy storage alike....
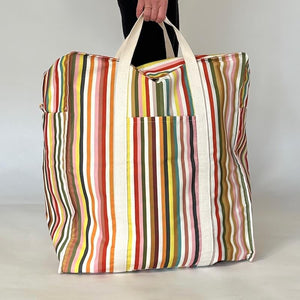
Tokyo Stripe Stuffer Bag
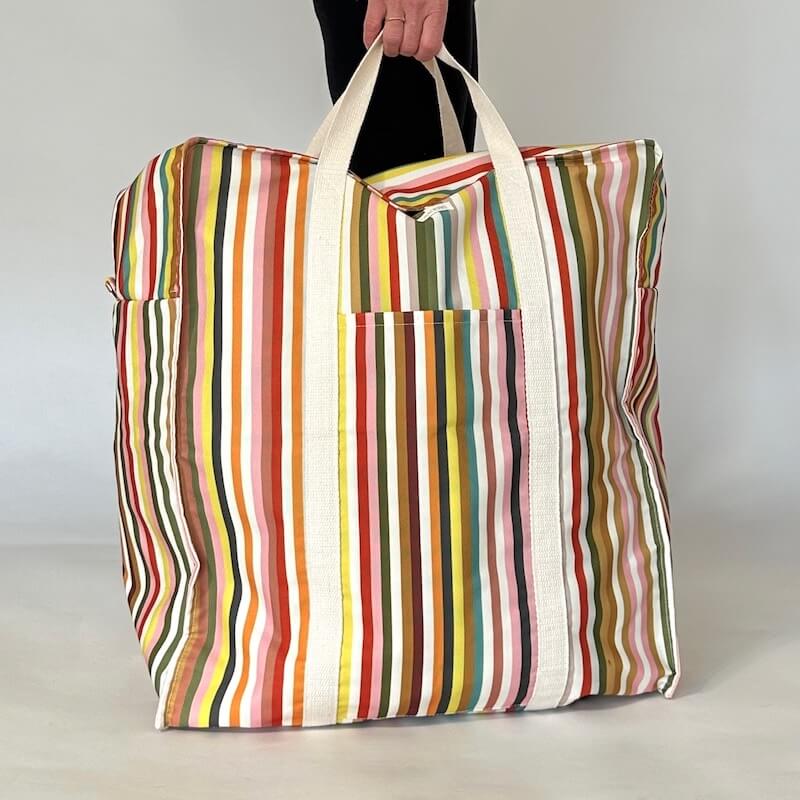
Tokyo Stripe Stuffer Bag
$79.00
Built to store and carry your essentials with ease, the Tokyo Stripe Stuffer Bag is your trusty go-to for keeping gear organized on the move. Whether it’s ski equipment for the mountain, wetsuits and snorkels for the ocean, or extra shopping finds during your travels, this bag handles it all. With sturdy double handles for comfortable carrying a...

Tour of New Zealand Game

Tour of New Zealand Game
$39.00
First released in the 1950s, the Tour of New Zealand game has delighted generations of players. This retro edition features a slightly updated board and design, but the fun remains timeless! Race to be the first to complete a Tour of New Zealand, visiting towns and cities across the country along the way. Perfect for family game nights or introd...
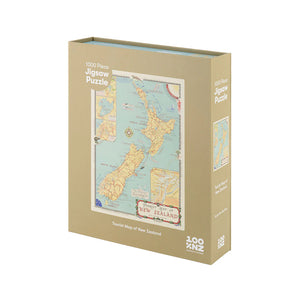
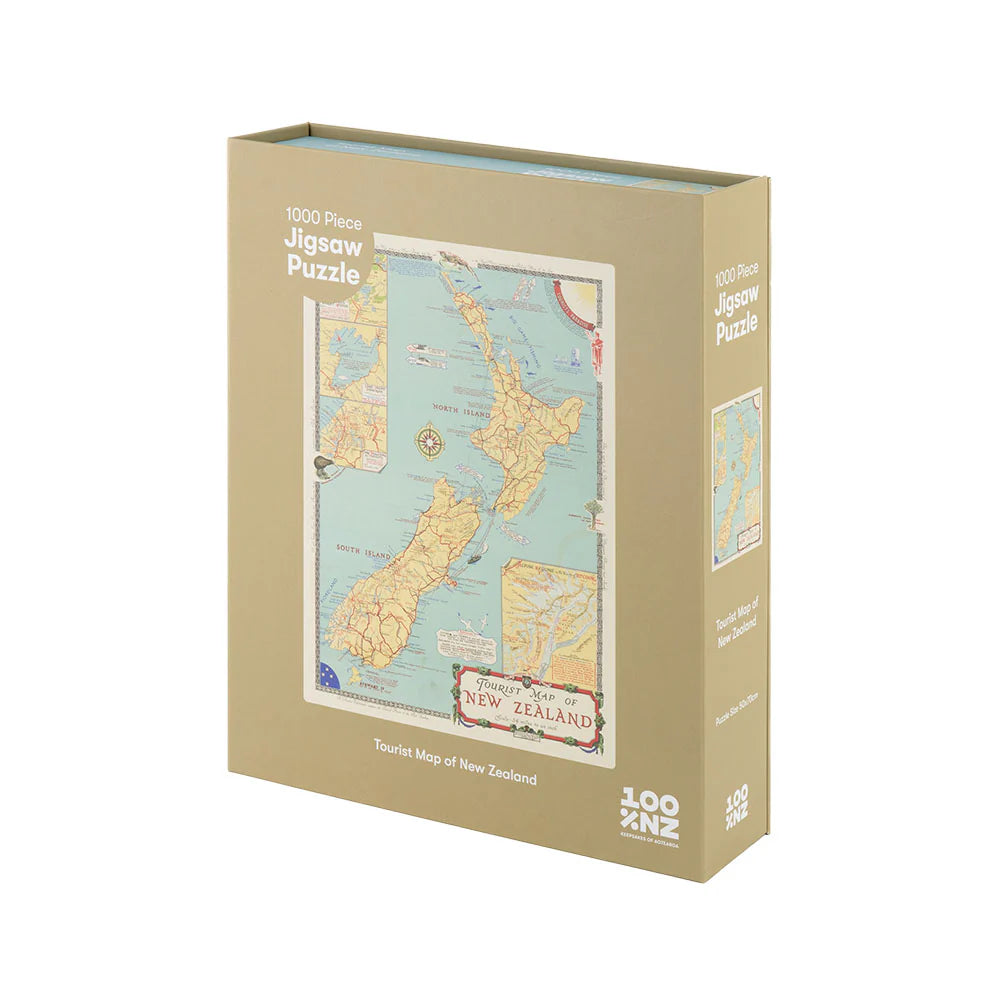
Tourist Map of New Zealand Jigsaw Puzzle
$45.00
Step back in time with the Tourist Map of New Zealand Jigsaw Puzzle. This 1000-piece puzzle showcases a beautifully detailed vintage map, offering a glimpse into the golden era of New Zealand tourism and travel. Presented in a beautifully designed box, it also includes a convenient drawstring bag to keep all the pieces organised. A perfect way t...
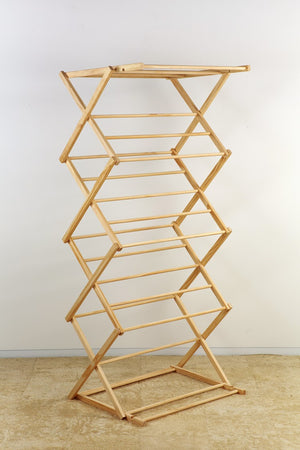
Tower Dryer 2.0
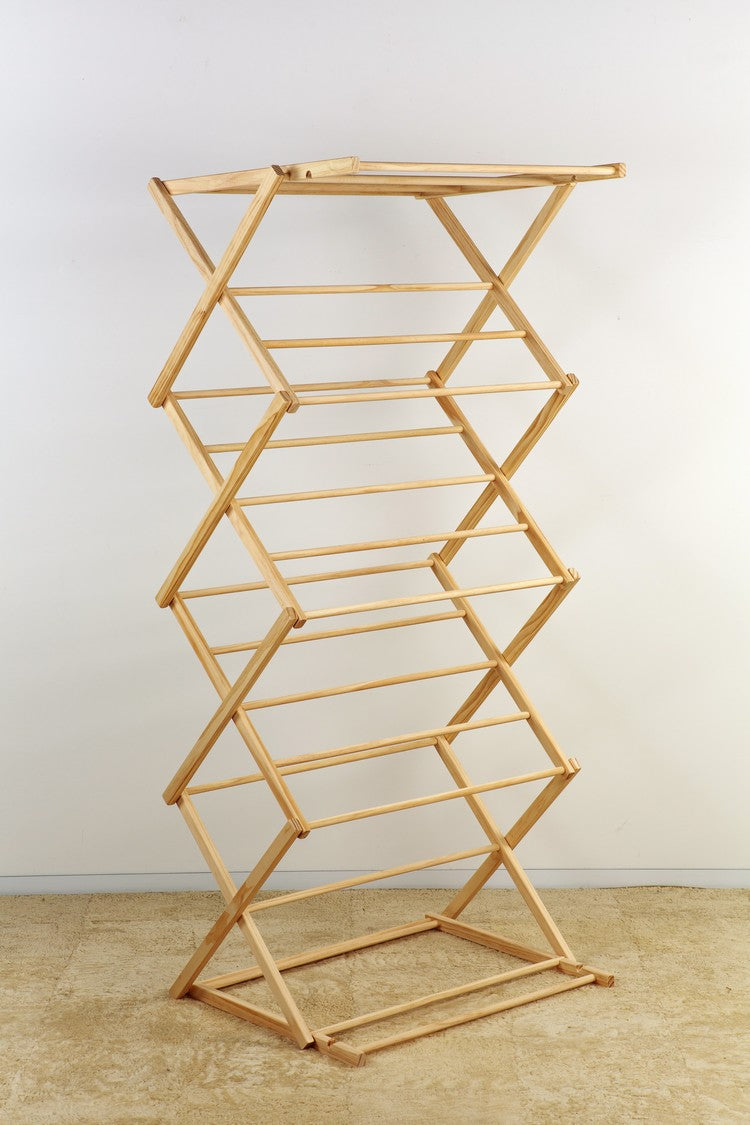
Tower Dryer 2.0
$299.00
Handcrafted, wooden Tower Dryer 2.0 has a built in top rack and additional rungs, providing considerably more hanging space (13.6m) than the original version (8.16m). The top rack is great for hanging delicate items, or laying out your woollen garments. The simple, smart design folds away for easy, compact storage whilst not in use. Material r...

Travis Hall Table
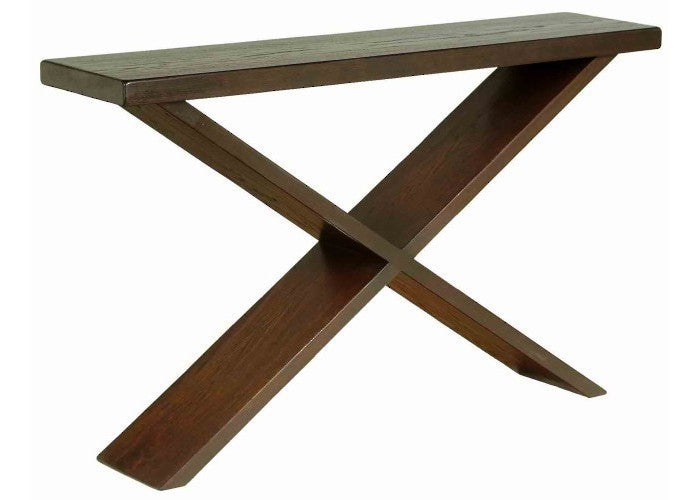
Travis Hall Table
$2,299.00
Sculptural and understated, the Travis Hall Table is defined by its distinctive crossed-leg base, where two solid oak supports intersect to cradle and secure the tabletop above. The result is a piece that feels both architectural and refined, bringing quiet strength and visual interest to hallways, entry spaces, or narrow living areas. Crafted f...
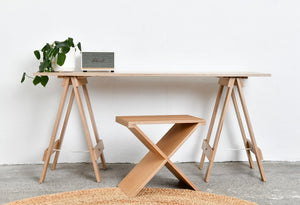
Trestle Desk

Trestle Desk
$999.00
Trestle Desk is made from oak plywood that is very durable and suits any space. It is super easy to set up and pack down and easily transported, fitting in the car boot, so you can work anywhere, any time. Material oak plywood, stainless steel hinges with screws, rope (white) ** Note height is estimated - the height of the legs can be adjusted. ...
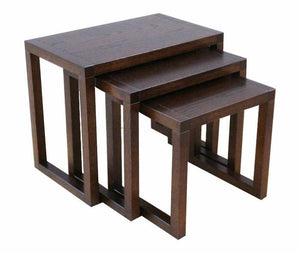
Tribeca Nesting Tables (Set of 3)

Tribeca Nesting Tables (Set of 3)
$1,599.00
Refined and versatile, the Tribeca Nesting Tables are designed to adapt effortlessly to your living space. With clean lines and softly balanced proportions, each of the tables works beautifully on its own or layered together as a cohesive set of three. Crafted from solid oak and finished by hand, the Tribeca tables offer both function and flexib...
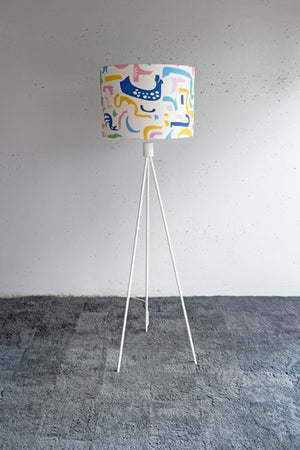
Triton Floor Light


Triton Floor Light
$499.00
The Triton floor light will create a unique ambience in your home. This on-trend design is simple and eye catching when teamed with a bold print shade. Material powder-coated metal Size 1300H mm (without shade) Shade sold separately, recommended size 440Dia x 300H mm This product can be tailor-made. It may be an option to change the dimensions, ...
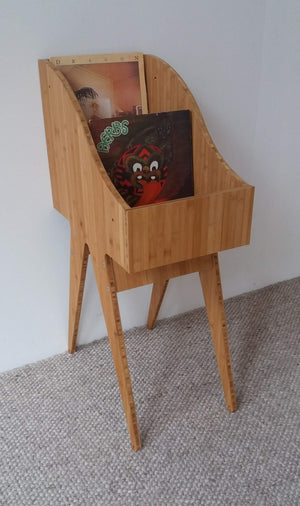
TUI Record Browser

TUI Record Browser
$1,299.00
The TUI (pronounced ‘2-E’) Record Browser is a vinyl storage option that is as attractive to look at as it is useful. TUI holds up to 100 LP’s, although 80 albums allows better ‘flickability’. TUI Record Browser is slim, elegant and stable. It is narrow enough to fit into a small space. Alternatively, TUI is expandable with single units bolting ...
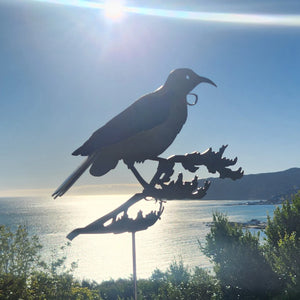
Tui Steel Outdoor Ornament
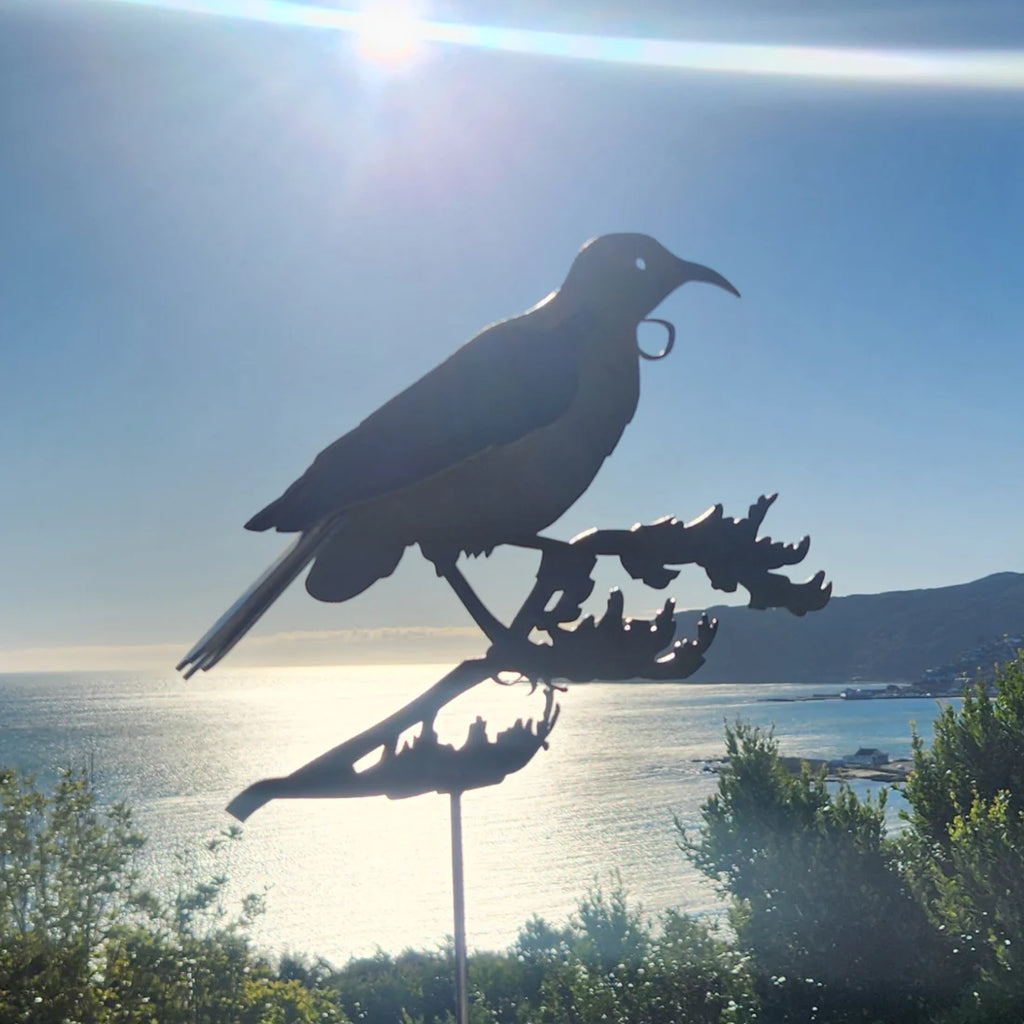
Tui Steel Outdoor Ornament
$89.00
Celebrate one of New Zealand’s most iconic birds with the Tui Steel Outdoor Ornament. Designed in corten weathering steel to age beautifully over time, this striking piece is easy to install with its stainless steel ground spike. A bold and enduring feature that brings the spirit of Aotearoa into your outdoor space. Material corten weathering st...
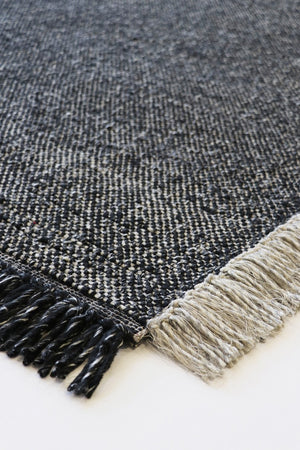
Ulster Floor Rug

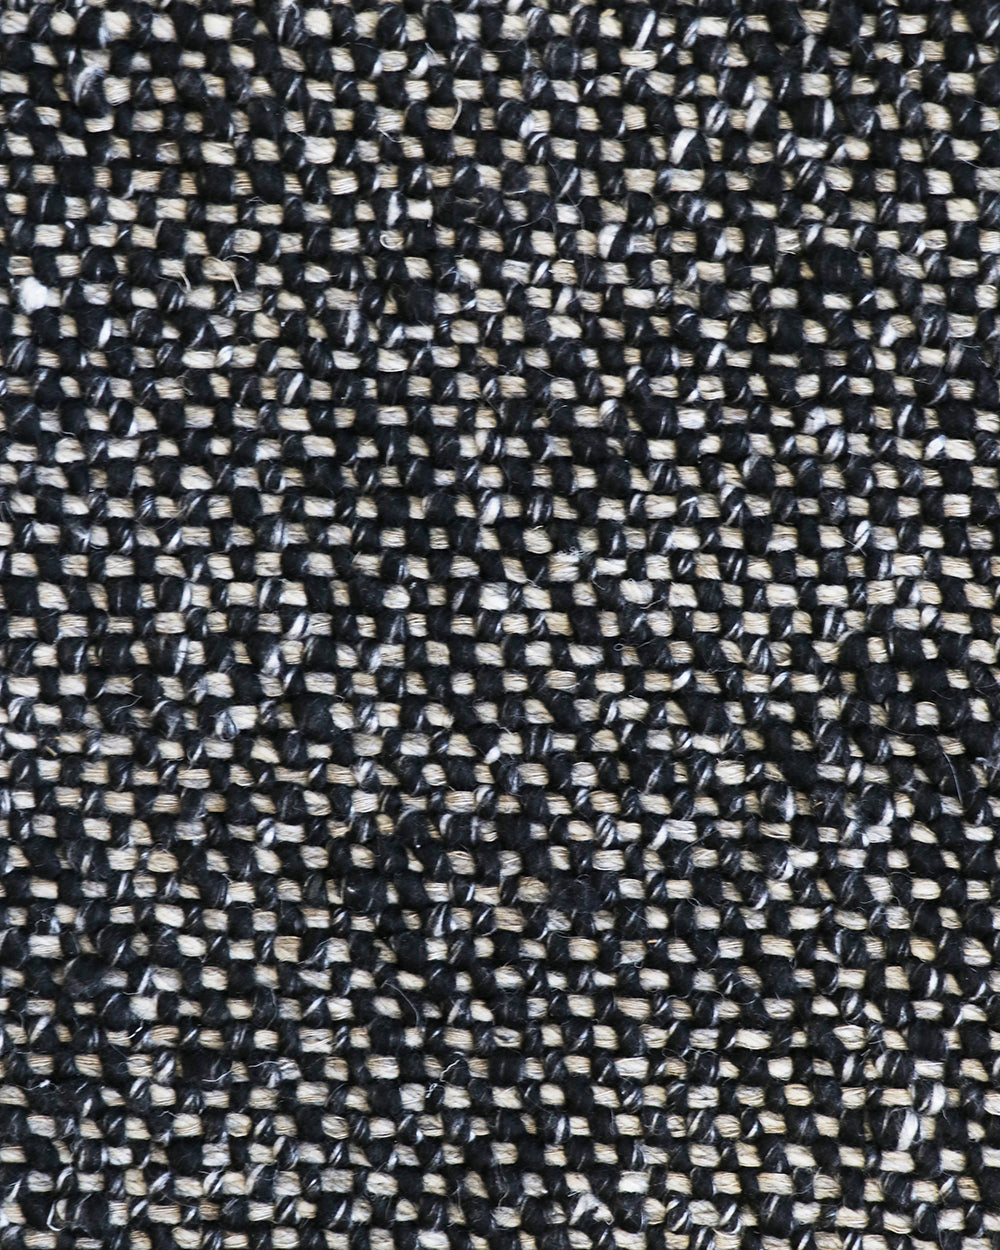
Ulster Floor Rug
$999.00
With its classic 1-1 weave structure and elegant two-tone fringing, the Ulster Floor Rug offers a beautifully simple yet textural foundation for any space. Crafted from a blend of wool and linen, this refined design brings subtle depth and warmth, making it an ideal base to build a timeless, layered interior around. Material 70% wool, 25% polyes...
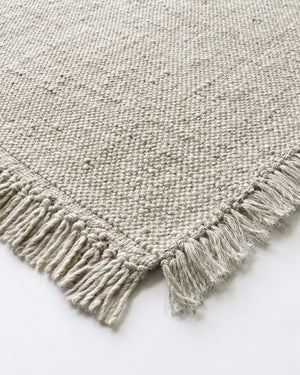
Ulster Floor Runner

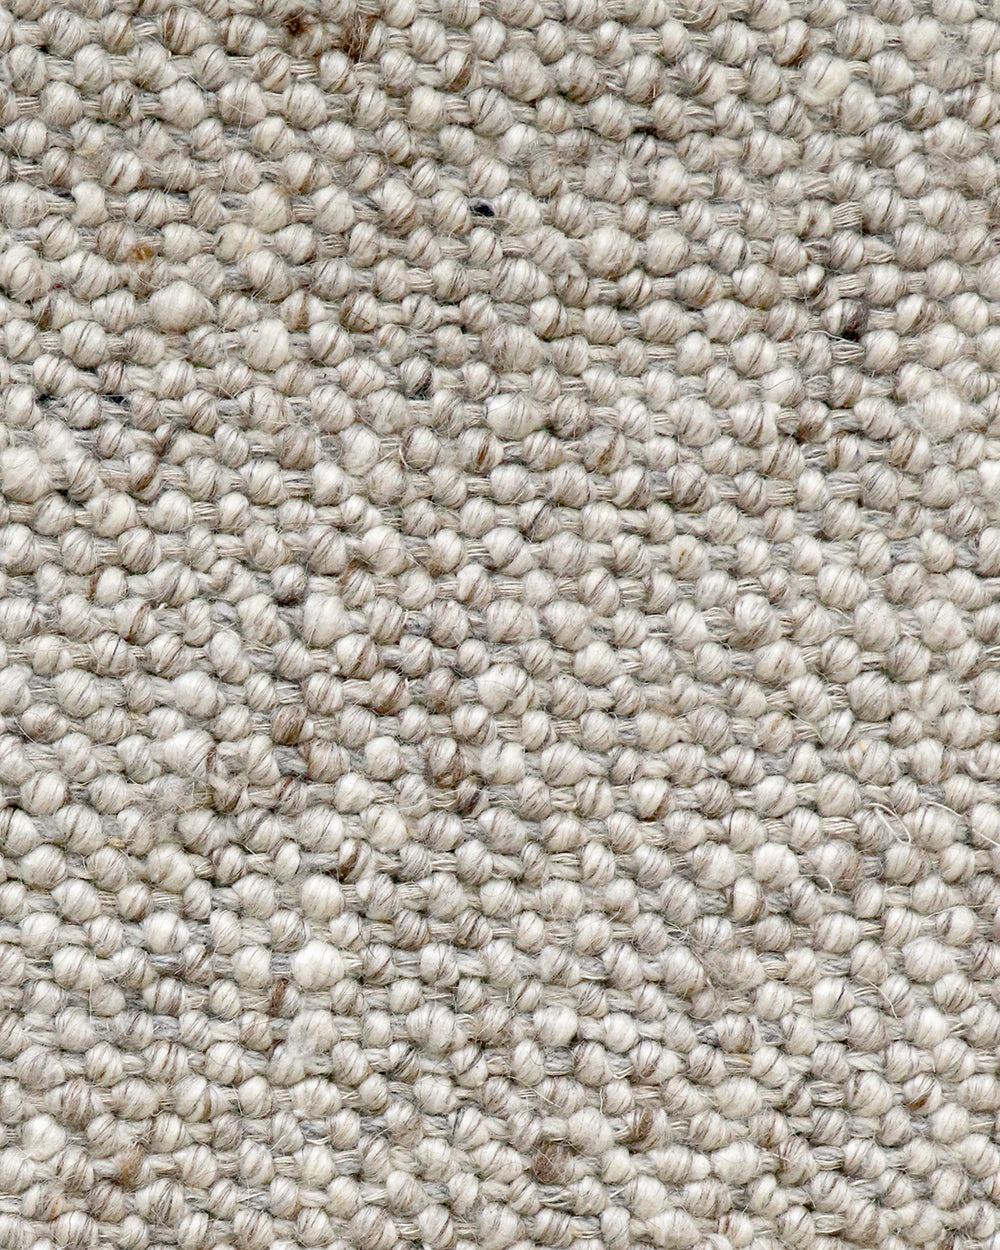
Ulster Floor Runner
$999.00
Make a refined statement in your entrance with the Ulster Floor Runner, generously sized at 800 x 5000 mm. Handwoven from a blend of wool and linen, it brings a beautifully textured feel underfoot. Finished with delicate two-tone fringing, this thoughtfully crafted design adds subtle character and warmth to high-traffic spaces. Material 70% wool...

Vale Floor Rug
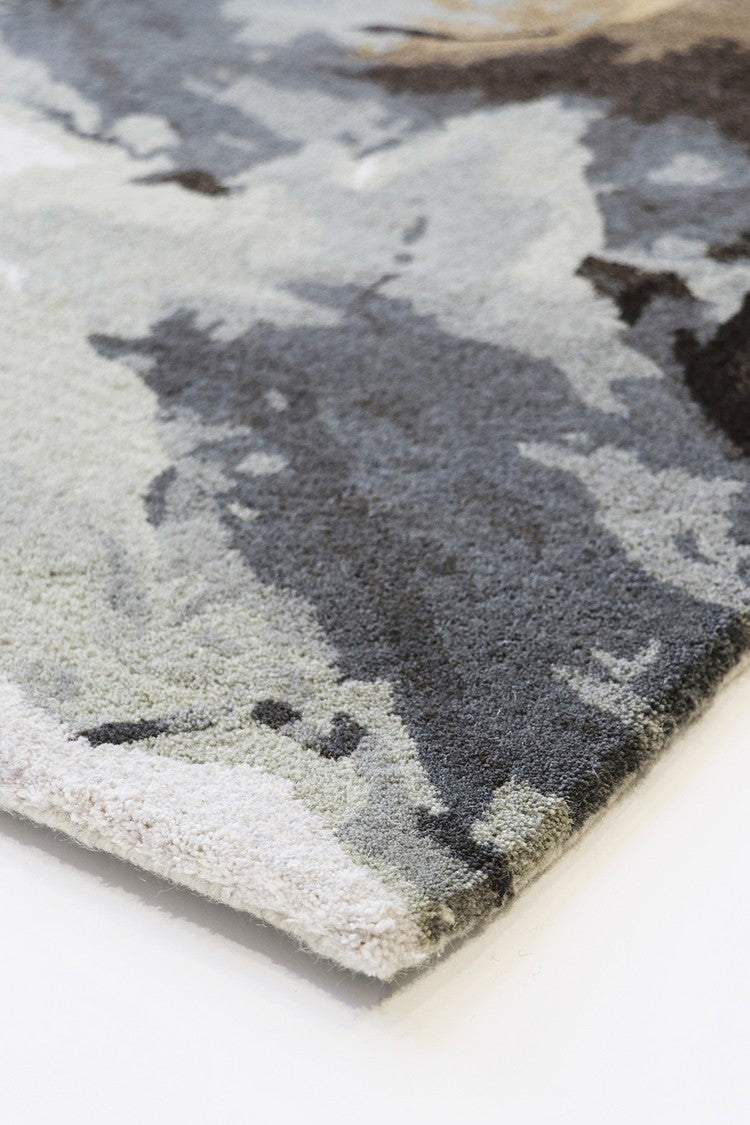
Vale Floor Rug
$1,199.00
Inspired by aerial photography and geological layering, the Vale Floor Rug is a striking focal point to style your room around. Hand-tufted in a soft wool-viscose blend, the muted tones of ivory, sage, grey, and ochre create a harmonious palette that pairs effortlessly with contemporary interior accents. Its sophisticated design brings both text...

Vale Round Floor Rug
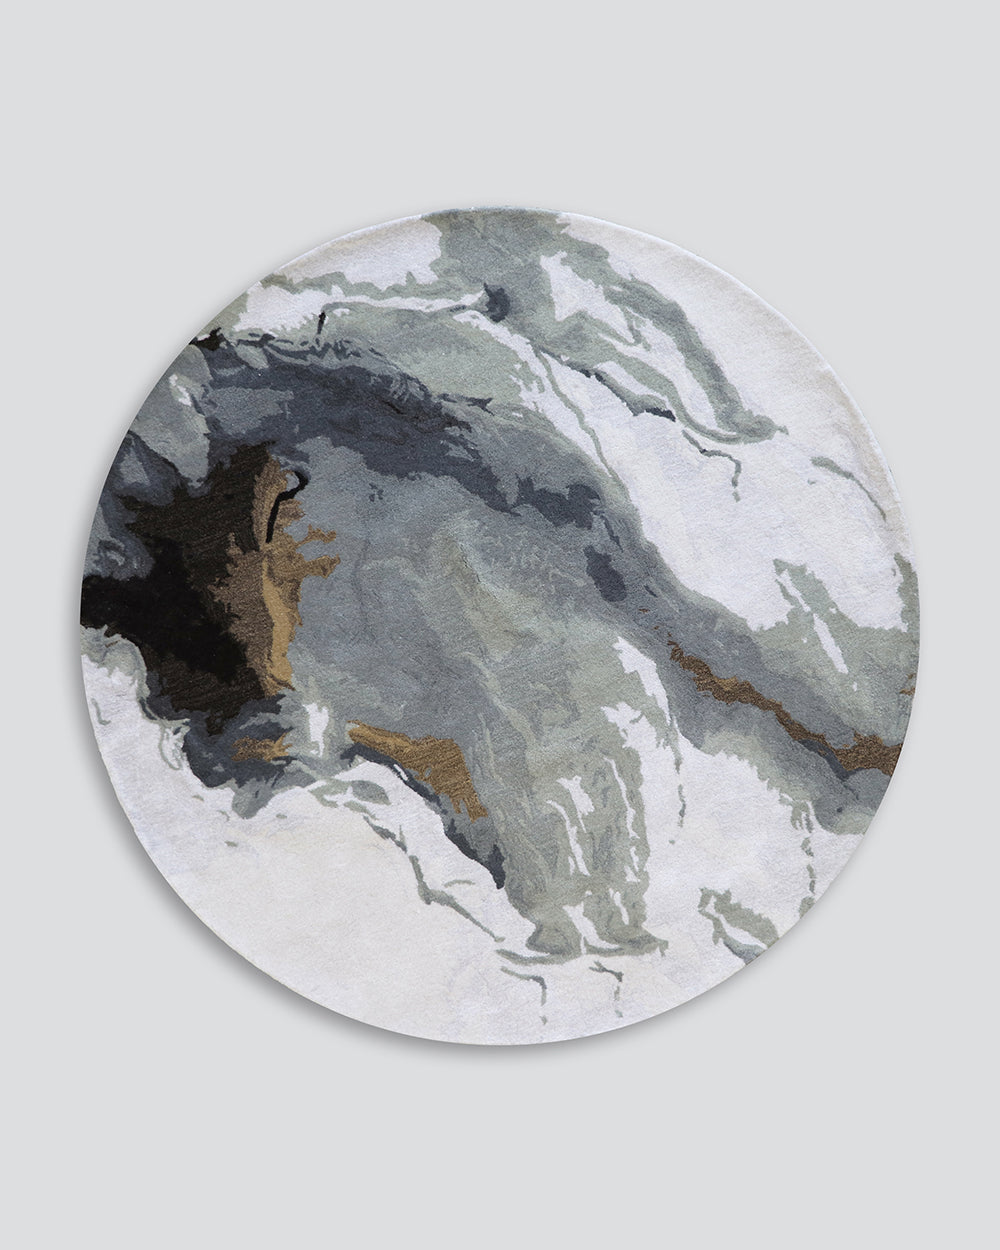
Vale Round Floor Rug
$1,599.00
Inspired by aerial landscapes and geological layering, the Vale Round Floor Rug makes a striking focal point to style your space around. Its circular form is ideal for zoning an area or anchoring key furniture pieces, while the hand-tufted wool-viscose blend offers a soft, luxurious feel underfoot. Muted tones of ivory, sage, grey, and ochre ble...

Velvet Zipped Bag

Velvet Zipped Bag
$39.00
Modish, Velvet Zipped Bag is a handy travel essential. Great for storing and keeping your smaller necessities together and with you. Compact and lightweight it will easily fit inside your overnight bag, handbag or gym bag. Yet, given it's chic design, you'll likely want to keep it on show all the time! Material polyester velvet, metal zip Size...
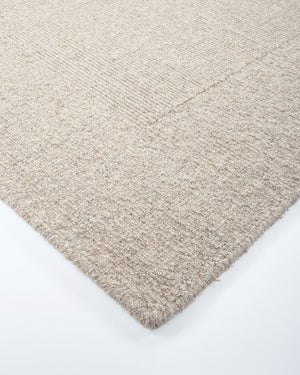
Vermont Floor Rug
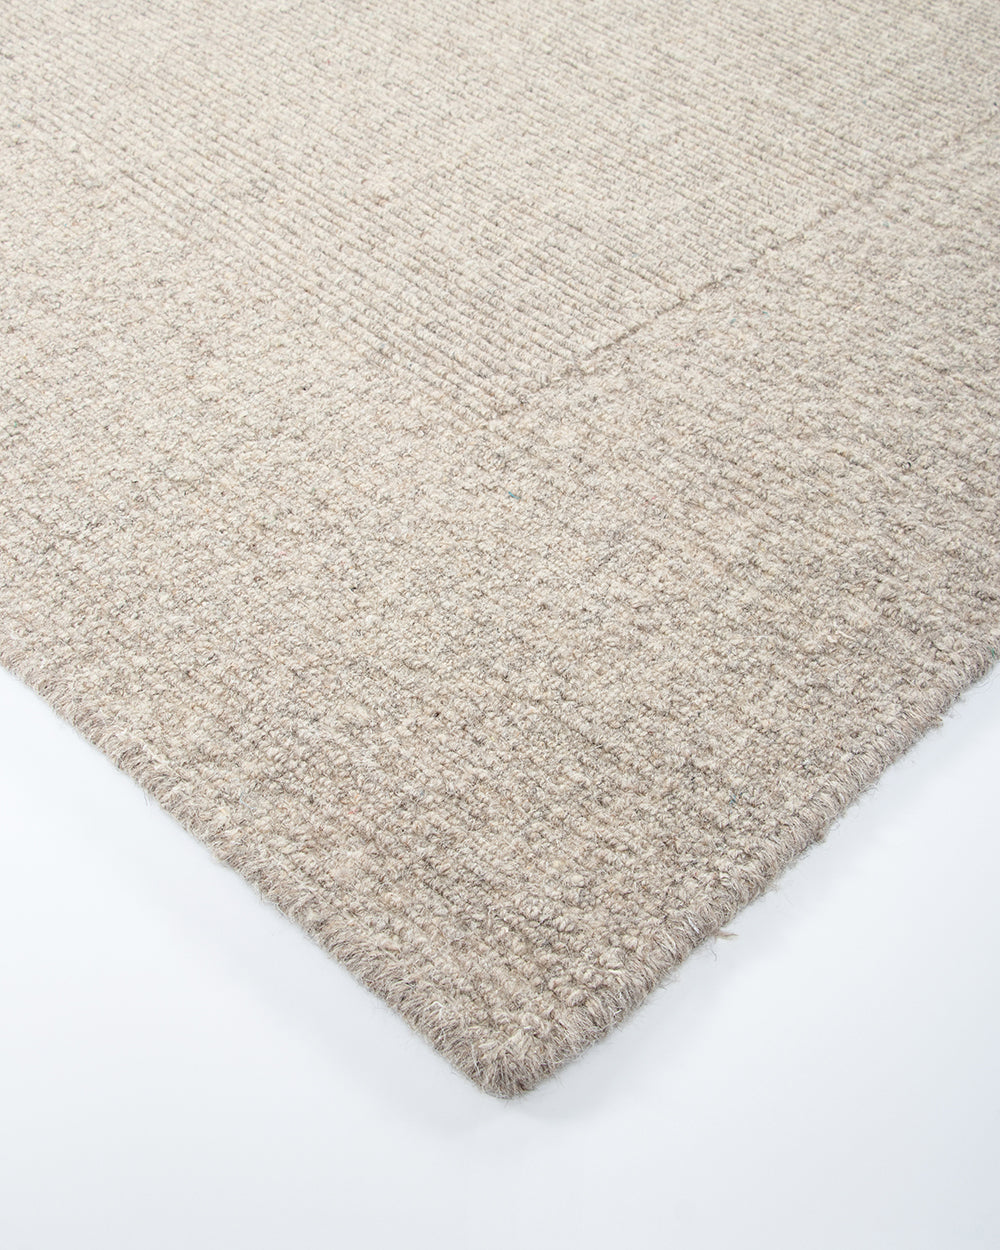
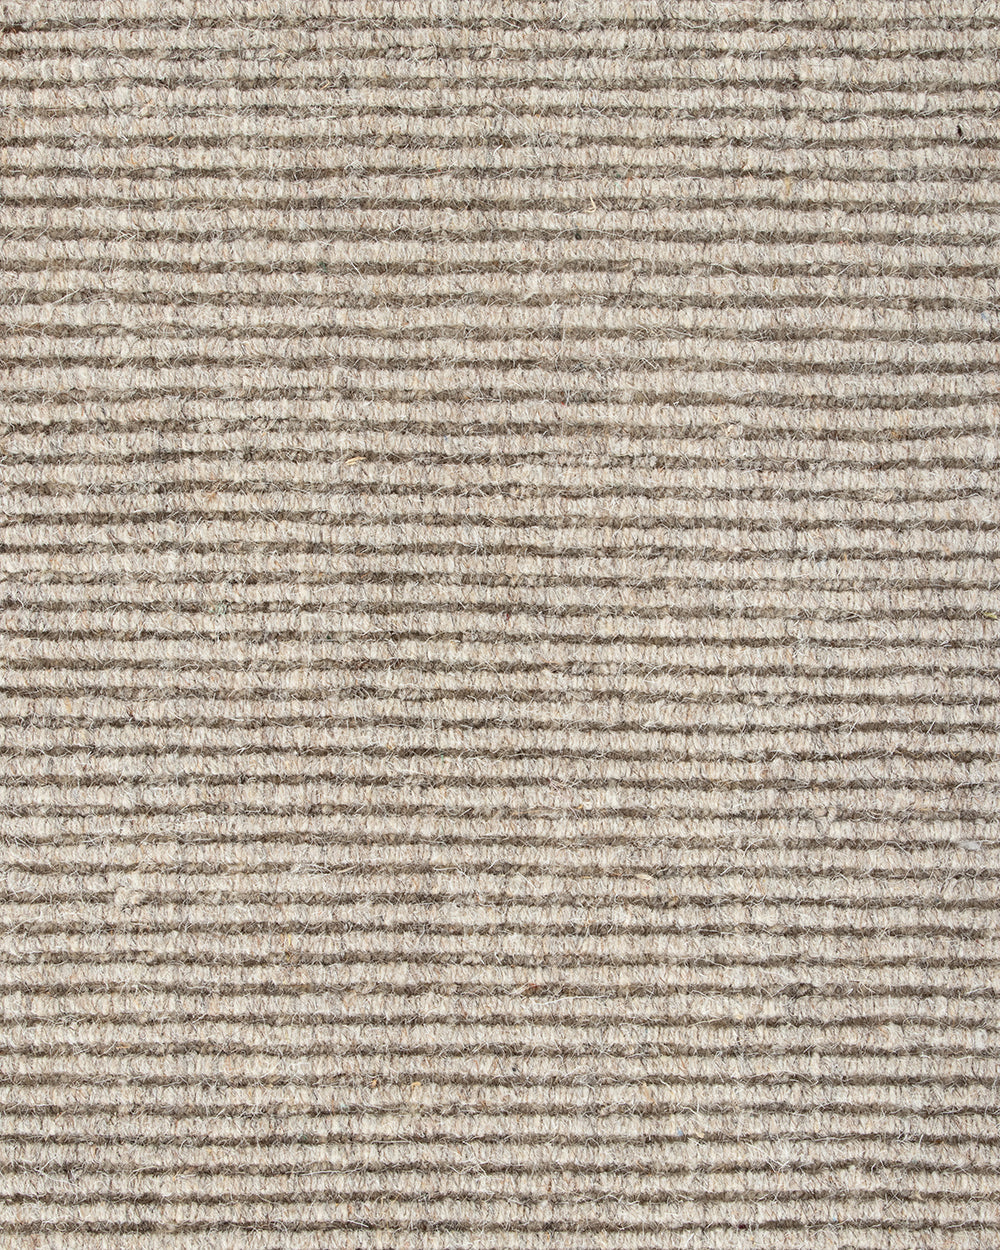
Vermont Floor Rug
$899.00
Create a natural, refined interior with the beautifully pared-back design of the Vermont Floor Rug. Tightly woven from 100% wool, its finely ribbed construction offers a subtle, textural underfoot feel, while the low-profile design makes it an ideal choice for dining rooms and high-traffic areas. Finished with a delicate border, the warm, natura...
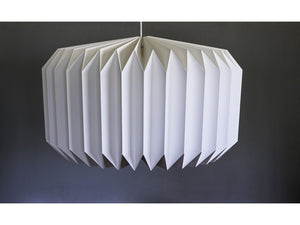
VFold Light Shade
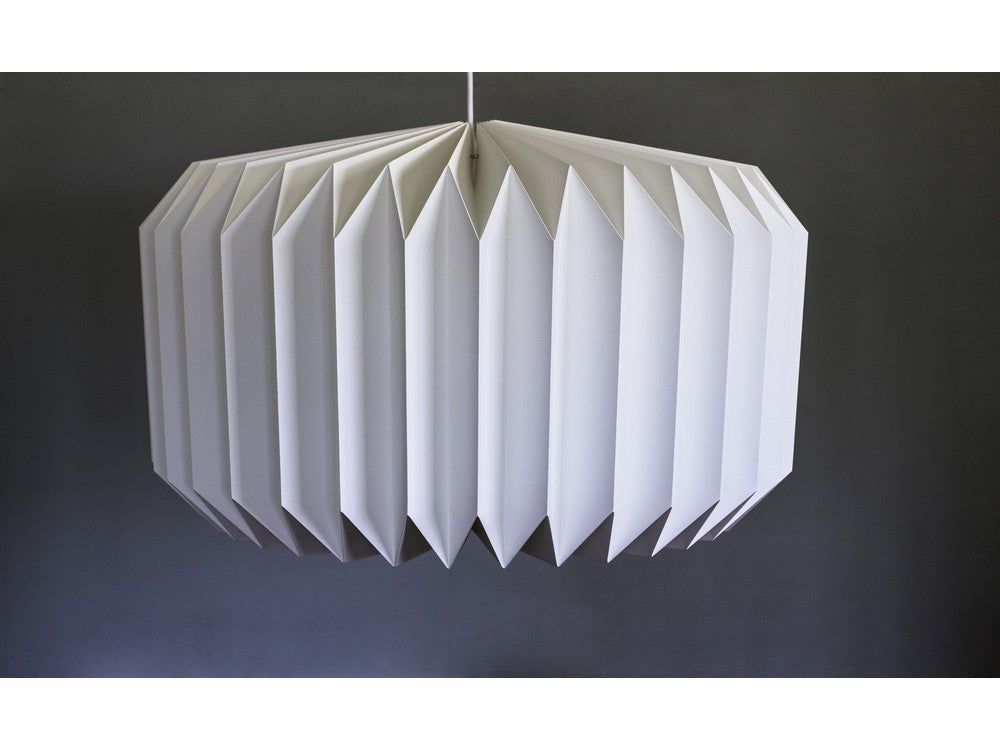
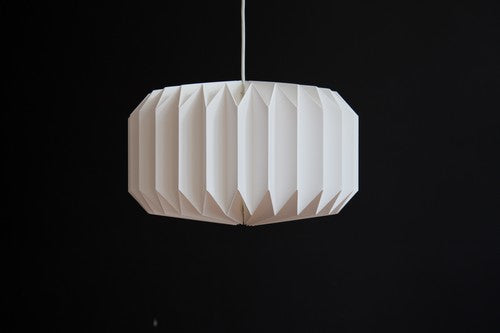
VFold Light Shade
$299.00
VFold light shade's simple and elegant geometric design brings a timeless look to any room. Handcrafted from one continuous sheet of heavy weight paper or synthetic (PU) paper, VFold is designed for a pendant light fitting and produces a bright, diffused ambient light. Material heavy grade paper or PU (synthetic white paper) Flat-packed for deli...


